Outdoor Christmas Tree Advent


Instructions
Gather Materials and Paint
Find yourself a nice piece of plywood and cut it to 24in x 24in. Spray paint it white (or whatever color you'd like) and let it dry.

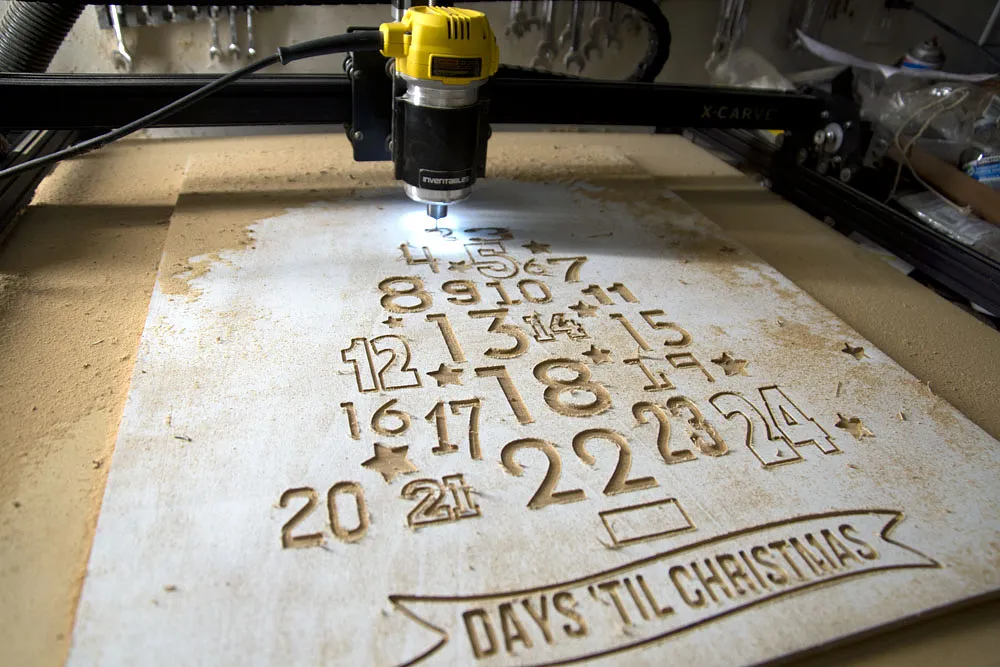
Carve
Secure plywood to the waseboard, paint side up. Open project in Easel (link at the top of these instructions). Follow instructions in Easel for Carving. Hit CARVE. Wait. If carve goes well then remove the wood from the wasteboard.
Estimated time: 30 minutes
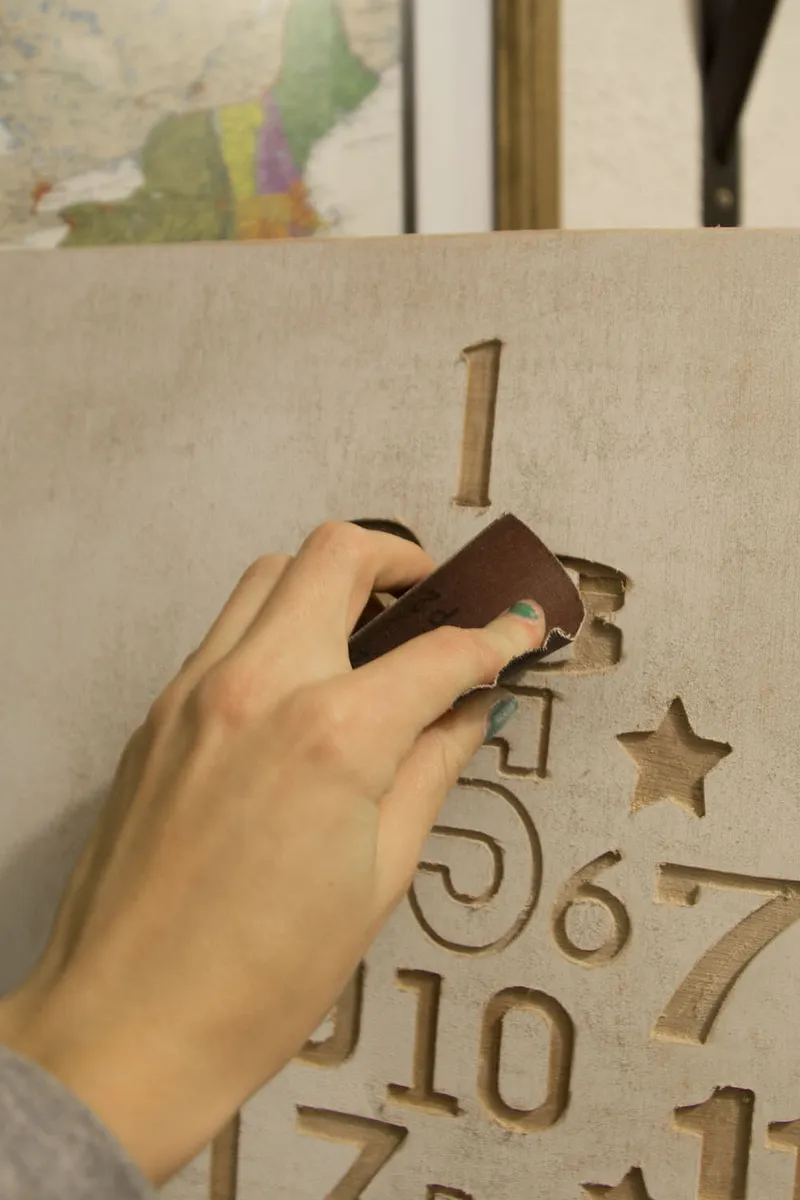
Sanding
The numbers will probably need a little sanding, I just used a small piece of sandpaper and some elbow grease. I was also going for a shabby chic look so I sanded the edges unevenly to add texture. My three year old also helped by waiting until my back was turned and mashing it with a meat tenderizing hammer.
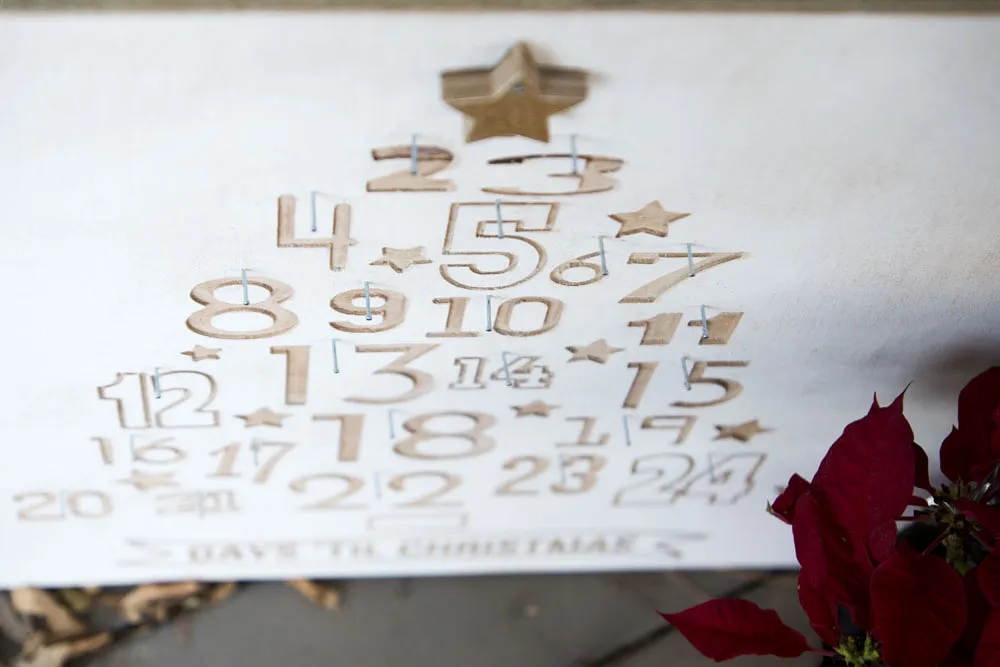
Nails/Hooks
To have a place to hang my ornament on I drilled piolet holes above each number and then hammering in penny nails.


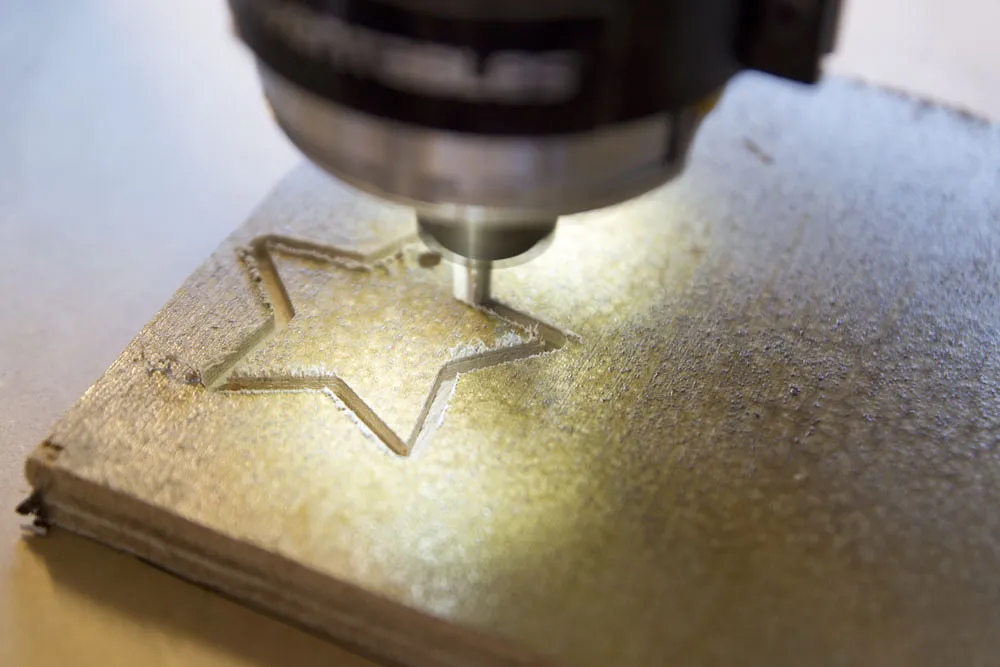
Ornament
I created a small star ornament, also 100% in Easel. However, you could really hang anything on it.
Strat by spray painting a leftover piece of plywood with gold paint. Carve and finish using same steps as above.
Here is the link to the star if want to use it- http://easel.inventables.com/projects/HYn9gMIuAB3NuTrM1ZV2Lw
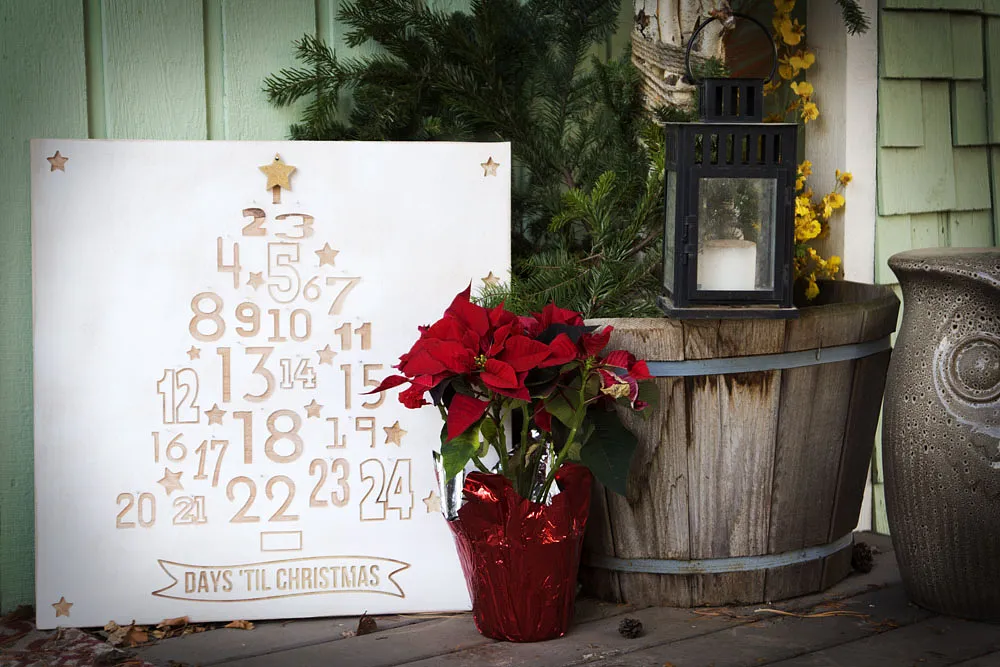
Display
I choose to put this on my front porch. However, you could easily drill holes and hang it indoors where you want a little extra holiday cheer!
Comments
I've just noticed, on the 3rd one I did, that the M in Christmas is missing one line when done with a 1/8" bit (I can see it in your pics too). If I use a 1/16" bit, the line is there. Playing with the bit size in Easel, anything from a 0.12" (5 thou smaller than a 1/8") down will make all lines.
Nate Lucier · September 30, 2017
Btw, I am using Melamine coated MDF (1/4"), both black and white, and they look really good. Have to use a downcut bit to not chip the melamine, but the carves are sharp. I replaced the pins on the front with small disc magnets, recessed into the back. The ornament will have a magnet.
Nate Lucier · September 30, 2017