MWP Y Axis Braces

Instructions
Heads Up
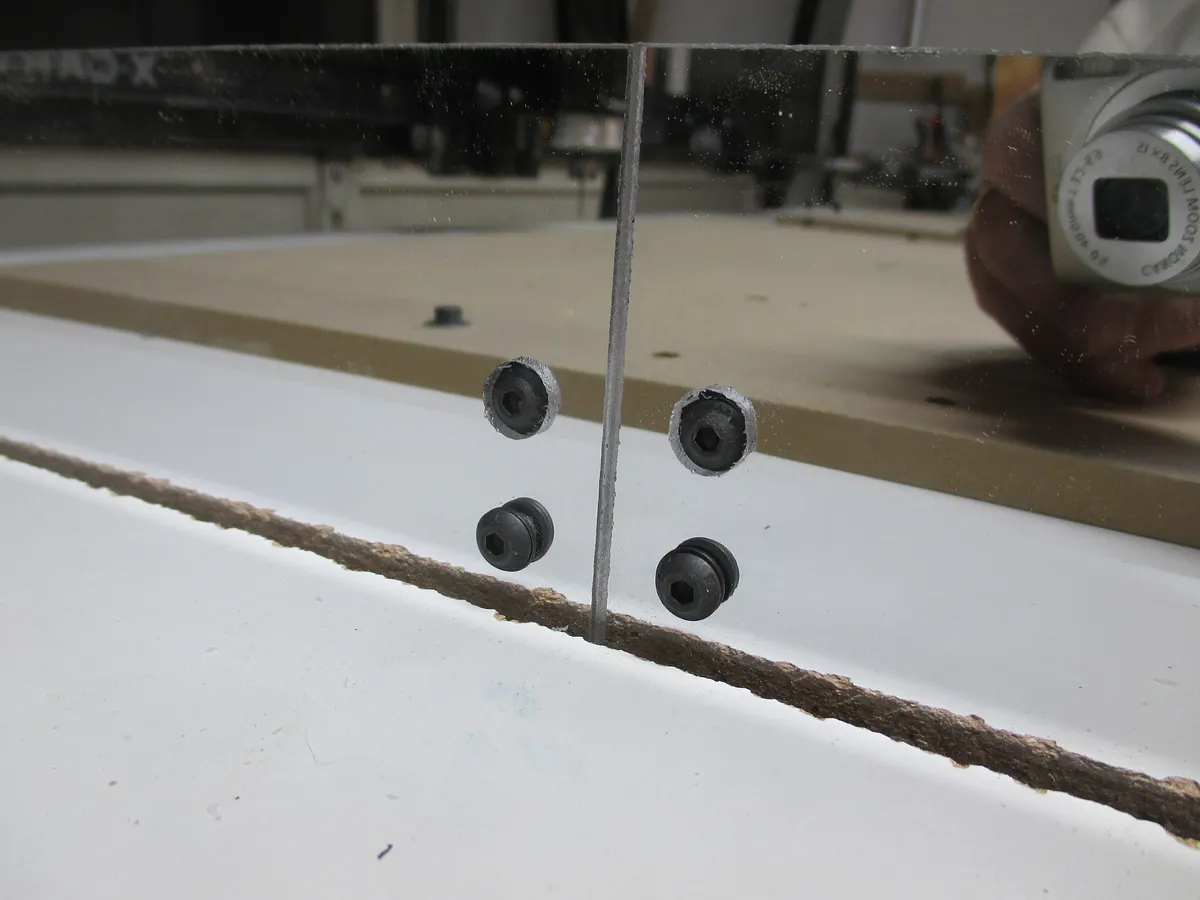
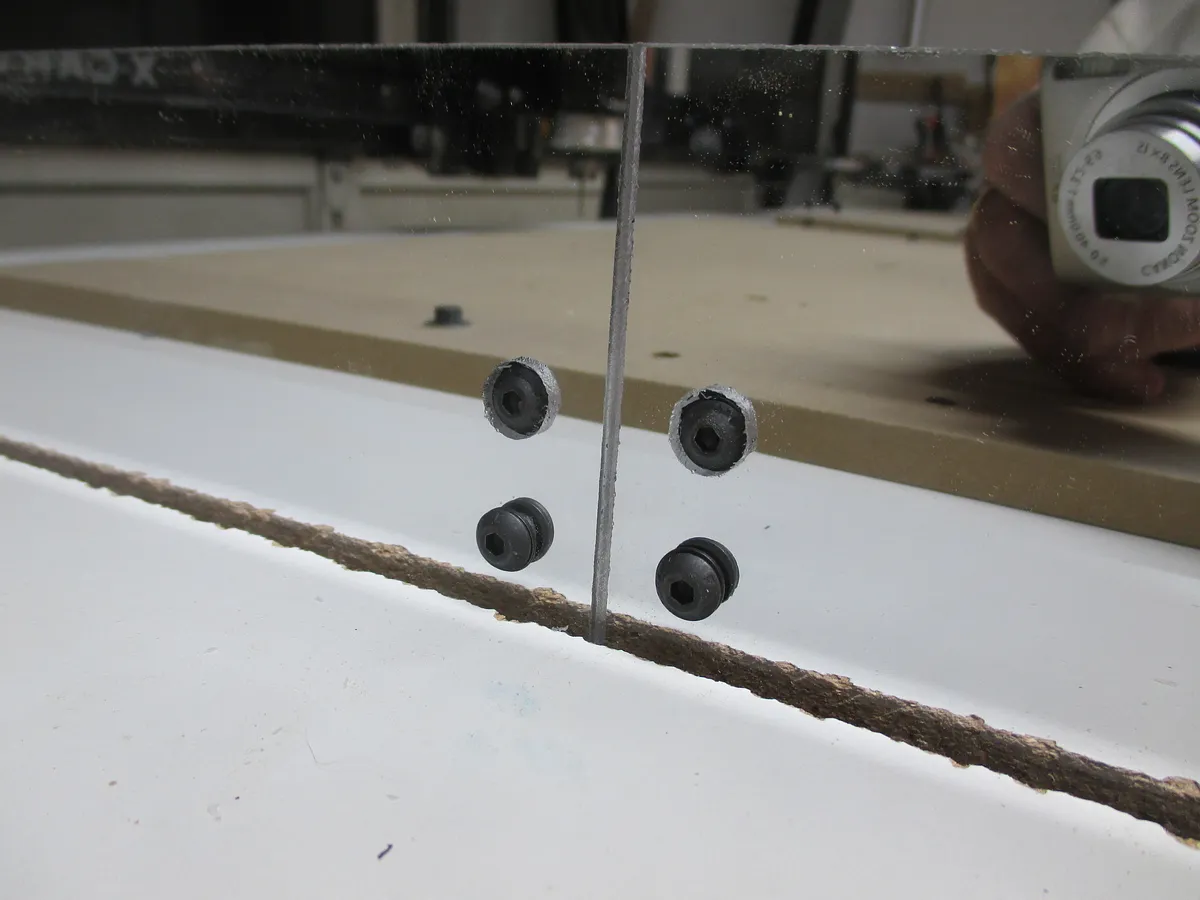
This project was designed to be used with the Y-Axis Dust Guard project ("Link":https://www.inventables.com/projects/mwp-y-axis-belt-dust-guards), which uses acrylic mirror ~1/8" thick. If you decide not to make the dust shields replace all 12mm M5 bolts with 10mm. If you decide to make dust guards with material significantly thinner or thicker than about 1/8", replace the 12mm bolts with shorter or longer bolts, respectively.
Estimated time: 1 minutes
Flatten Wasteboard
Since you are cutting aluminum, you will want a VERY flat wasteboard. Either flatten the wasteboard, or do like me and cut a .050" deep pocket slightly larger than the workpiece in a secondary wasteboard. I would recommend using a secondary wasteboard if you use the 2 flute upcut ball-end mill from Inventables since you will have to carve into the wasteboard to get flat edges.
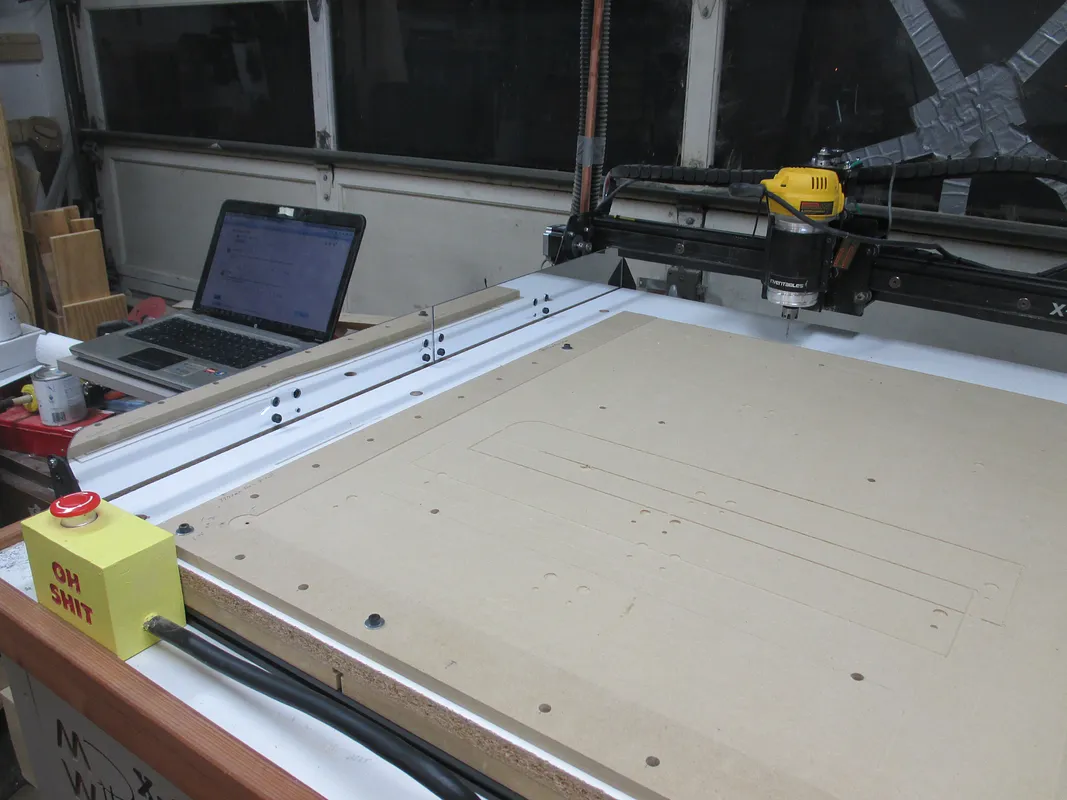
In the picture associated with this step, you will see the secondary wasteboard I used. It was cut 12-1/8" square with large circles cut in the corner to fit the corners of the aluminum.
Estimated time: 30 minutes
Cut the Braces
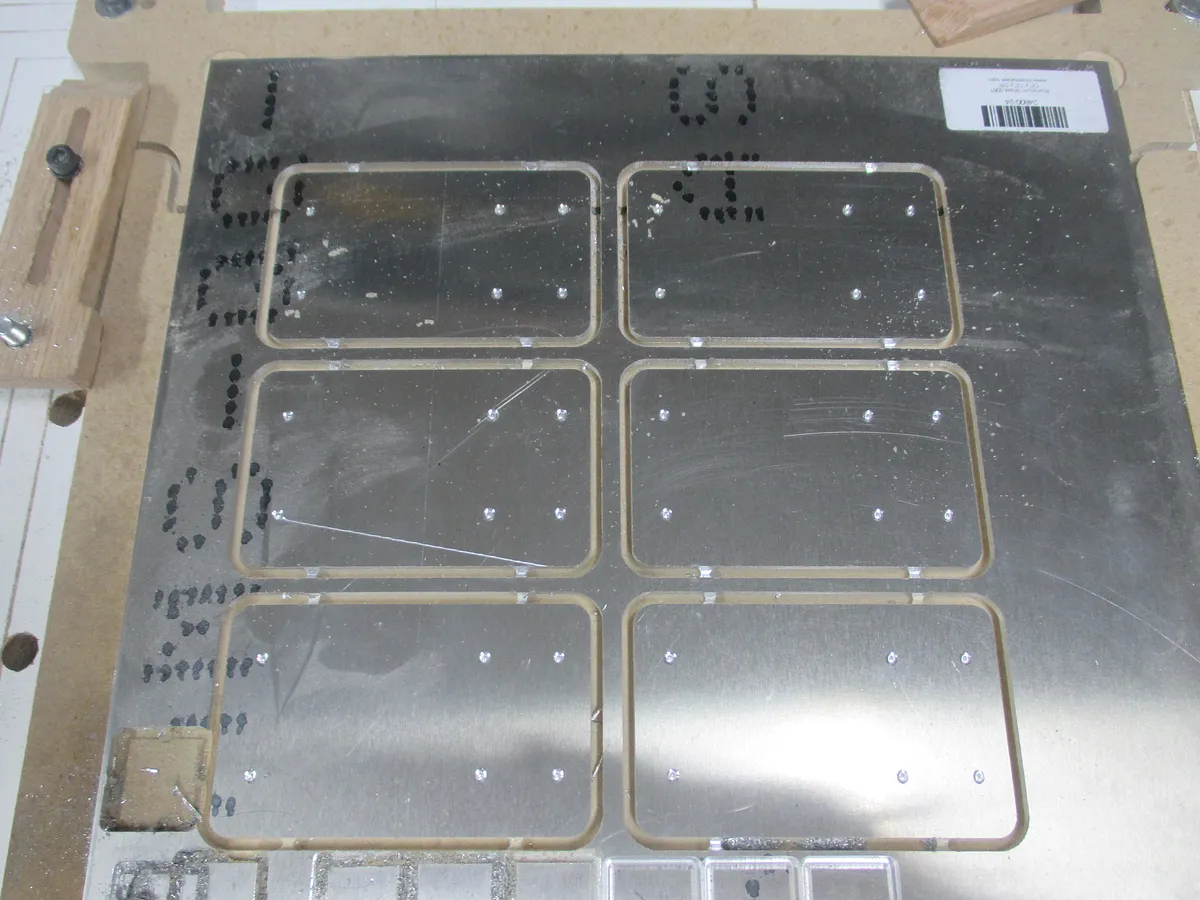
DO NOT ATTEMPT TO CUT ALUMINUM WITHOUT ENSURING YOUR MACHINE IS PROPERLY DIALED IN!
I have the Dewalt 611, and used these settings after doing feed/speed testing:
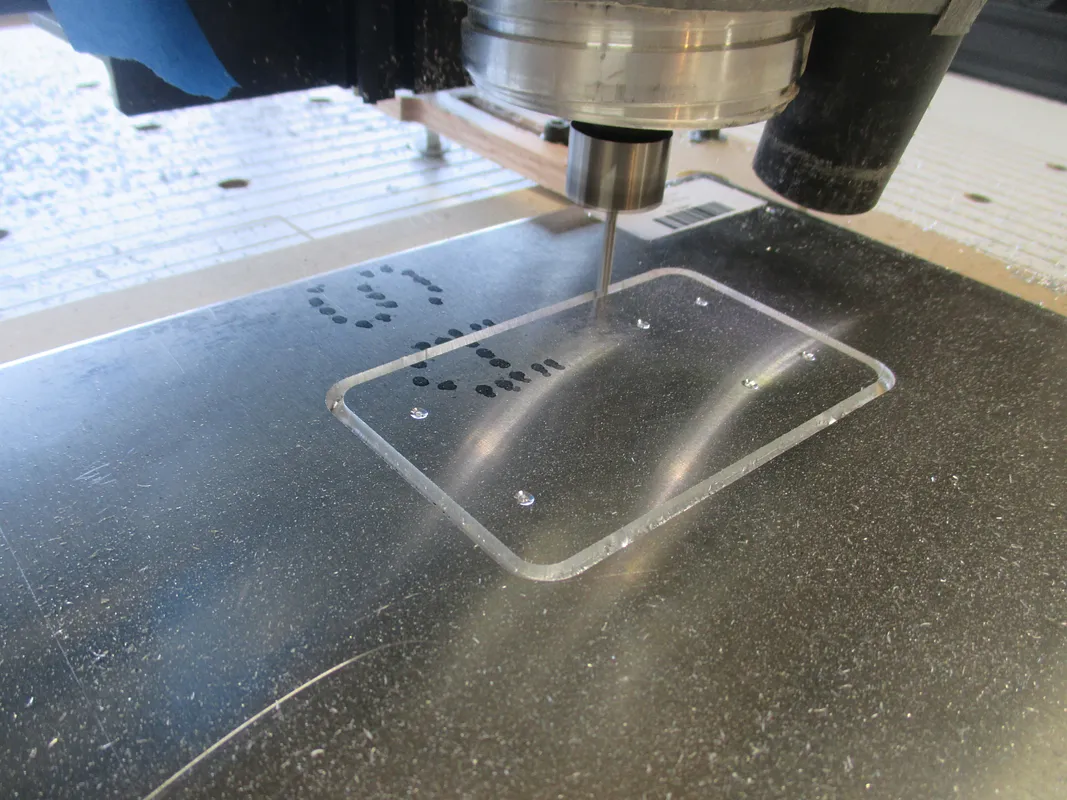
Bit: 2 flute upcut, ball end, standard from Inventables Dewalt 611 speed: 5 Depth of cut: 0.1 mm Feed rate: 800 mm per minute
The aluminum was best cut dry, any kind of lubricant caused the shavings to remain in the slot and messed up the edges.
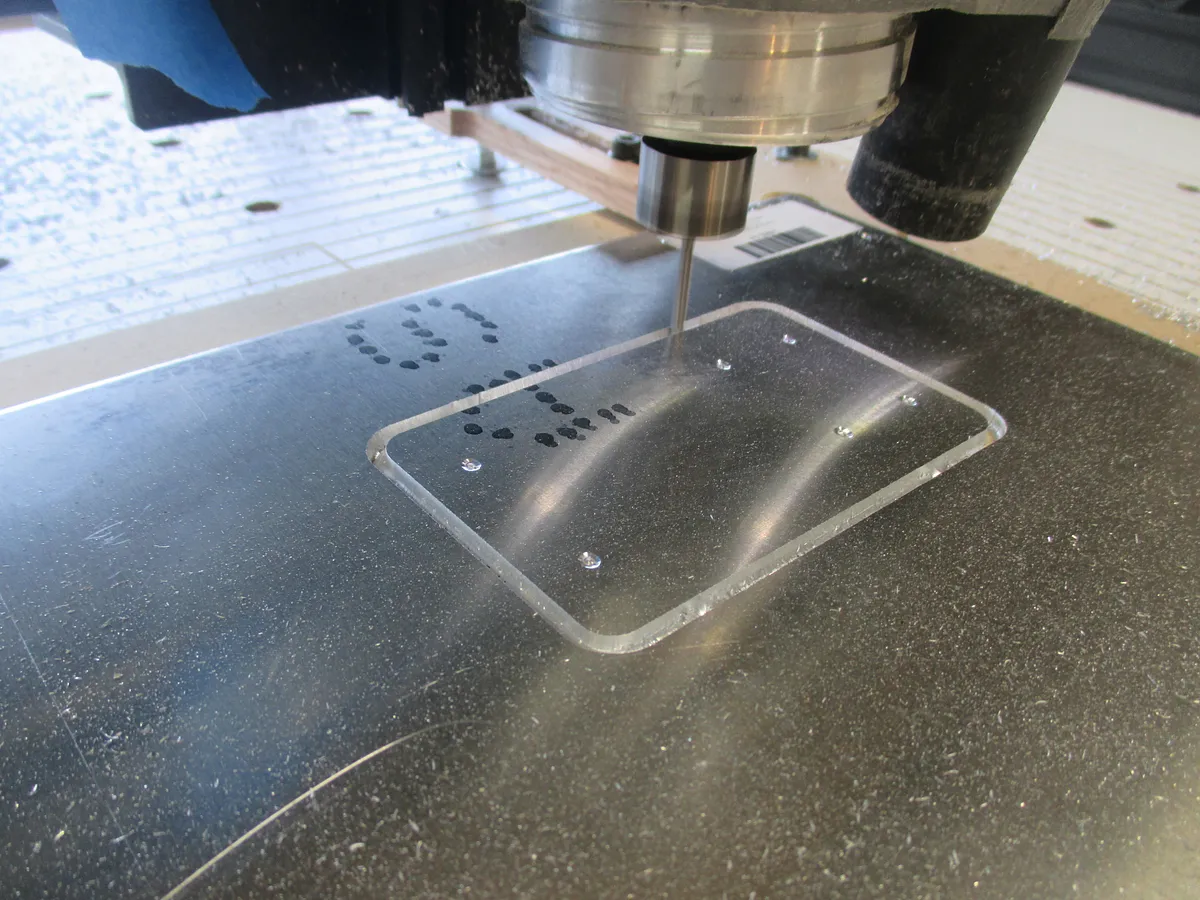
Since the holes were about the size of the bit, I chose to drill them using a hand drill. This file will only make dimples to help ensure the drill bit stays in position.
Estimated time: 90 minutes
Drill Holes in Braces
Using a 7/32" bit, drill through all 6 holes in the braces.
Clean Up and Paint Braces
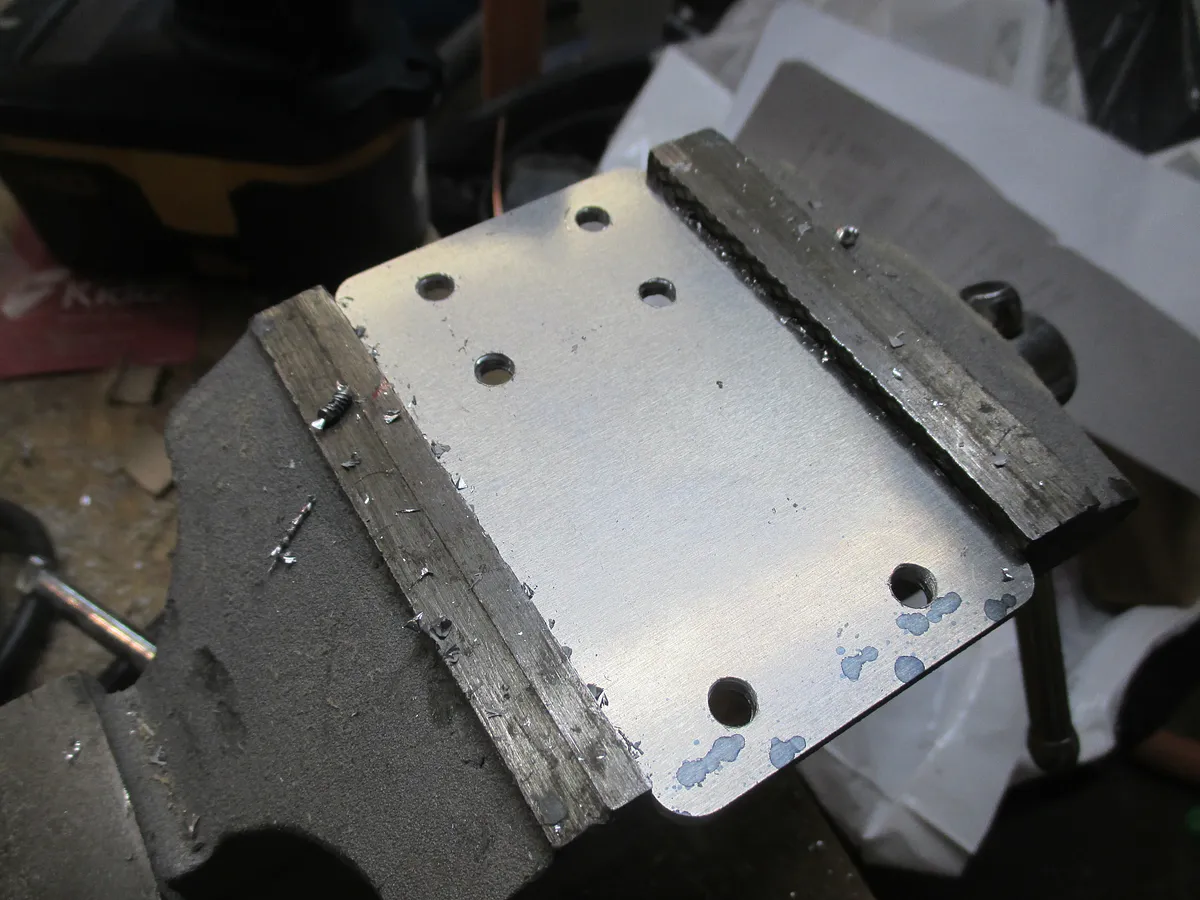
Use a file or countersink to clean up the edges of the holes. Then use a file or other method remove the tabs and slightly round the edges of the aluminum so you don't cut yourself.
Before painting, soak the braces in soapy water and scrub well to remove any oils or residual chemicals. Then spray paint with your desired color. I chose gloss black to match the machine.
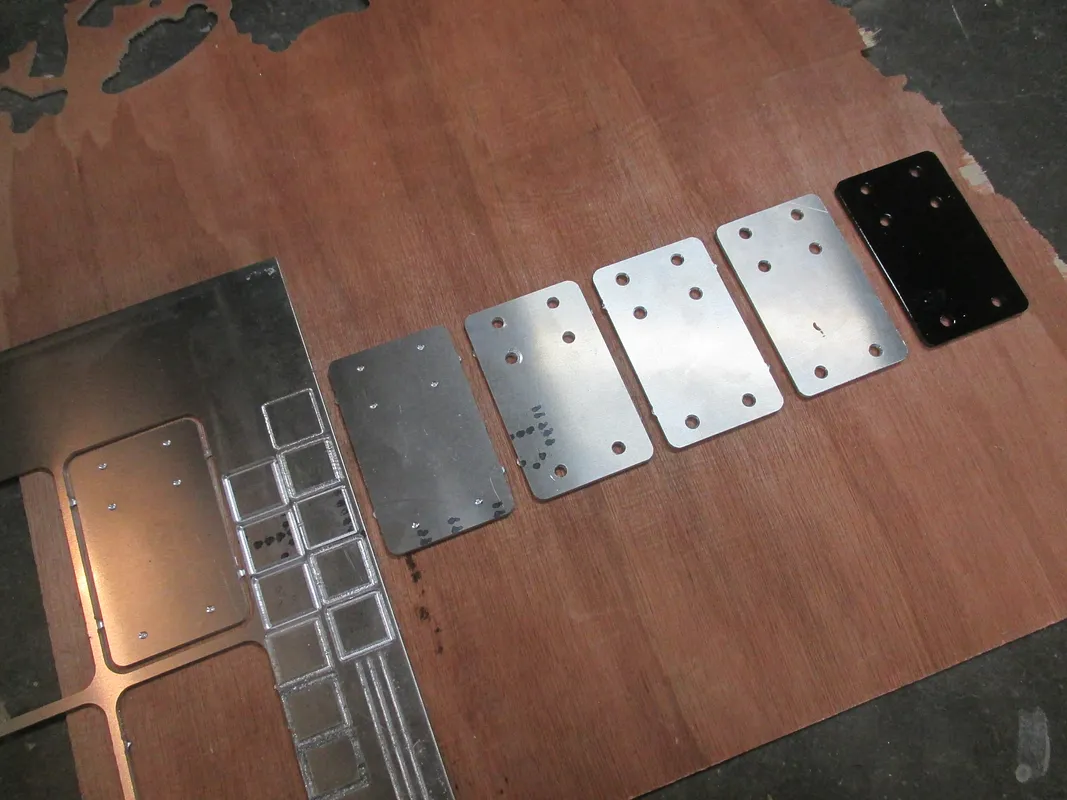
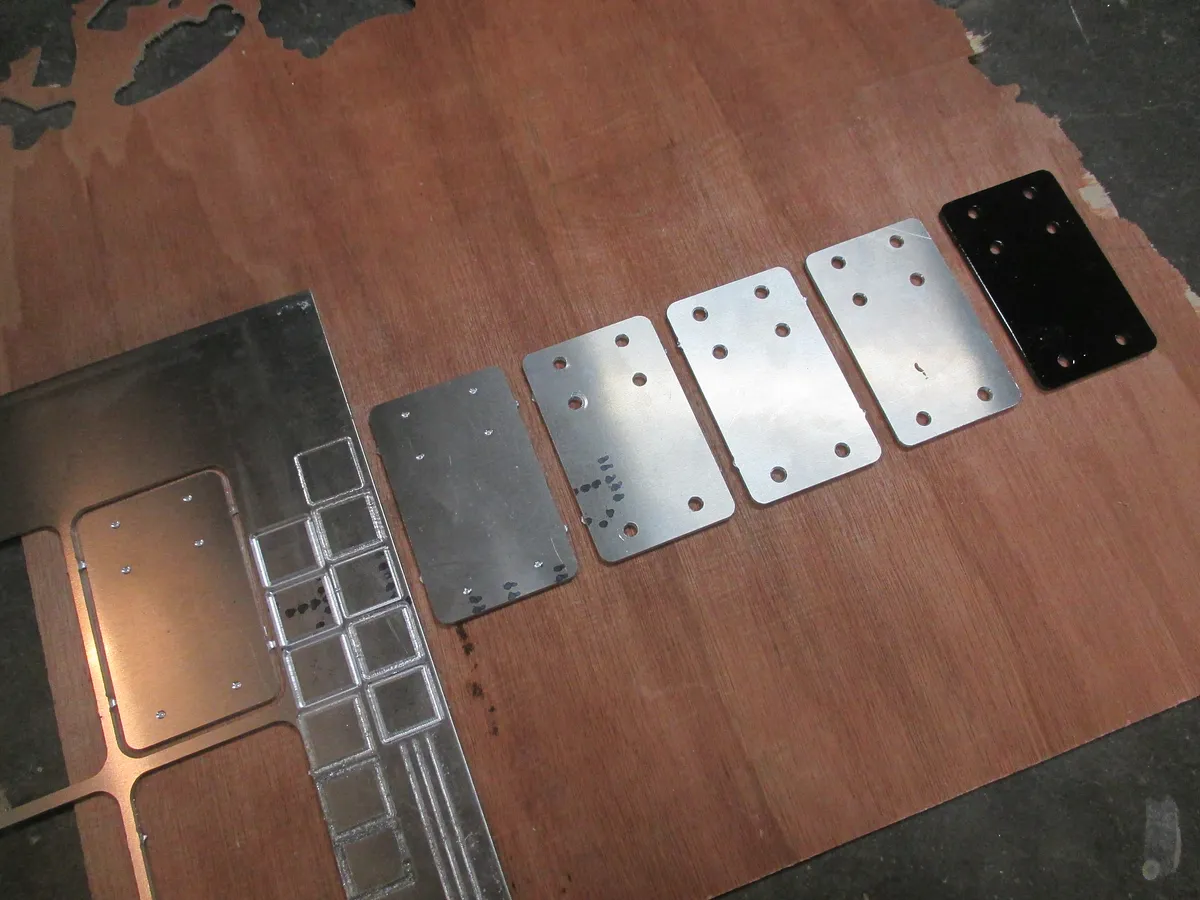
The picture associated with this step shows the following braces (shown left to right): 1: Cut, still in sheet 2: Removed from sheet 3: Holes drilled 4: Countersink used on holes 5: Tabs removed and edges rounded 6: Painted
Estimated time: 60 minutes
Install Braces
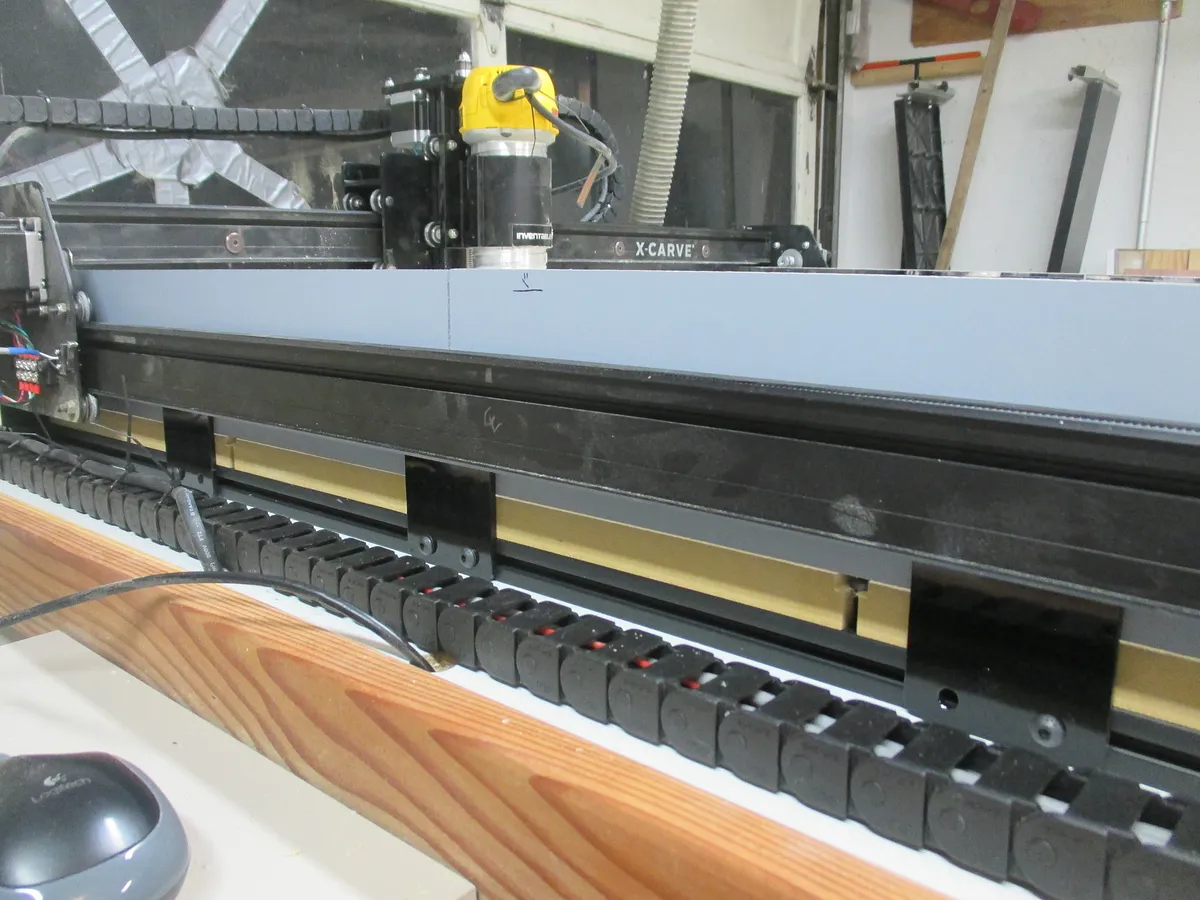
Remove one makerslide end plate on one Y-axis makerslide and insert 6 t-slot nuts into each slot on the inside of the makerslide. Then insert 6 t-nuts into the outside-facing slot on the bottom piece of extrusion. (I ended up drilling a hole to allow me to insert the t-nuts in the bottom piece instead of taking it all apart).
Use washers and 10mm bolts to connect the braces through the bottom and top holes in the braces. The center set of holes is designed to hold the dust guards ("Link":https://www.inventables.com/projects/mwp-y-axis-belt-dust-guards). If you aren't going to use the dust guards, use washers and 10mm bolts in the center holes.
Repeat for the other Y-axis makerslide.
Estimated time: 60 minutes
Make Something
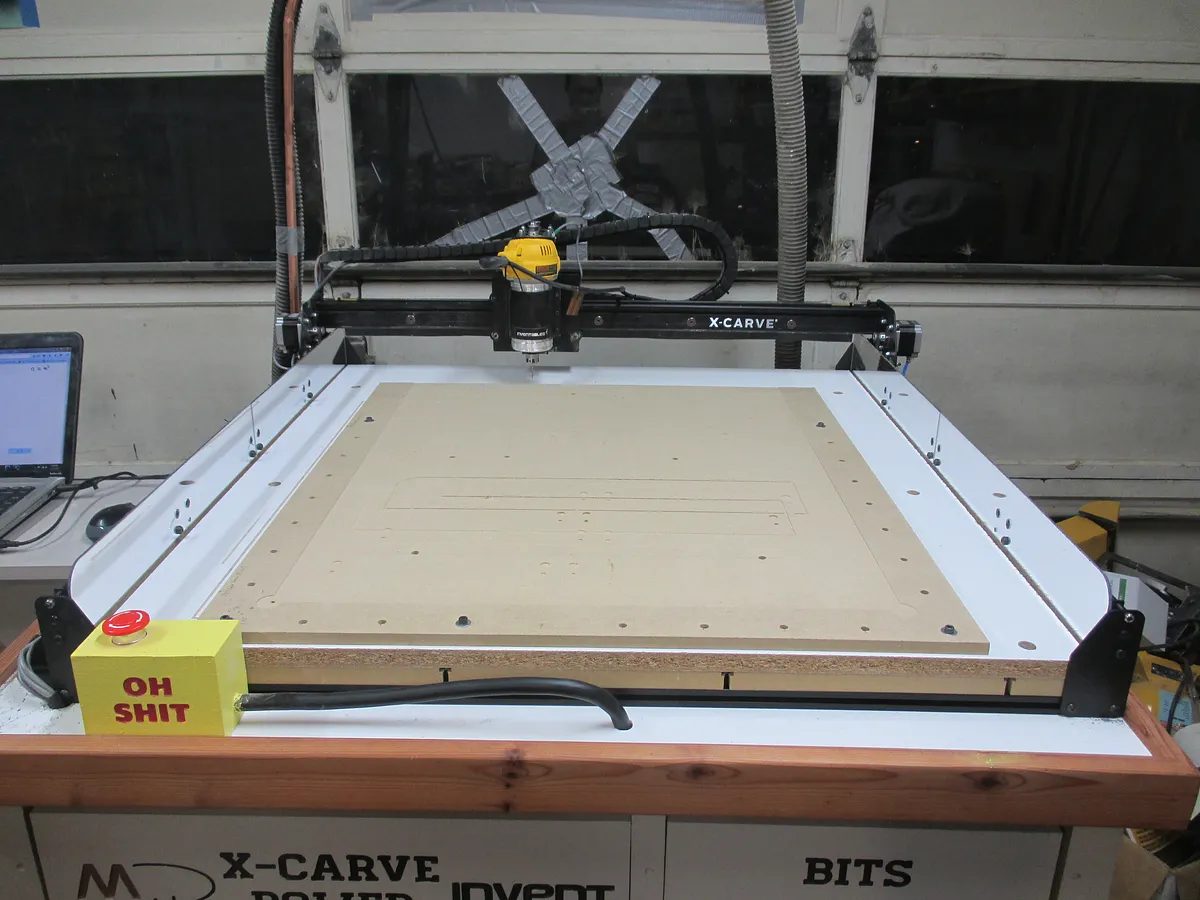
Your Y-axis is now significantly stiffer and better supported. Go make something and enjoy the increased accuracy and decreased chatter. A good project would be the dust guards ("Link":https://www.inventables.com/projects/mwp-y-axis-belt-dust-guards).
Estimated time: 1 minutes
Comments
1. If I insert the Post Assemby Nuts before mounting everything (my machine is not mounted yet), after I cut the braces, no un-assembly should be required no? 2. If I have a bit for metals, that is smaller or equal than 5MM I could instruct easel to cut the holes for me as well no ?
Martin · March 19, 2016
And Thanks! :) (Because of the Limit of 300 characters, I coudn't say it before!)
Martin · March 19, 2016
Glad you like it! There's no reason you can't insert the T-nuts during assembly, just recognize that they may rattle a bit until they're used. And you can definitely use a bit to cut the holes, I just found it was faster to drill them out by hand.
Robert Rieke · March 19, 2016
Hello Robert, do you have a cad files of your braces? Alex
Alex Felicioni · June 24, 2016
What are MWP belt dust guards?
Jay Johnson · October 16, 2016
Robert this is fantastic thank you for setting it up! QQ I tried to carve a test square (as it appears you did) and the feed speeds were way to fast. Is 800mm per min the speed you used... it seems really fast. Wanted to check I am using a 611 set on speed 5, I thought I would confirm.
Alexander McClure · November 02, 2016
Almost done making mine (but went with clear acrylic dust shields) Great addition to my setup! Thanks.
Geno Nemetz · March 04, 2017
Could the dust shields and the stiffening brackets be made from 1 piece of aluminium? Is there a reason for having it as several parts? Thanks
Ewan Cowan · March 07, 2017
Alex: Sorry, only the Easel file. Jay: MWP stands for Manhattan Wood Project, my company. Alexander: I used 800 mm/min on 5, but you'd need to test for the best F/S. Geno: Thanks!
Robert Rieke · March 08, 2017
Ewan: They can be 1 piece, I just did 2 parts since I wanted to be able to remove the shields without messing with the bracing. Also a lot faster to cut acrylic than big chunks of aluminum.
Robert Rieke · March 08, 2017
Is this also raising the Y axis? Nice project!
James NelsonPro · October 24, 2018
Hi James, this did not raise the Y axis. There’s no reason why you couldn’t do that though, you would just need to buy or make taller end plates to match the change in height.
Robert Rieke · October 25, 2018