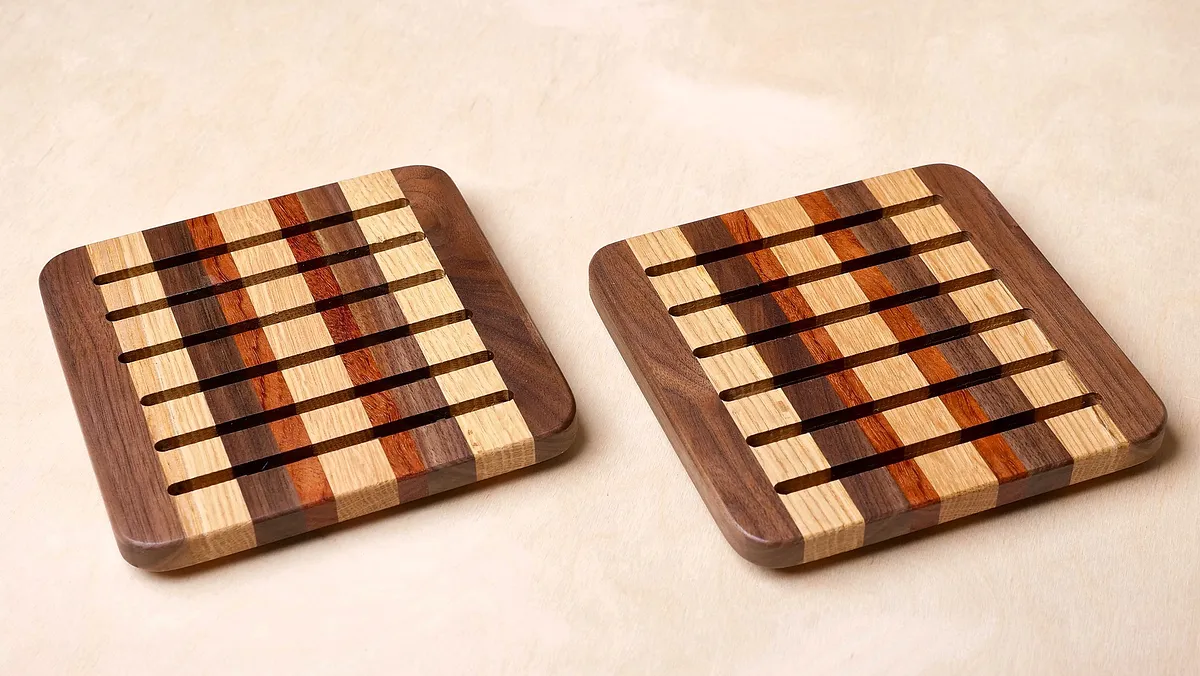
DIY Scrap Wood Trivet

Instructions
Gather Tools & Materials
Tools Used On The DIY Scrap Wood Trivets:
"Woodpeckers Router Lift, 1281 Square & Setup Blocks":http://bit.ly/woodpeckersinc "Inventables X-Carve CNC":http://bit.ly/xcarvecrafted "Powermatic 15HH 15-Inch Planer":http://bit.ly/Powermatic15HH "Parallel Clamps":http://amzn.to/2zgQtdS "Rockler Bench Cookies":https://amzn.to/2qp8c02 "Random Orbit Sander":http://amzn.to/2GqSRn3 "¼ in Upcut Spiral Bit":https://amzn.to/2LGmcfw "1/8 in Radius Roundover Bit":https://amzn.to/2H0PEJP "Oscillating Belt Sander":https://amzn.to/2skdpb9
Materials Used On The DIY Scrap Wood Trivets:
"Wood Glue":https://amzn.to/2JjevxF "Wipe On Poly":https://amzn.to/2xs2yB5
Create Trivet Blank & Run Easel File On One Side
I ran the Easel file on one side first, then flipped the trivet over and rotated it 90 degrees.
Run Easel File On Second Side Then Run Outline Operation
Run the Easel file again on the second side, then run the outline file : http://easel.inventables.com/projects/npTPeENu895Gl2an-lL23g
Roundover Edges, Sand & Finish
After the X-Carve is done, all that's left to do is finishing. I rounded over my edges, did some sanding, and applied a few coats of polyurethane.
Comments