Infinity Fidget Cube

Instructions
Prepare your workpiece
Start with a 1"x1"x11" piece of wood.
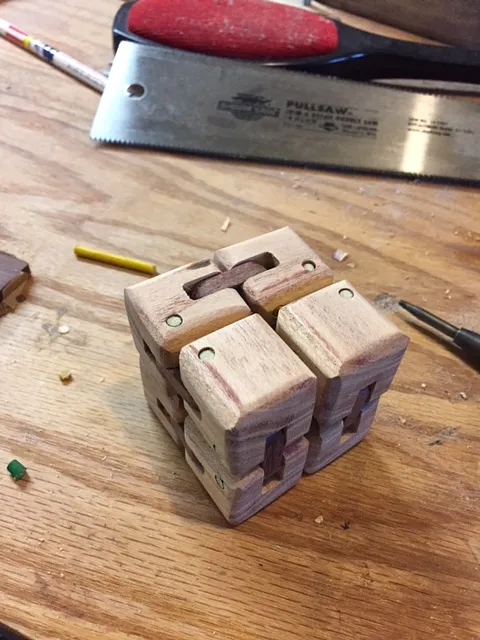
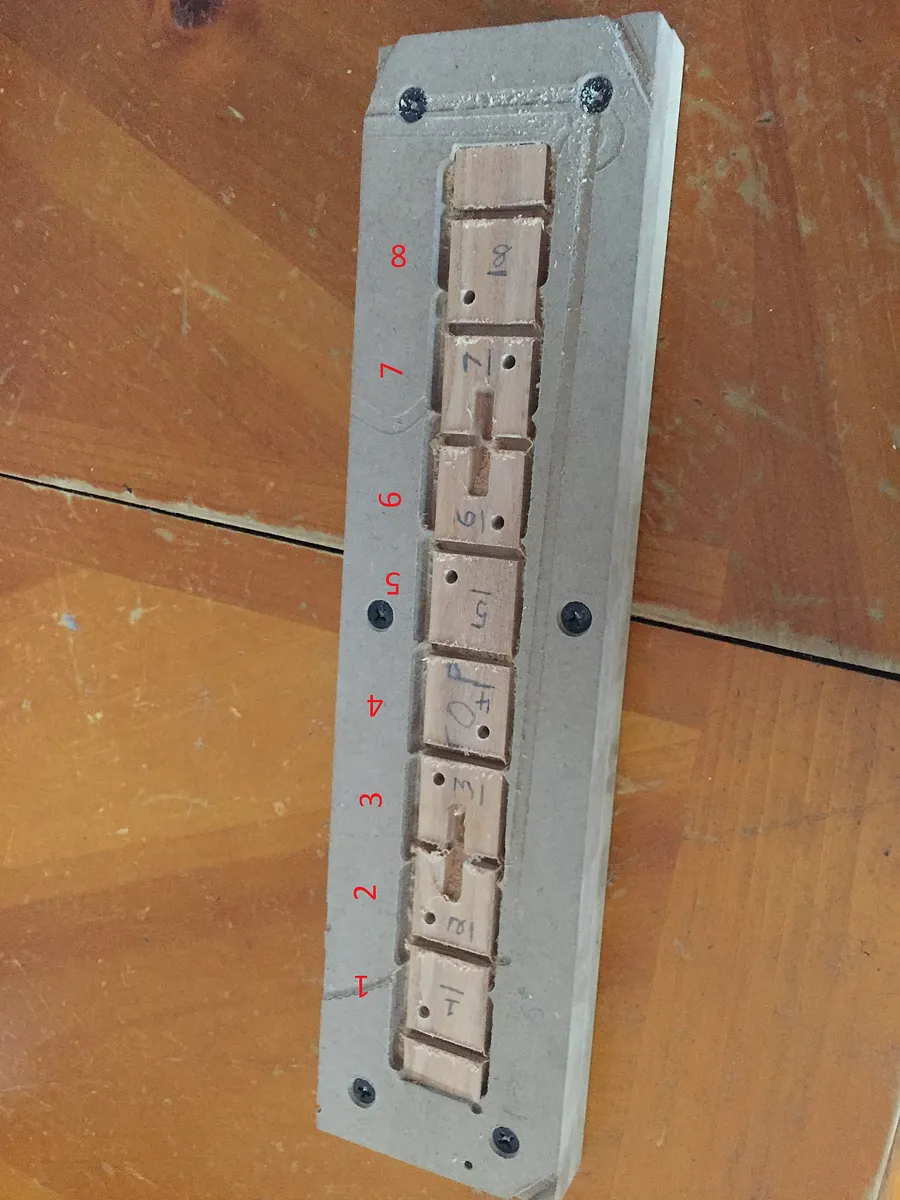
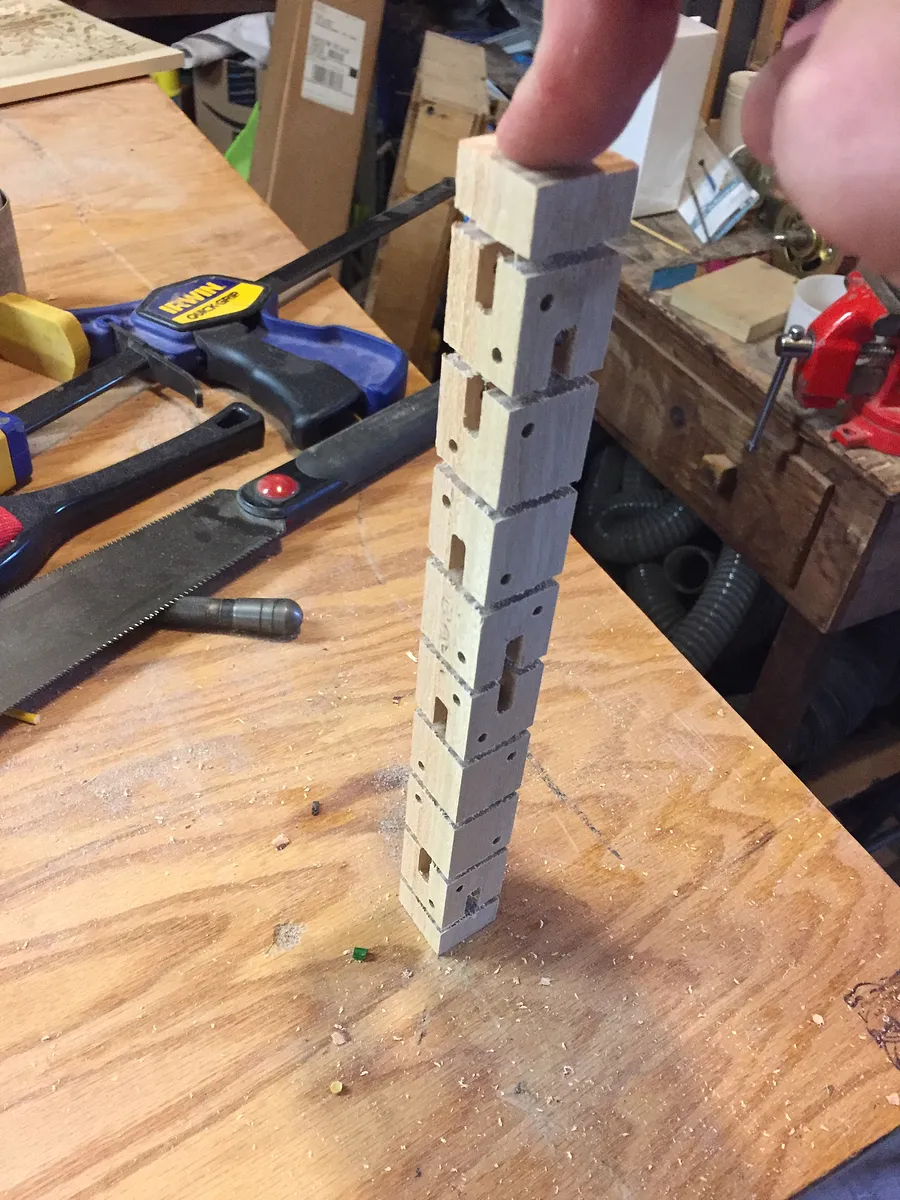
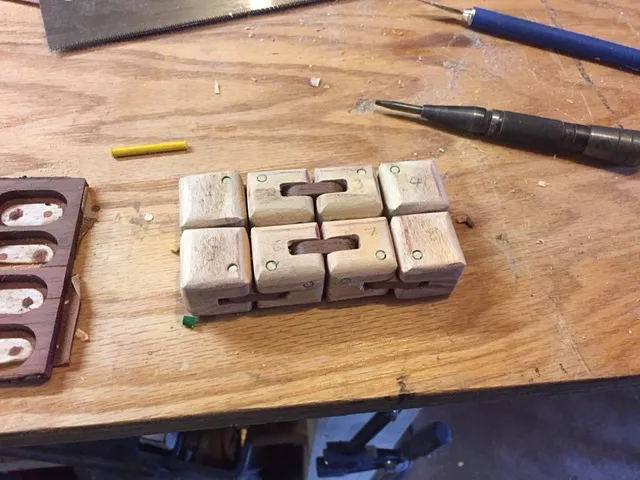
From this piece of wood, we will cut out 8 little 1" cubes (see pic 1) which have slots for the hinges and holes for the dowels.
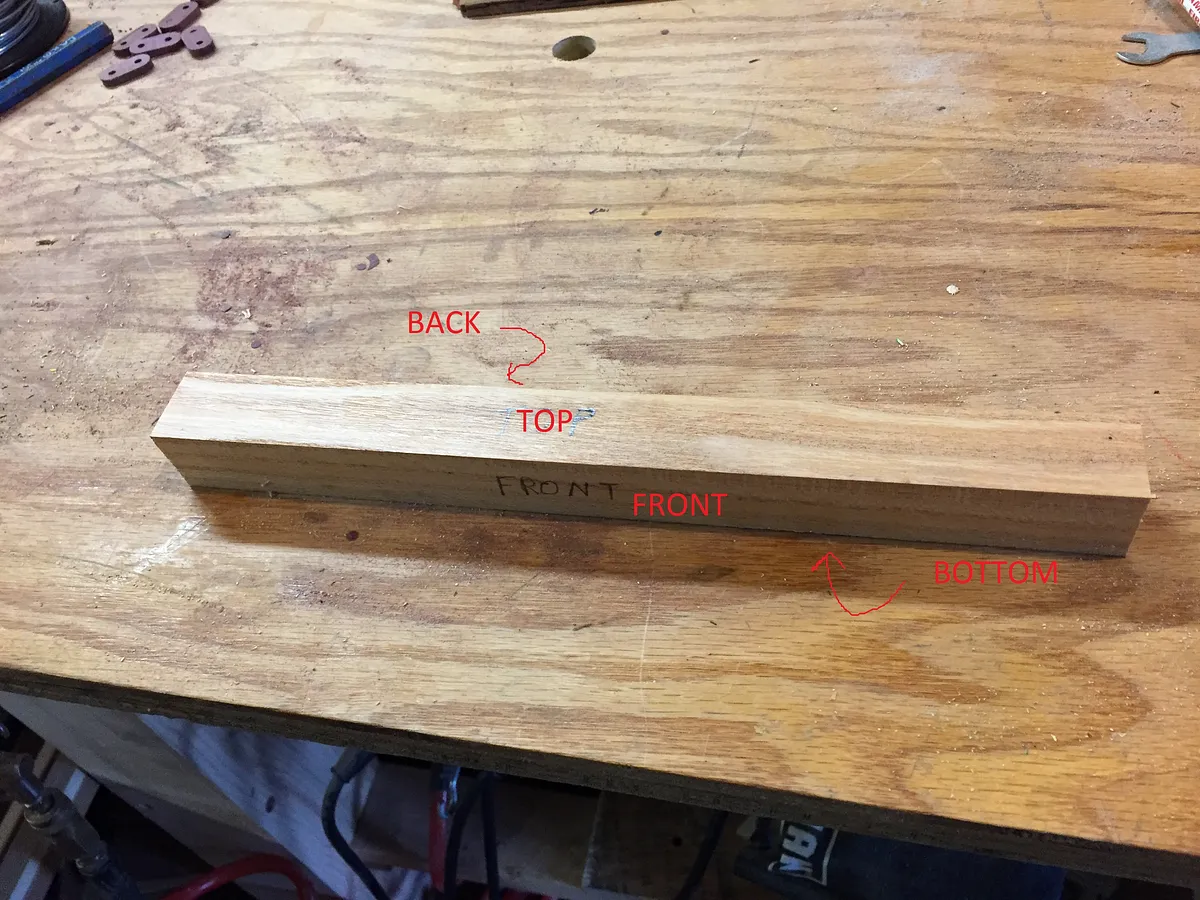
Label each long-side of this piece as "TOP", "BOTTOM", "FRONT", "BACK" as shown in the picture.
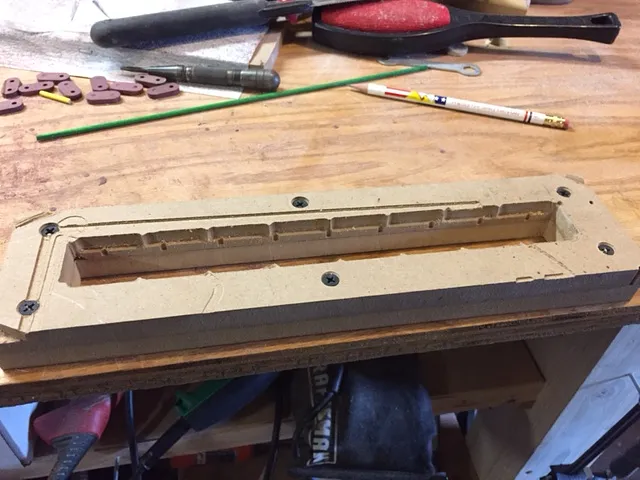
OPTIONAL: I found it difficult to adequately tape or even directly clamp the wood, so I built a jig to hold it in place (see pics).
Estimated time: 2 minutes
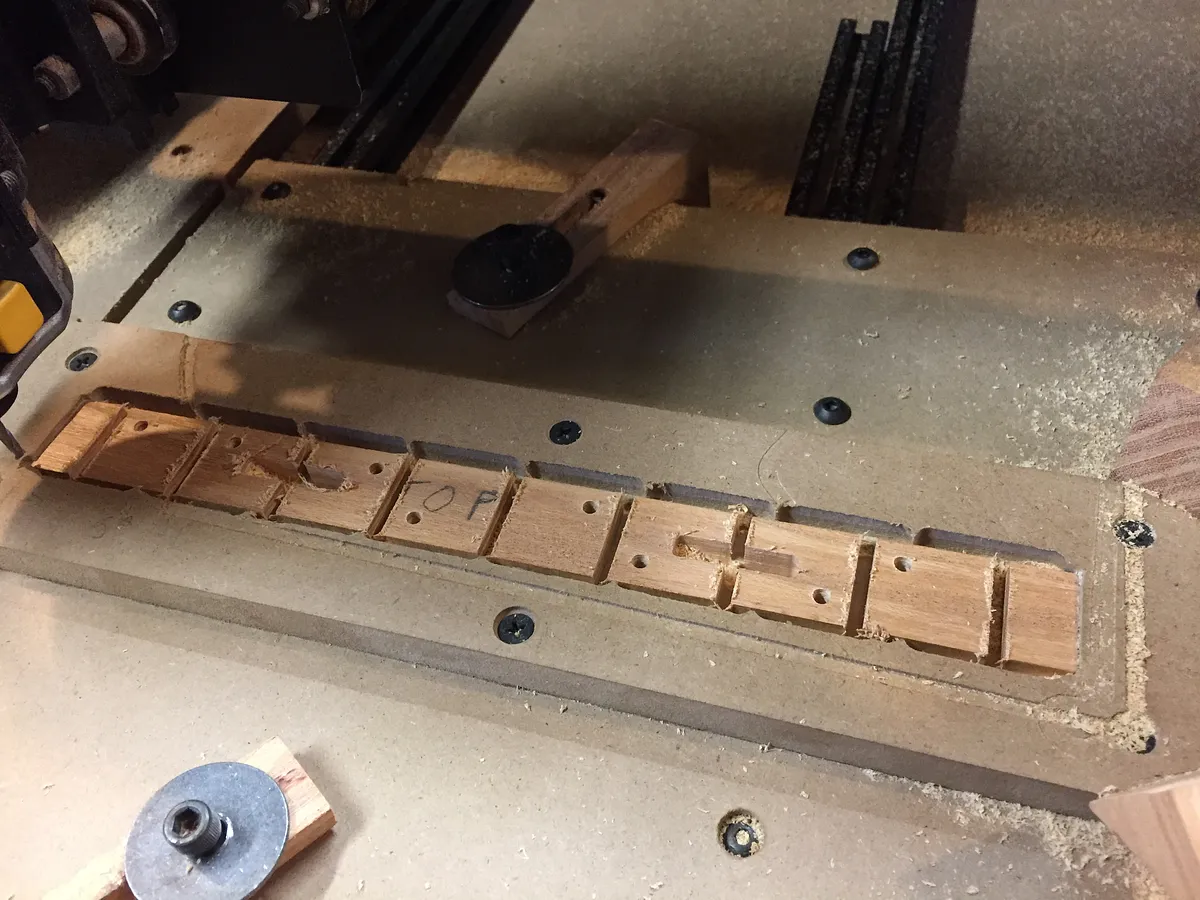
Cut the "TOP"
Carve the "TOP" of the workpiece using the workspace labeled "TOP". When the carve is finished, label each cube as pictured - taking special note of the rotation.
Estimated time: 8 minutes
Cut the other three sides.
After rotating the workpiece appropriately, cut the "BOTTOM", "FRONT" and "BACK" sides.
Estimated time: 80 minutes
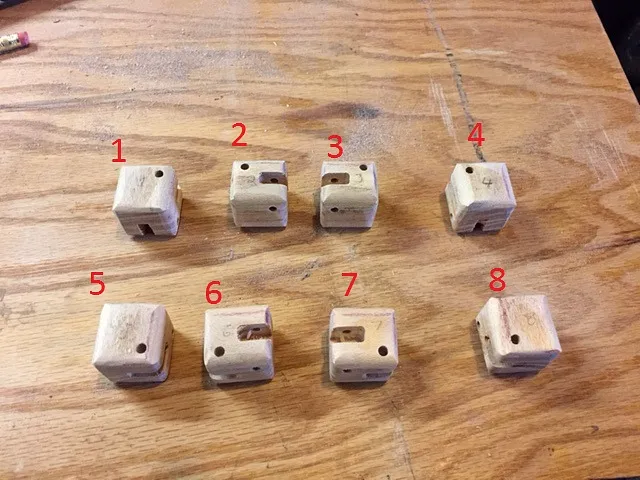
Cut and sand the cubes.
Cut apart the cubes using a saw of your choice.
Sand each edge of each cube so that it has an (approximate) 1/4" radius.

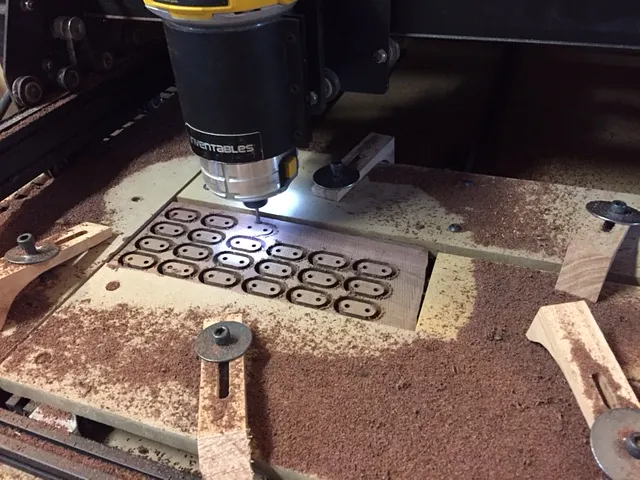
Cut out the hinges.
Cut out the hinges from the fifth workspace in the Easel project.
NOTE: You only need 8 of these joints, but if you plan on making more than one of these toys, you can save time by cutting more of them at the same time.
Estimated time: 25 minutes
Sand the hinges to fit in the slots on the cube.
Take 8 hinges and sand them so that they fit inside the slots on a cube. They should be loose, but no room for wobble.
Estimated time: 5 minutes
Assemble the cube.
Keep the cubes arranged as in the picture.
Use a 1/8" dowel, assemble the cube by pushing it through holes in the cubes and the hinges, cutting it off and sanding it flush on each side.
Combine the cubes at their hindes in the following order:
1+2 3+4 5+6 7+8 2+3 6+7 1+5 4+8
That's it!
Comments
Ver y cool design. What size bit did you use?
charles gravinaPro · September 29, 2017
In the Easel project, it is setup for a 1/8" endmill.
Dave Andrews · September 29, 2017
I have made a ton of these on 3d printer. It so cool that some one had the ability to make it on the CNC. I cant wait to make it.
PhillipPro · March 23, 2026