Wine Cork Holder

Instructions
Intro
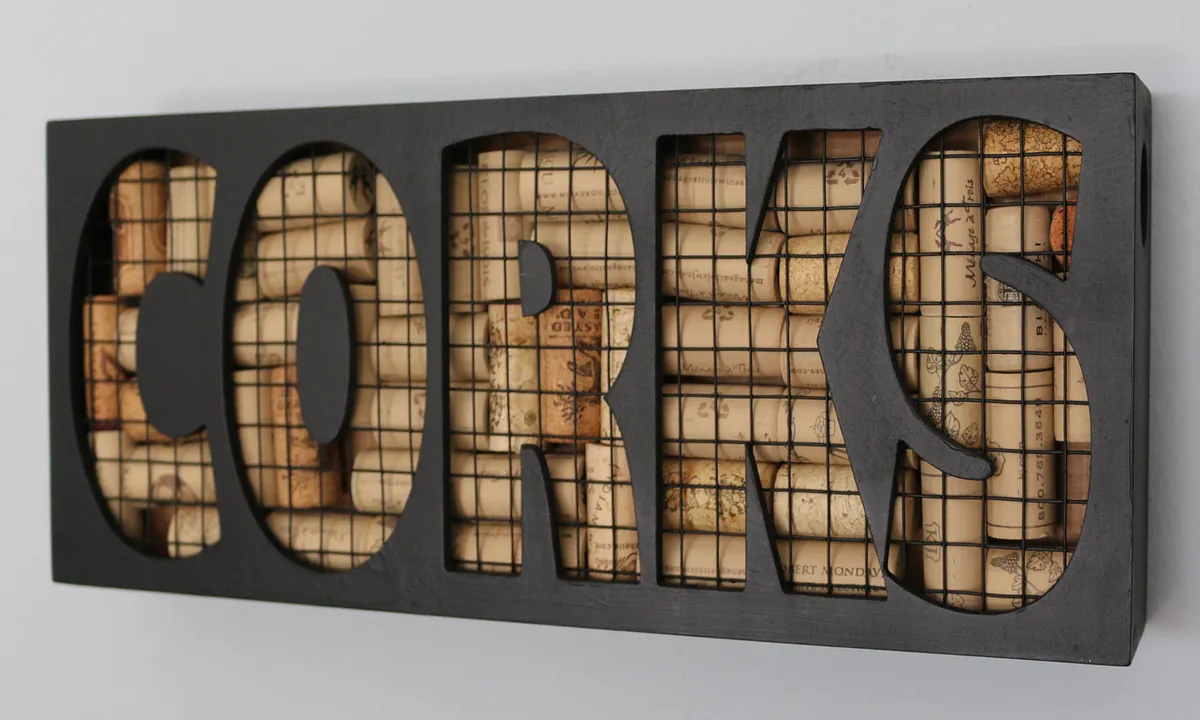
How to make a Wine Cork Holder. Made from 1/4" MDF and painted a flat black. The dimensions of this project are 16" x 6" x 2.5".
Cutting the Material
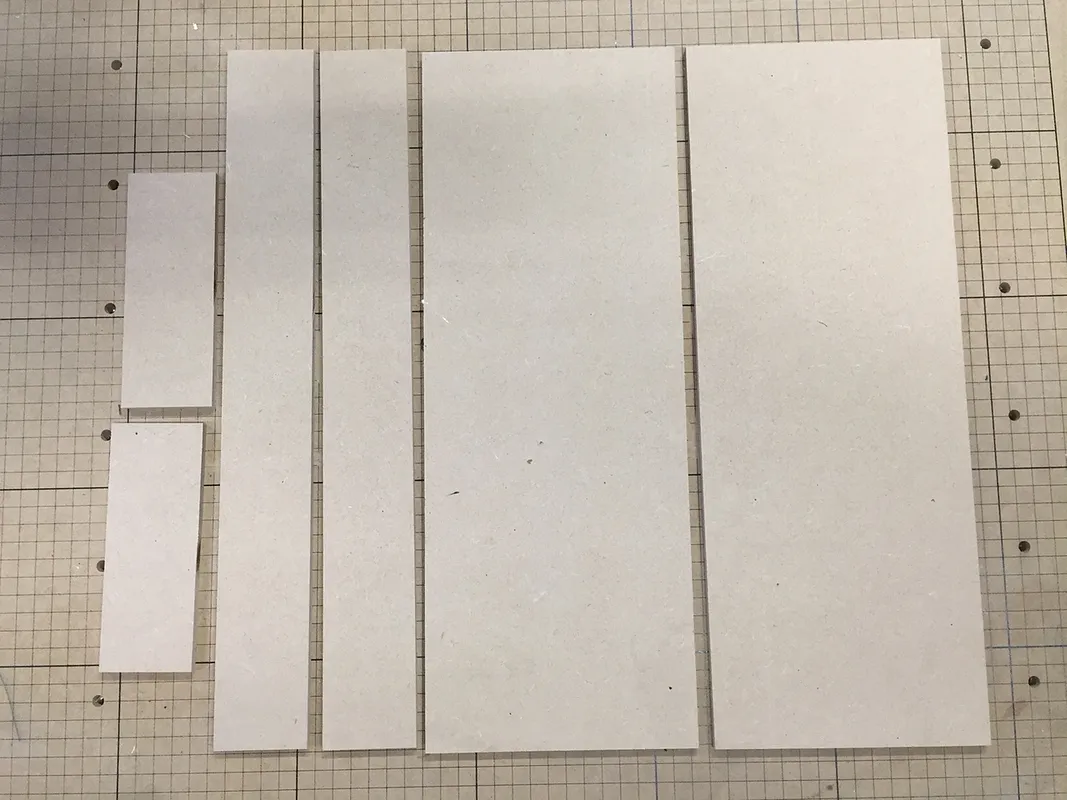
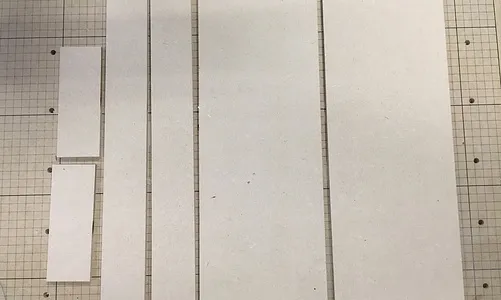
Using 1/4" MDF, you will need to cut the following pieces:
2 @ 6" x 16" 2 @ 2" x 16" 2 @ 2" x 5.5"
Estimated time: 2 minutes
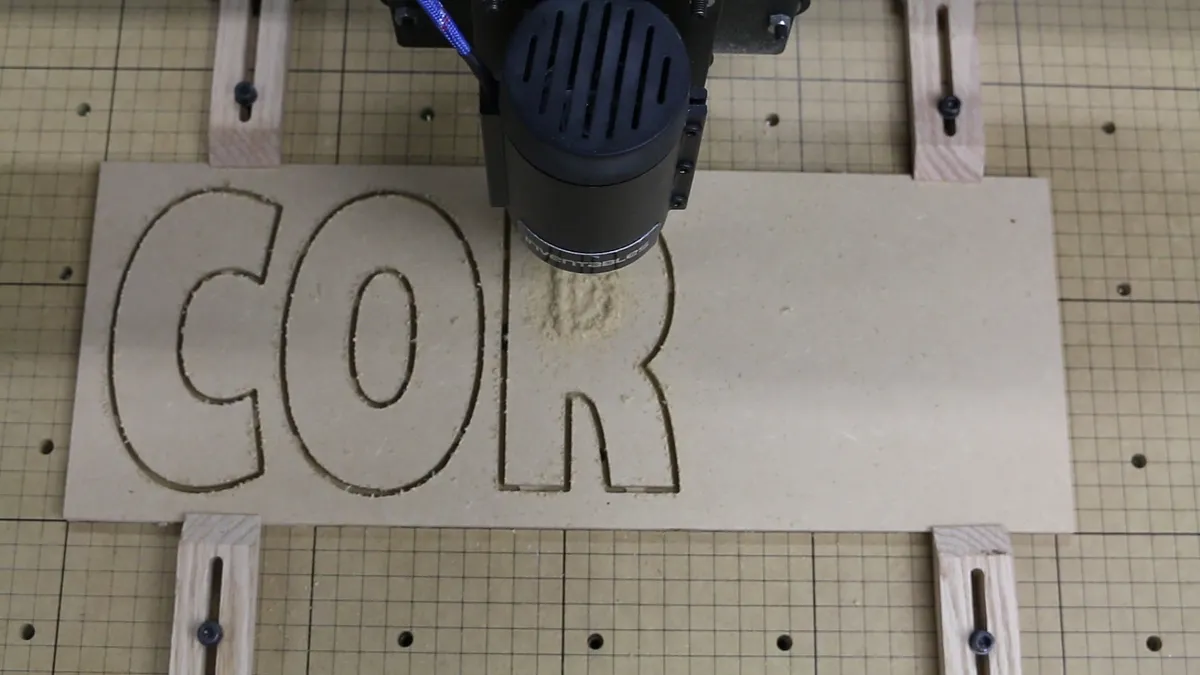
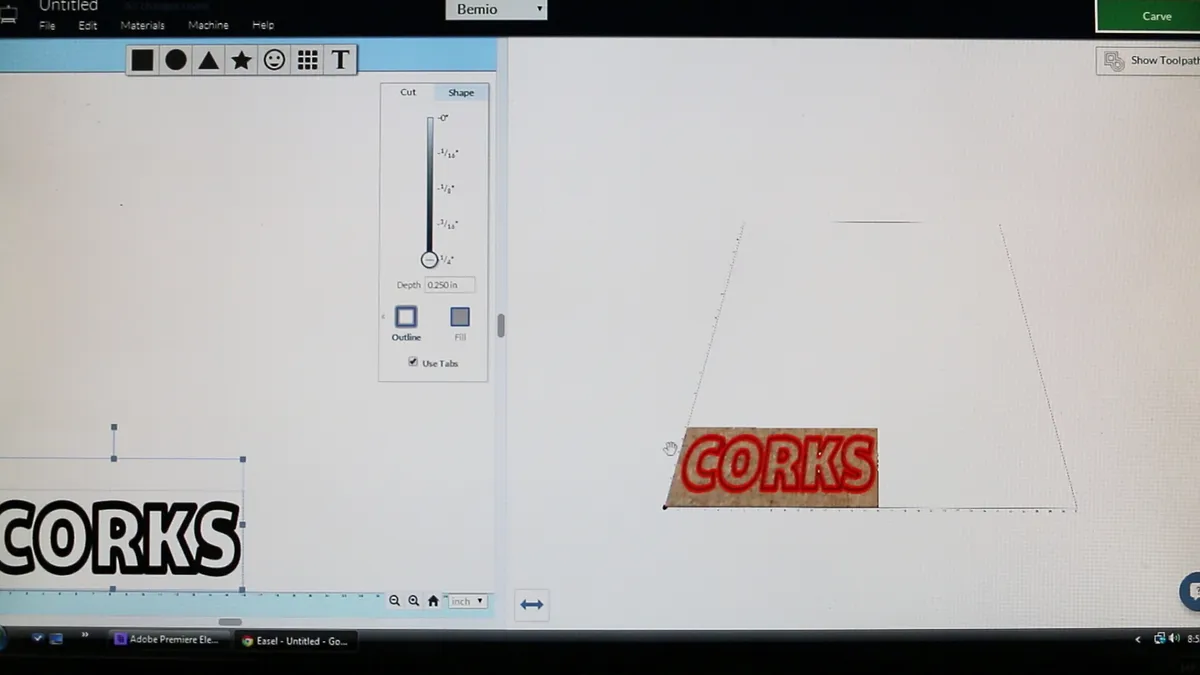
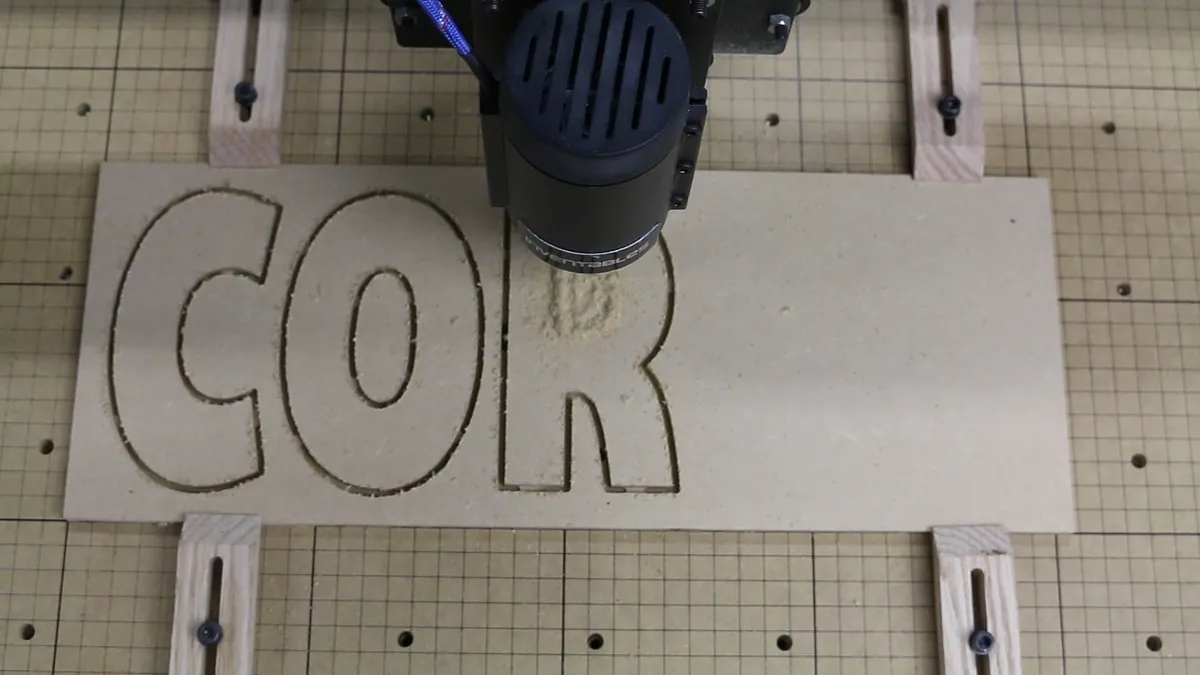
Load CORKS in Easel
I used a Spiral Up Cut, Single Flute End Mill, 1/8" cutting dia. Loaded up CORKS and send it to the X-Carve.
Estimated time: 1 minutes
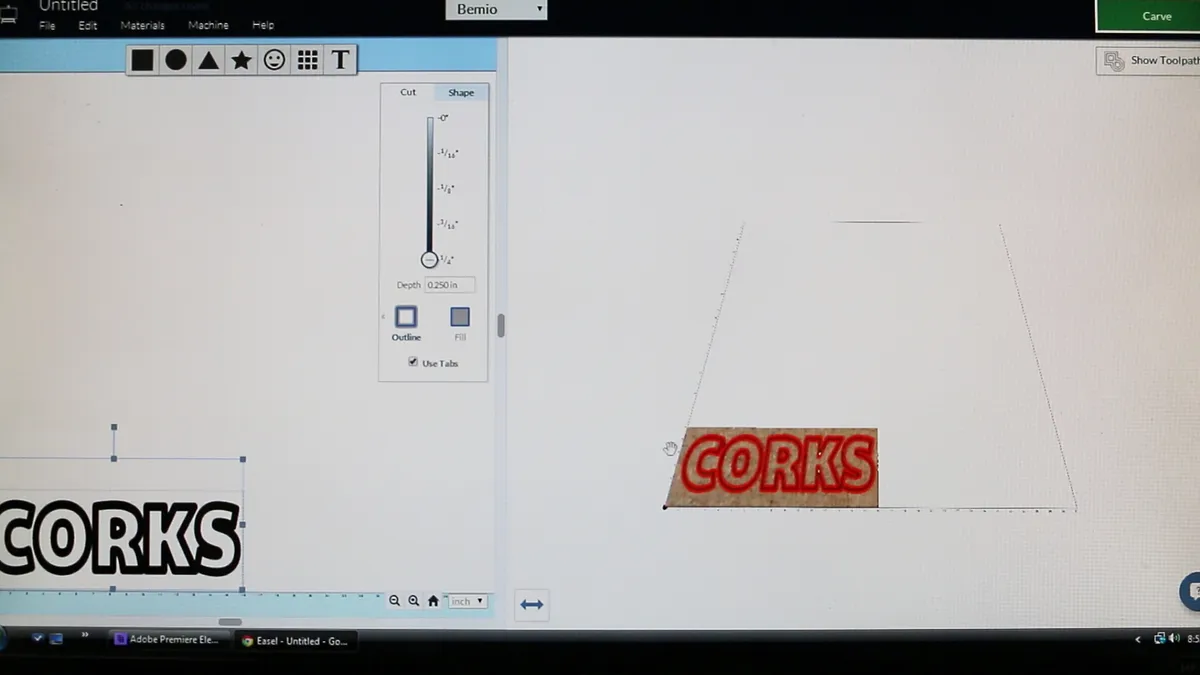
Let the carving begin.
Just sit back and watch.
Estimated time: 20 minutes
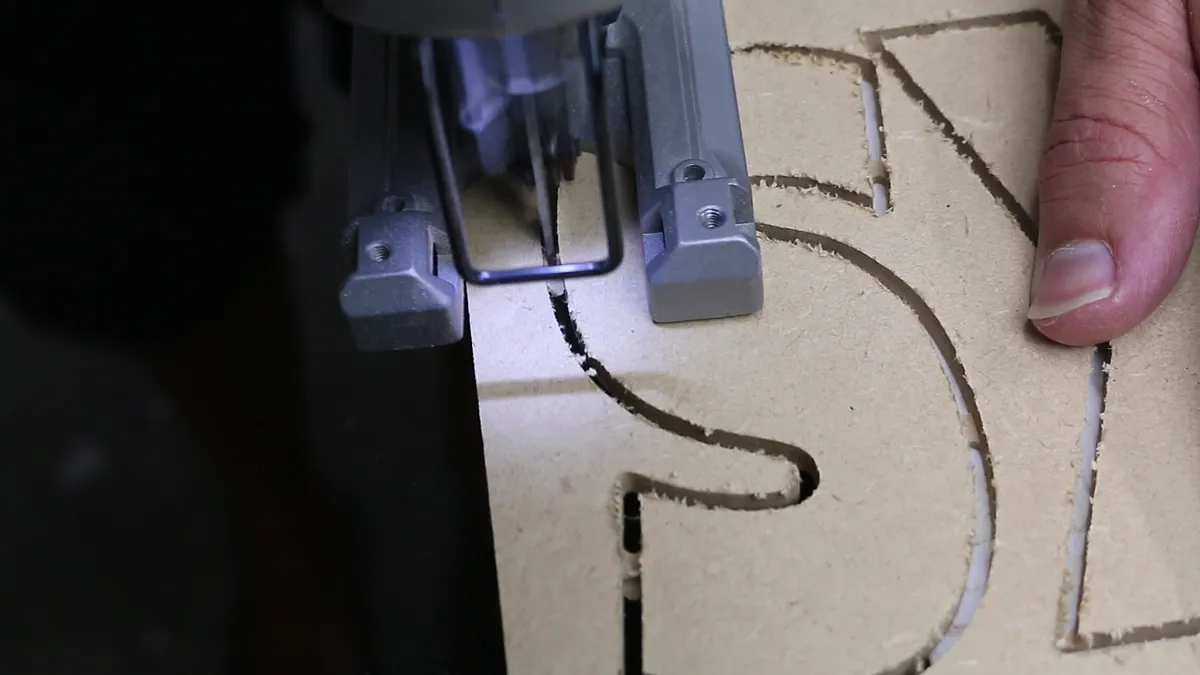
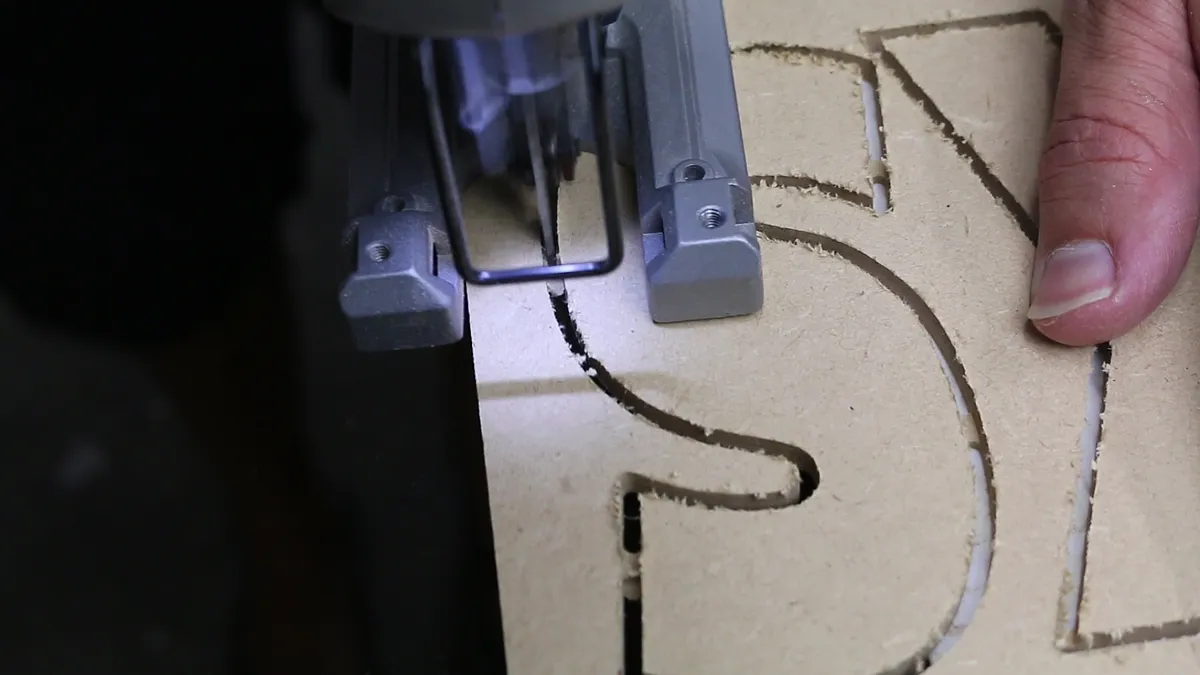
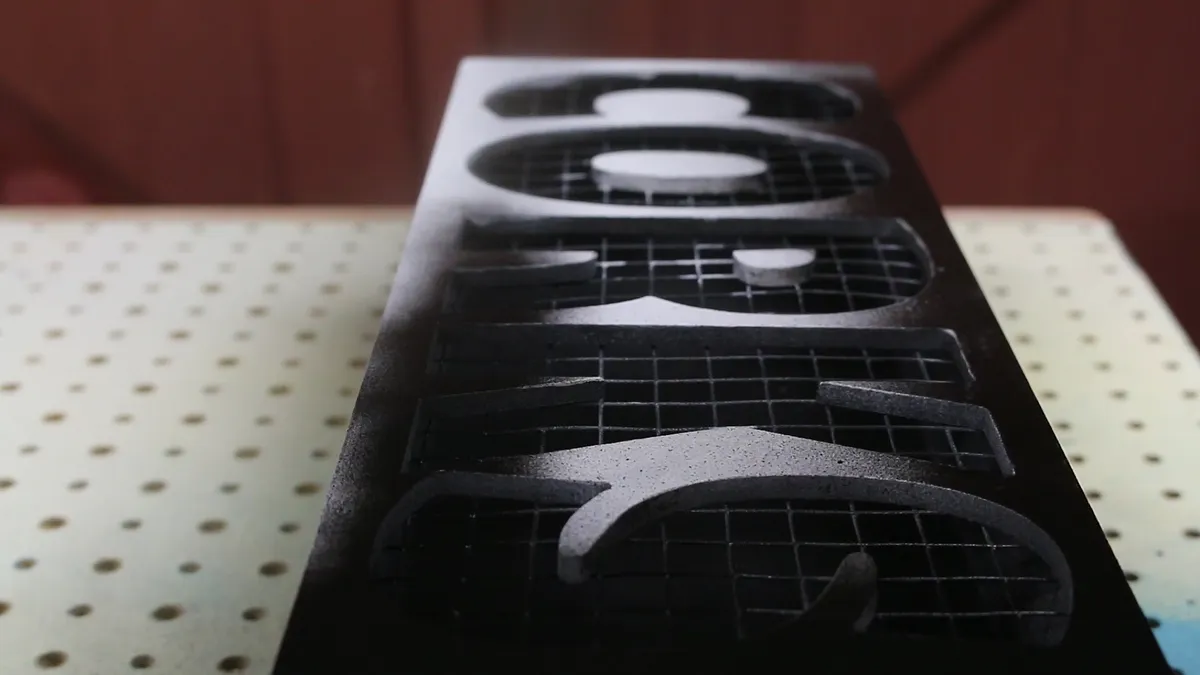
Cut tab around the letters
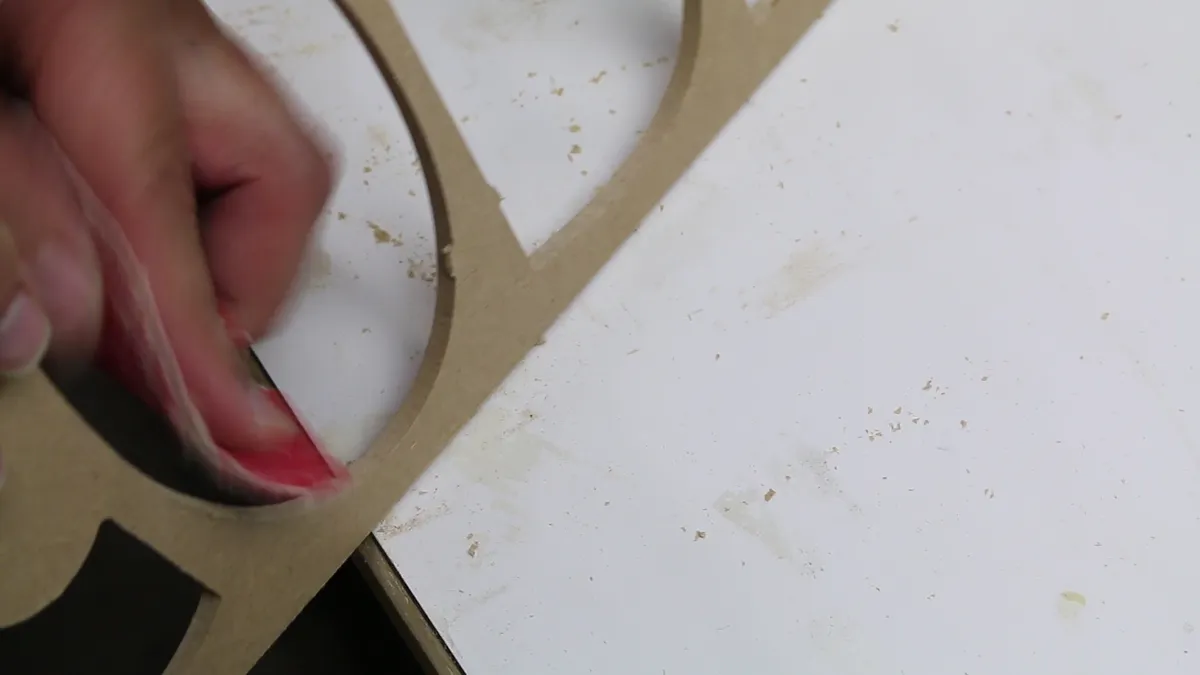
Using a jig saw, cut the tabs that are holding the letters in place. Sand remaining pieces of tab smooth. Make sure you keep the center of the "O" and "R". You will glue these on later.
Estimated time: 3 minutes
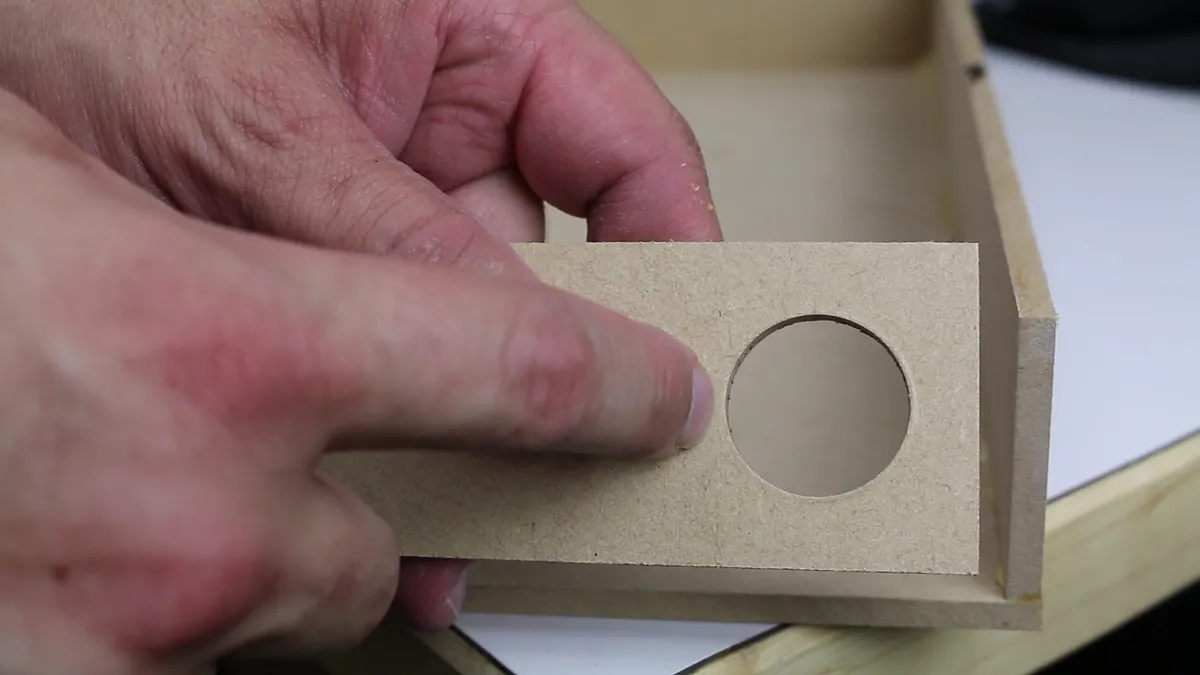
Cork Opening.
On one of the short 2" x 2.5" pieces, drill a 1-1/8" hole at the top.
Estimated time: 1 minutes
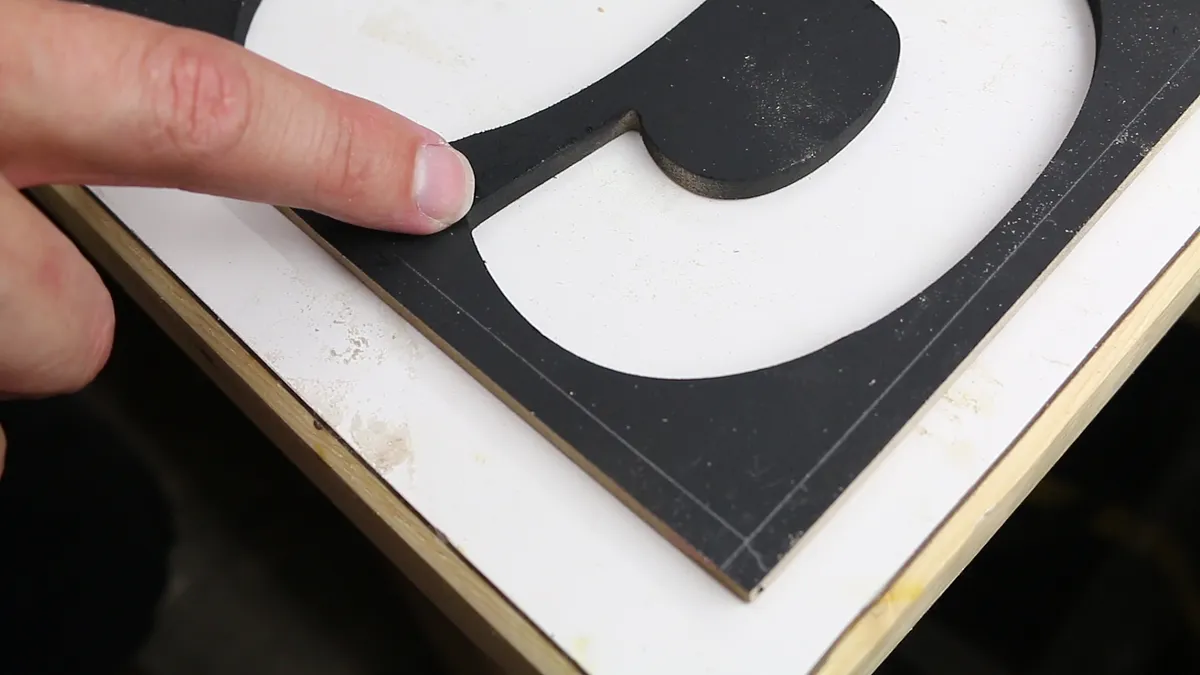
Paint the inside
Now is a good time to paint the inside and back side of the CORKS sign.
Estimated time: 3 minutes
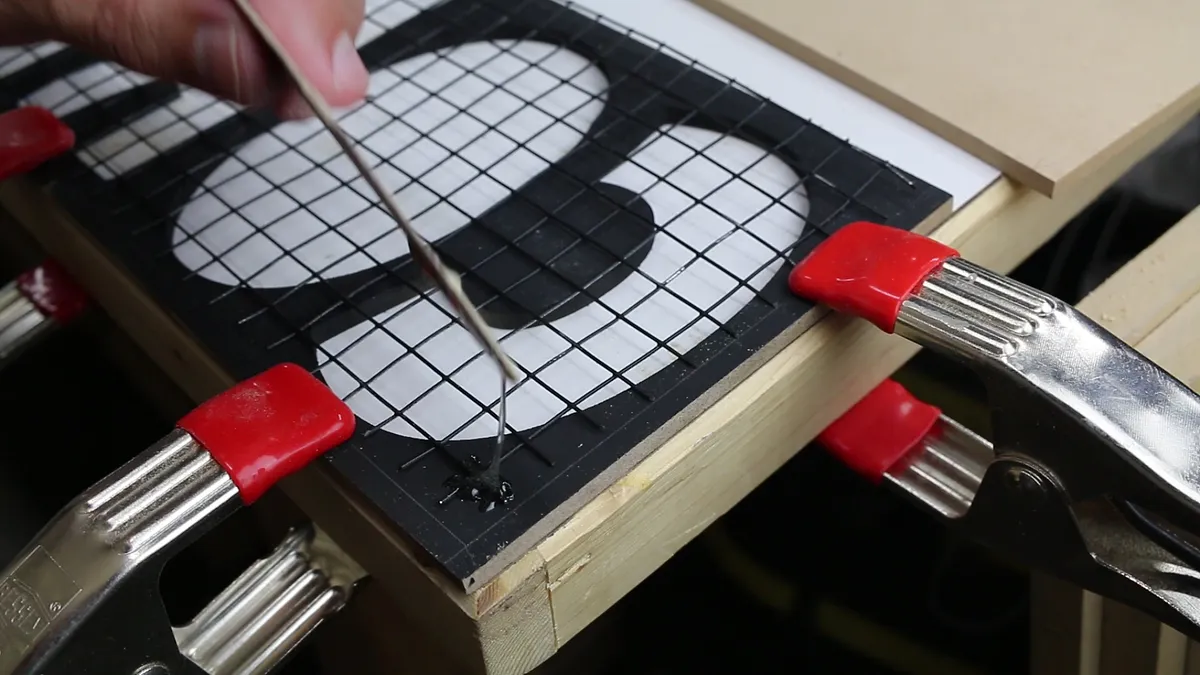
Attach chicken wire to back side of CORKS
Using epoxy(or strong glue) glue a pieces of chicken wire to the back side of the CORKS pieces. I used 1/2" x 1/2" square chicken wire. The chicken wire should be roughly 5.5" x 15.5". Make sure the chicken wire is set back 1/4" from all edges so that the CORKS sign will fit in the box.
Assembly
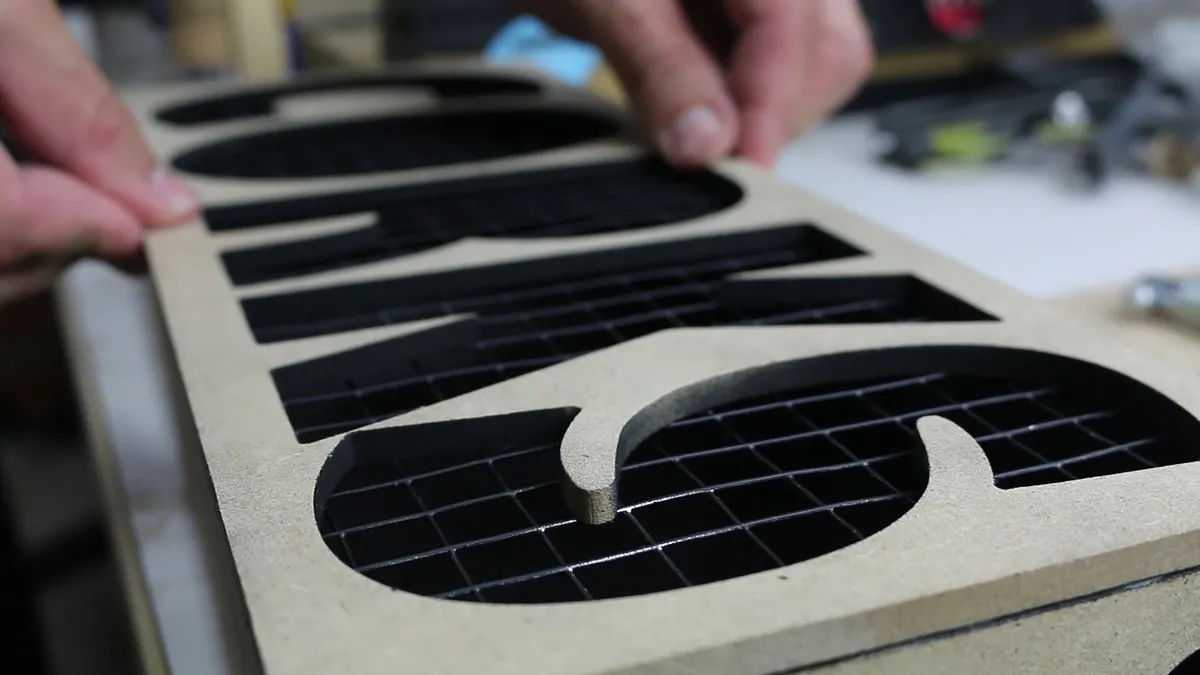
Grab the blank 6"x16" pieces and glue on the long 2"x 16" first, then the shorts 2"x5.5" pieces. I used pin nails to hold the pieces together while the glue dried, claps will works as well. Let this part dry for 1 hour. Next, glue on the CORKS piece, clap together and let the glue dry.
Estimated time: 10 minutes
Sanding
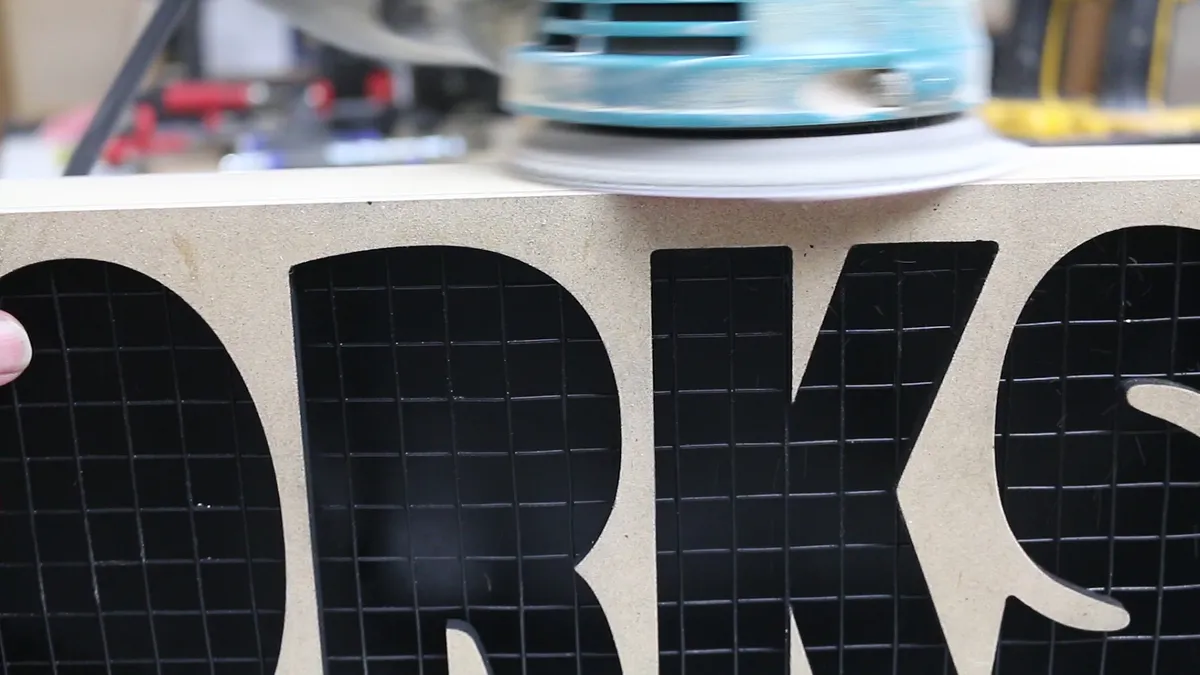
After the glue has dried, give everything a good sanding with 220 grid sand paper.
Estimated time: 4 minutes
Glue Centers of Letters
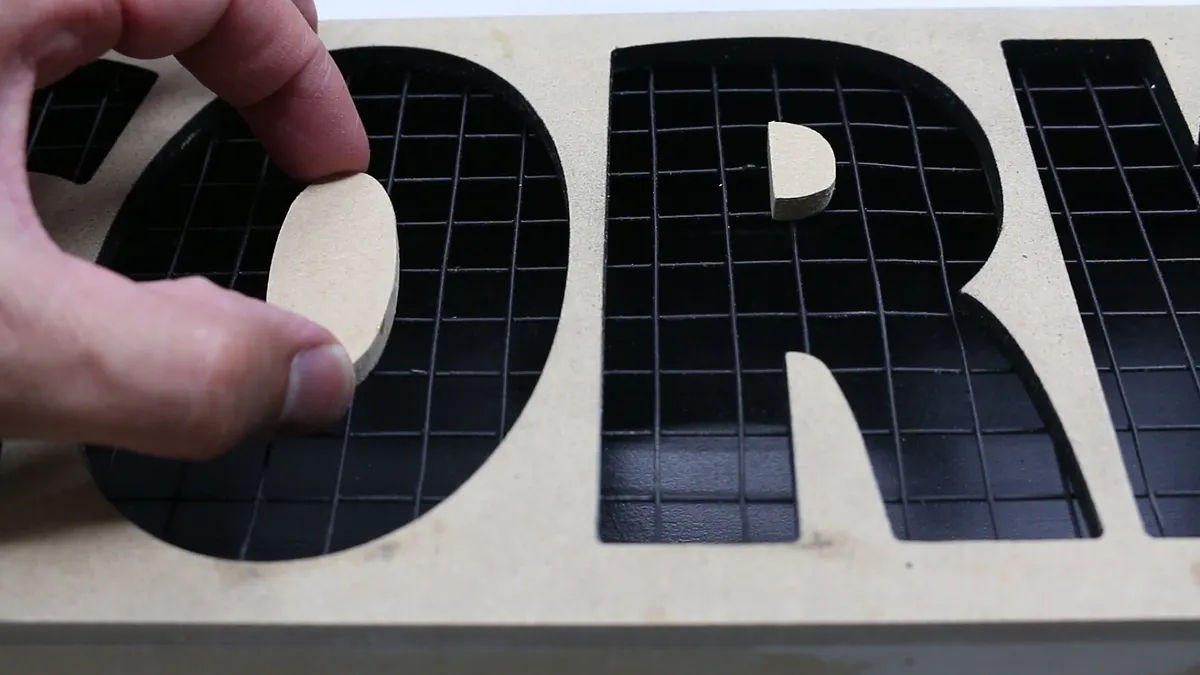
Remember the center of the "O" and "R" you saved? Well now we are going to glue them back on the chicken wire. Again, I used epoxy to glue these to the chicken wire.
Estimated time: 1 minutes
Prime and Paint
I sprayed the outside of the box with a primer and then gave it a light sanding to get everything smooth. I then used a flat black and gave the everything a good coat.
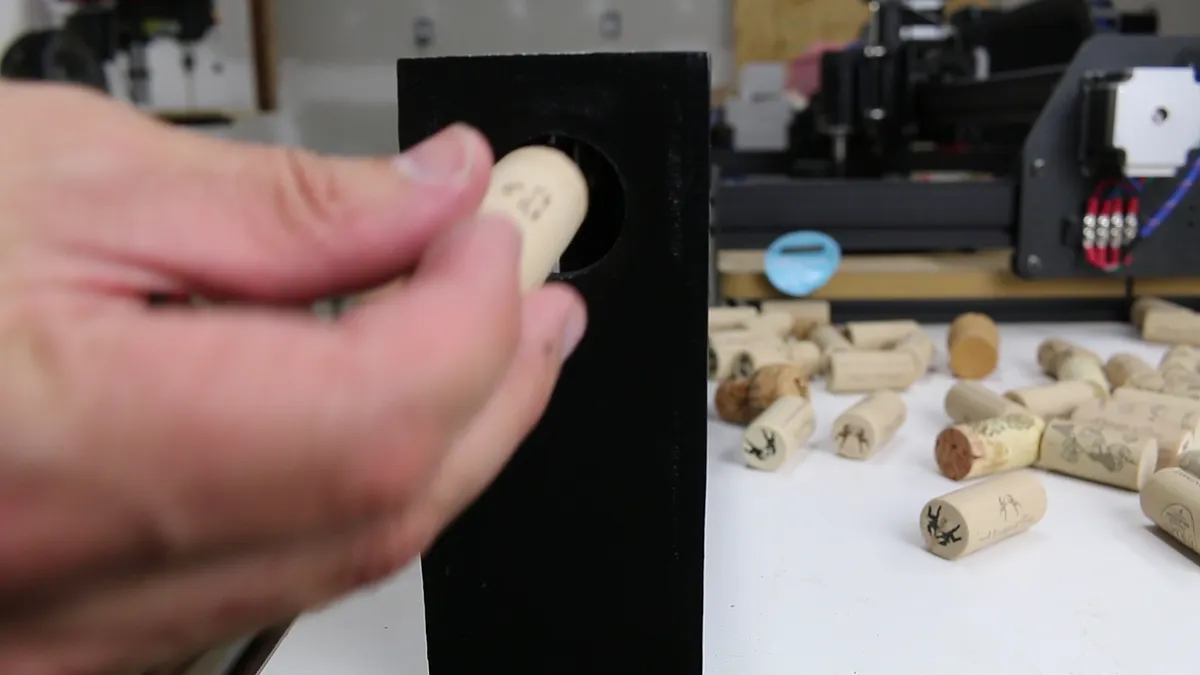
Filler Her Up!!
After the paint is dry, now its time to fill her up with corks.
Estimated time: 1 minutes
Comments
Are you able to share this file? Please absolutely Love this project! Thank you
Jennifer Peterson · May 18, 2018
The public box is checked. You should be able to see it.
Brian WildmanPro · May 18, 2018
Hi Brian, sorry I still get a error when I try to open this project.
Jennifer Peterson · June 15, 2018
I also can't load.....but great project!
Mark Lewis · February 05, 2019
I'm unable to open this either. Can you repost it? Great Project!
Sean Painter · November 02, 2019
I'm unable to open this either. Can you repost it? thank you
manux renaud · February 25, 2020
As of 2/25/2020, file should work, I fixed it.
Brian WildmanPro · February 25, 2020
Hi Brian - still gives the error that this has NOT been shared publicly ?
Rick OlsenPro · July 30, 2020
The public box is checked. I was able to open. If not i will have to contact Inventables.
Brian WildmanPro · July 30, 2020