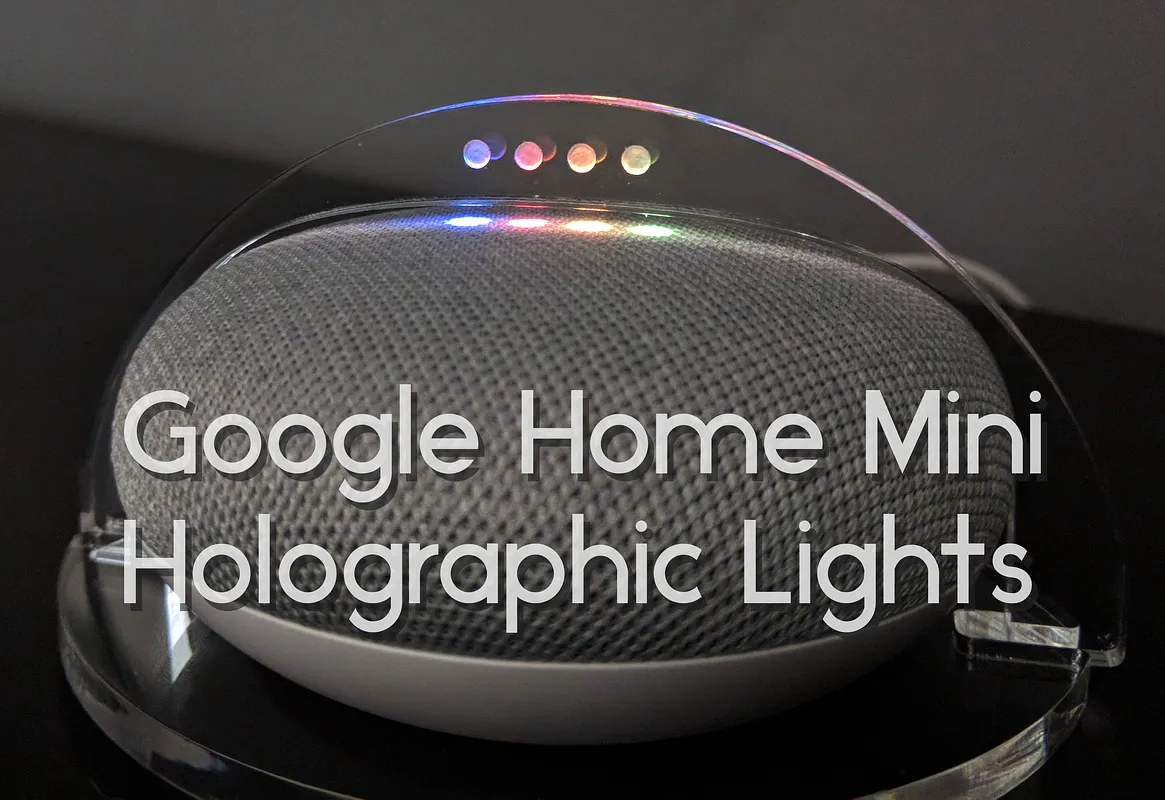
Holographic Lights for your Google Home Mini

Instructions
Cut out the Design
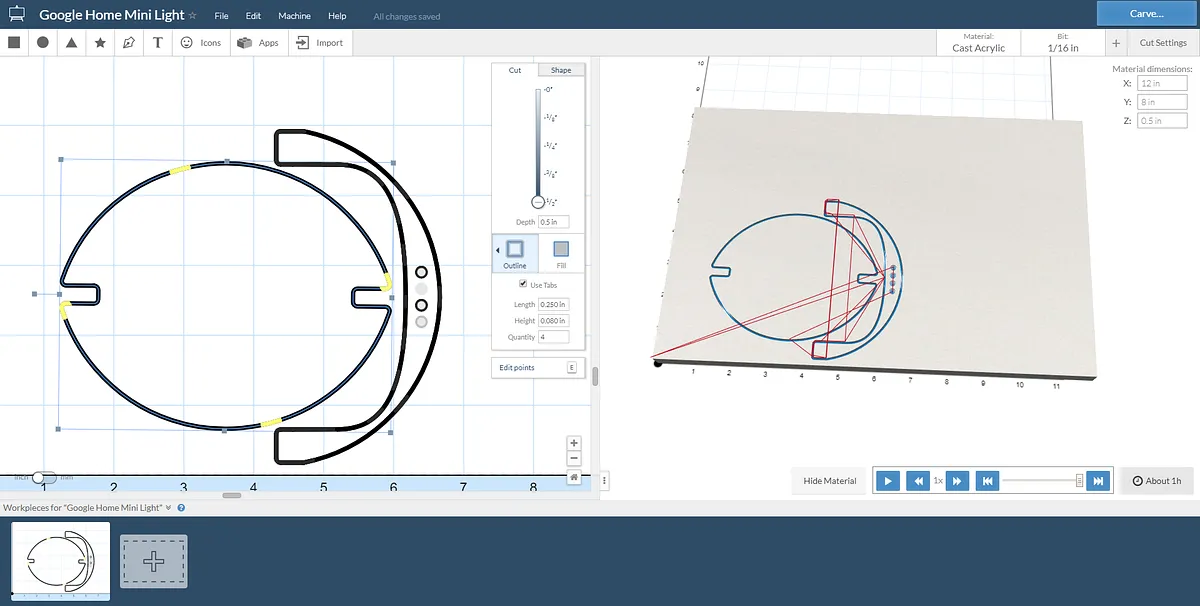
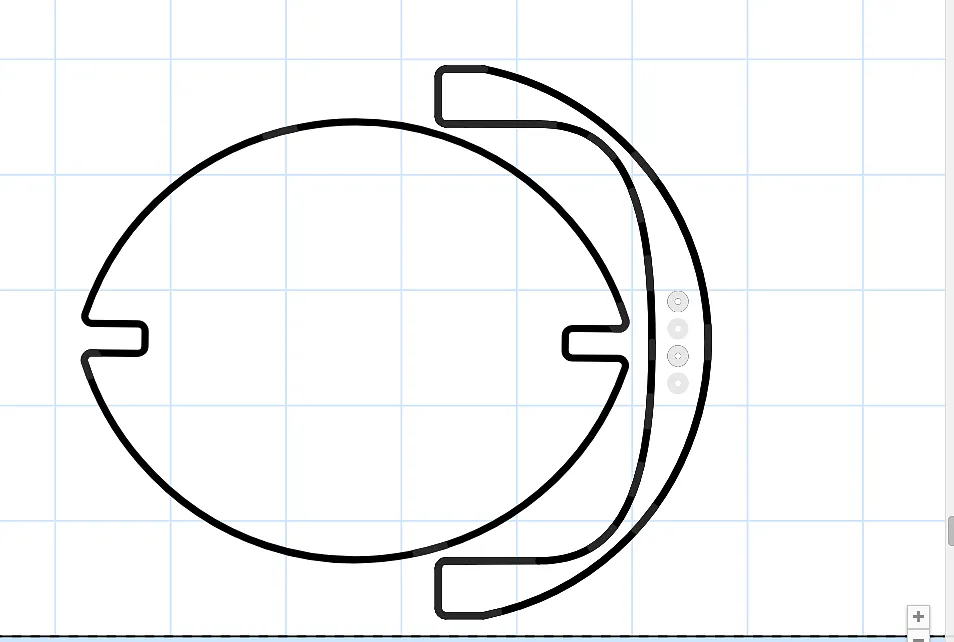
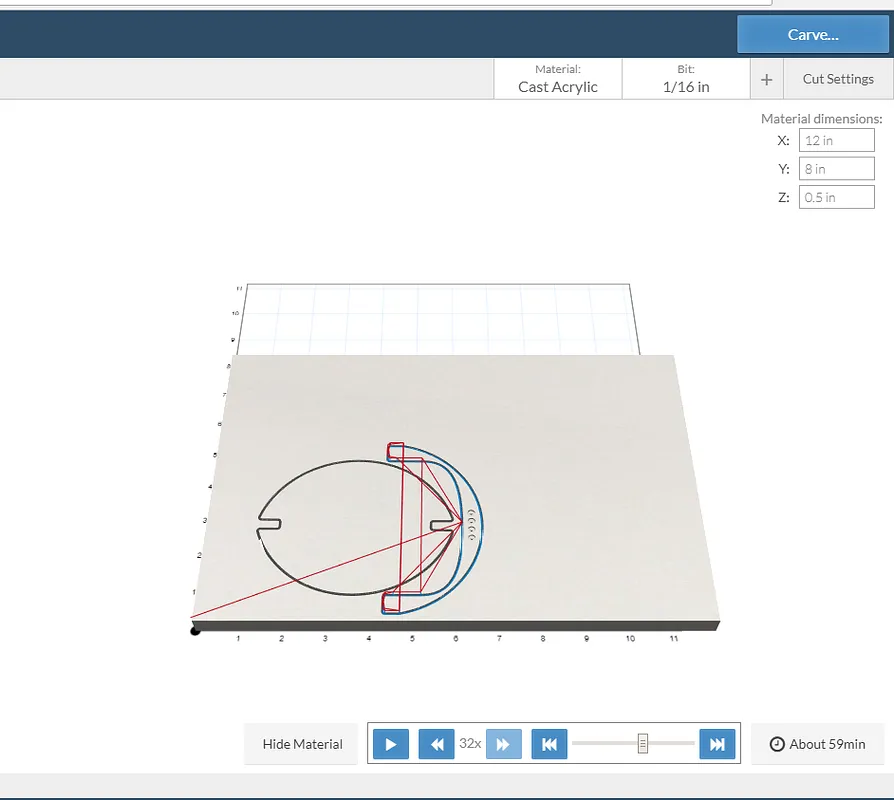
The first step in creating your own holographic light stand for your Google Home Mini is cutting out the design from Lucite. Lucite is a type of acrylic that is specifically formulated for transmitting light. The holographic stand is an application of edge-lit signage and Lucite works great for this purpose. If you don't have Lucite, clear acrylic works as well.
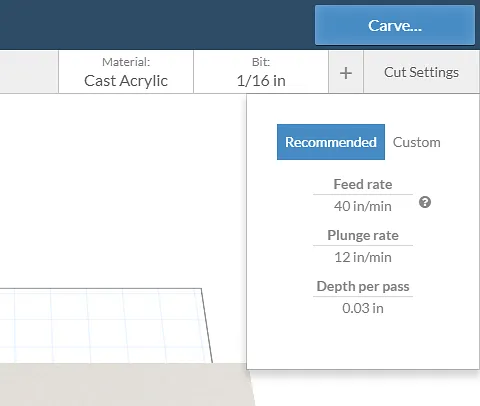
Using your X-Carve or Carvey, cut out the design using the default settings from Easel:
- Feed rate: 40 in/min
- Plunge rate: 12 in/min
- Depth per pass: 0.03 in
Estimated time: 59 minutes
Assemble the Stand
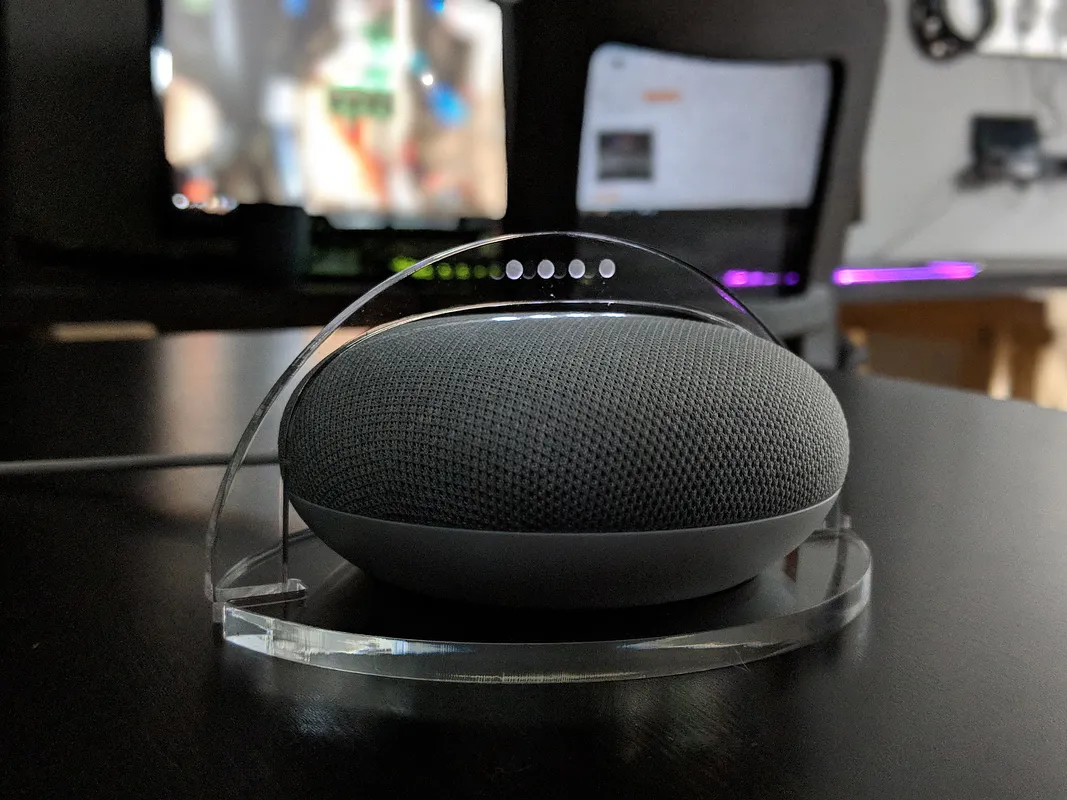
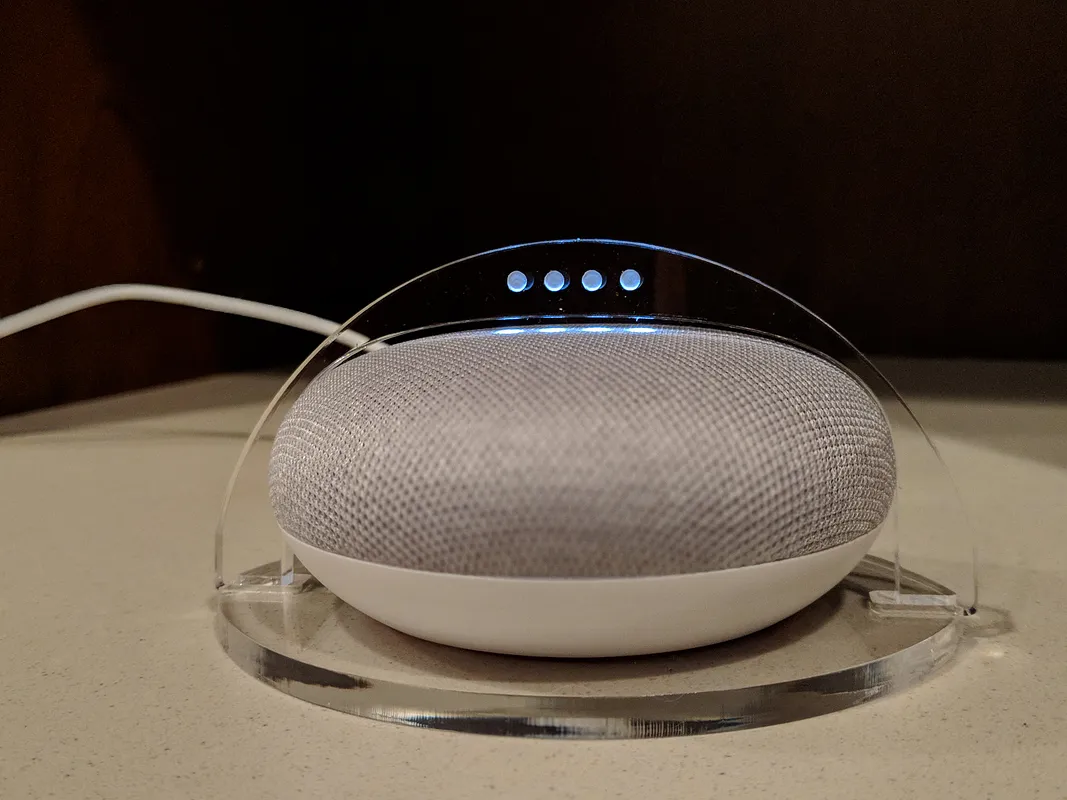
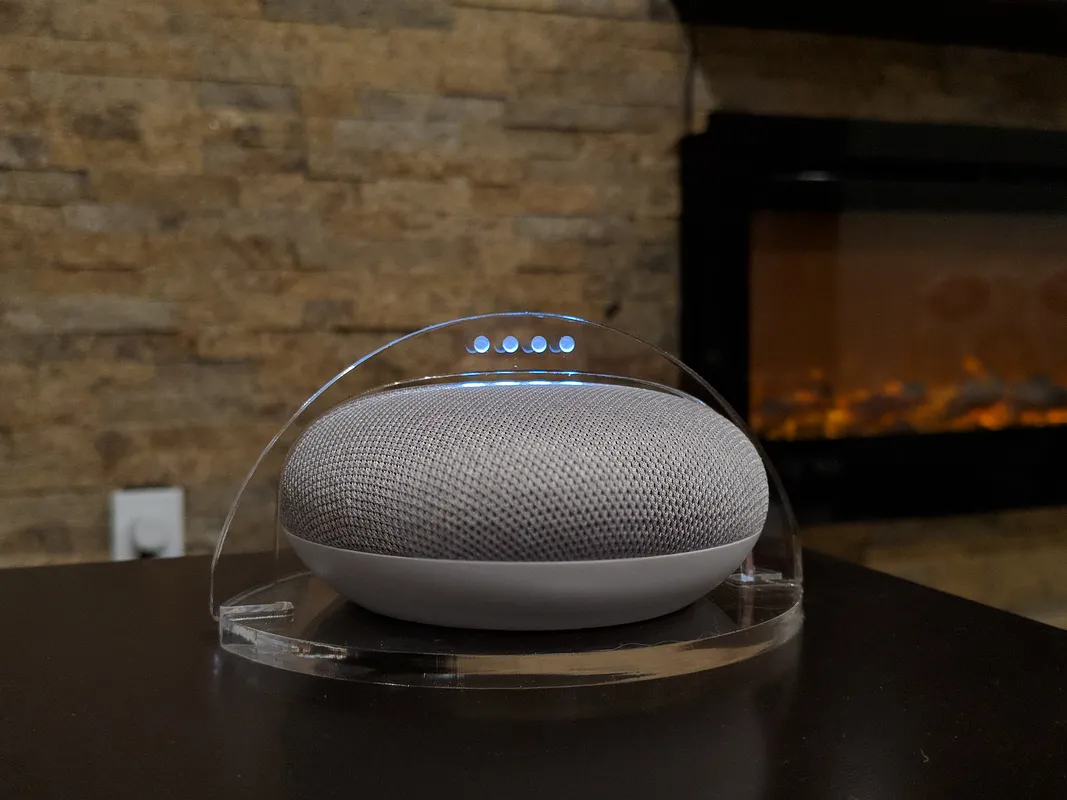
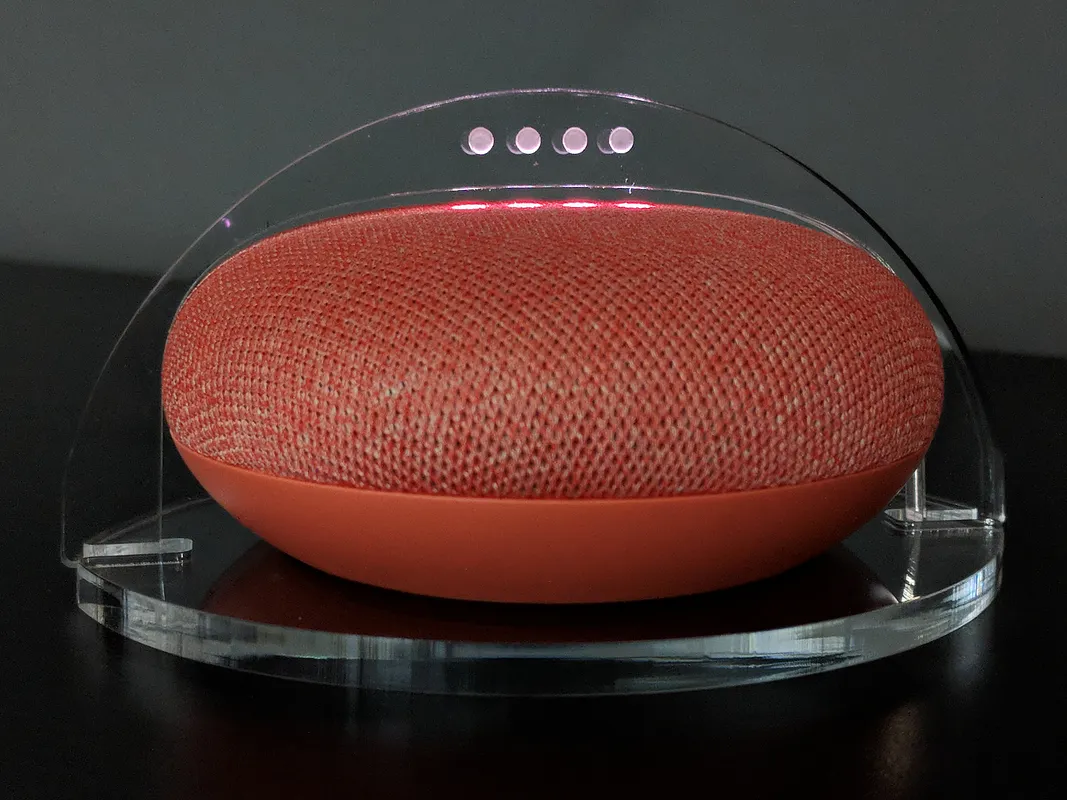
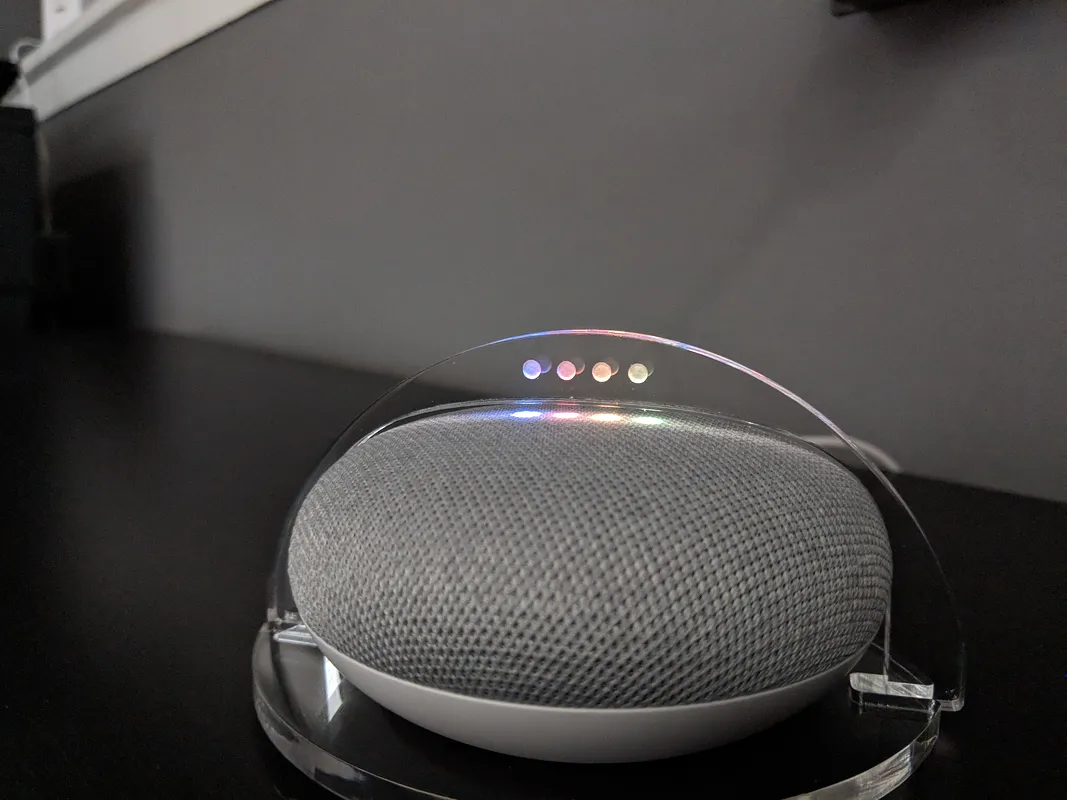
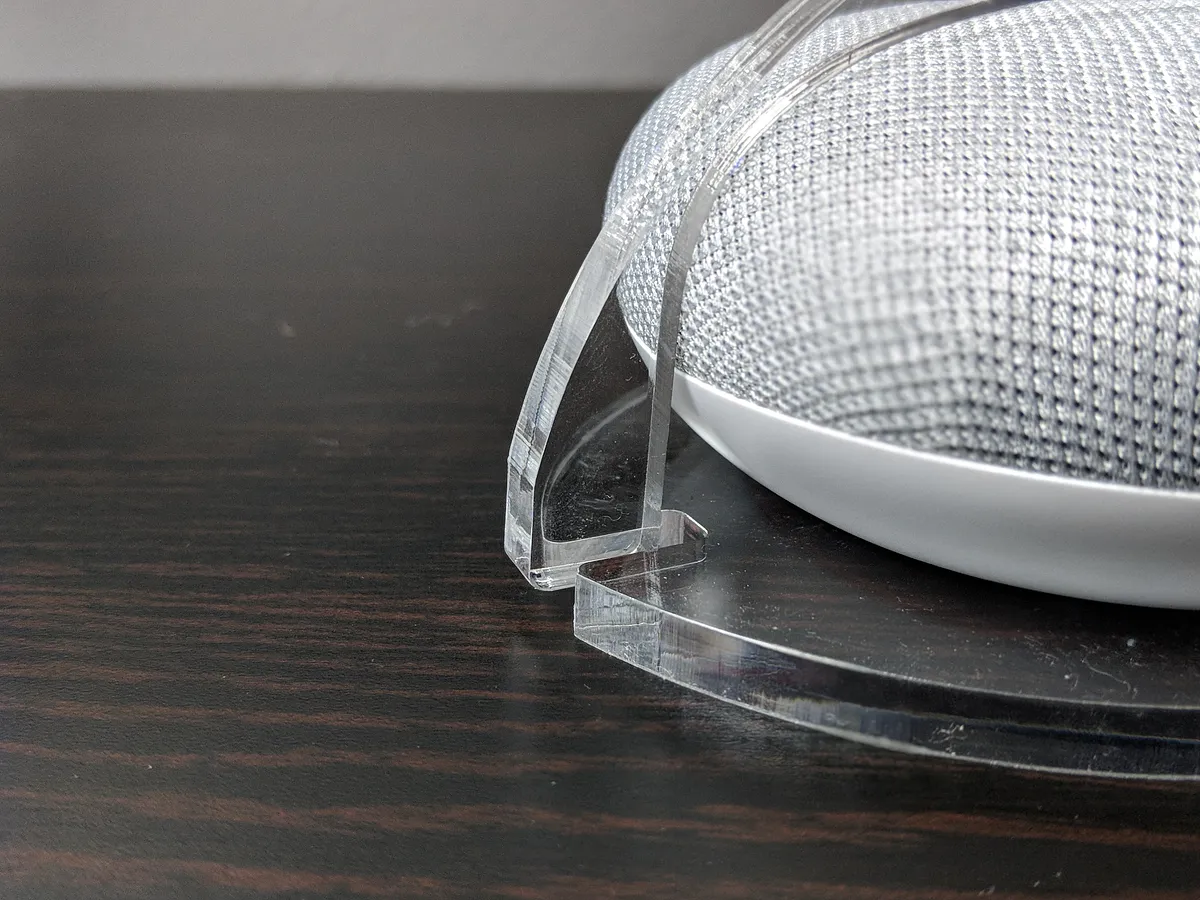
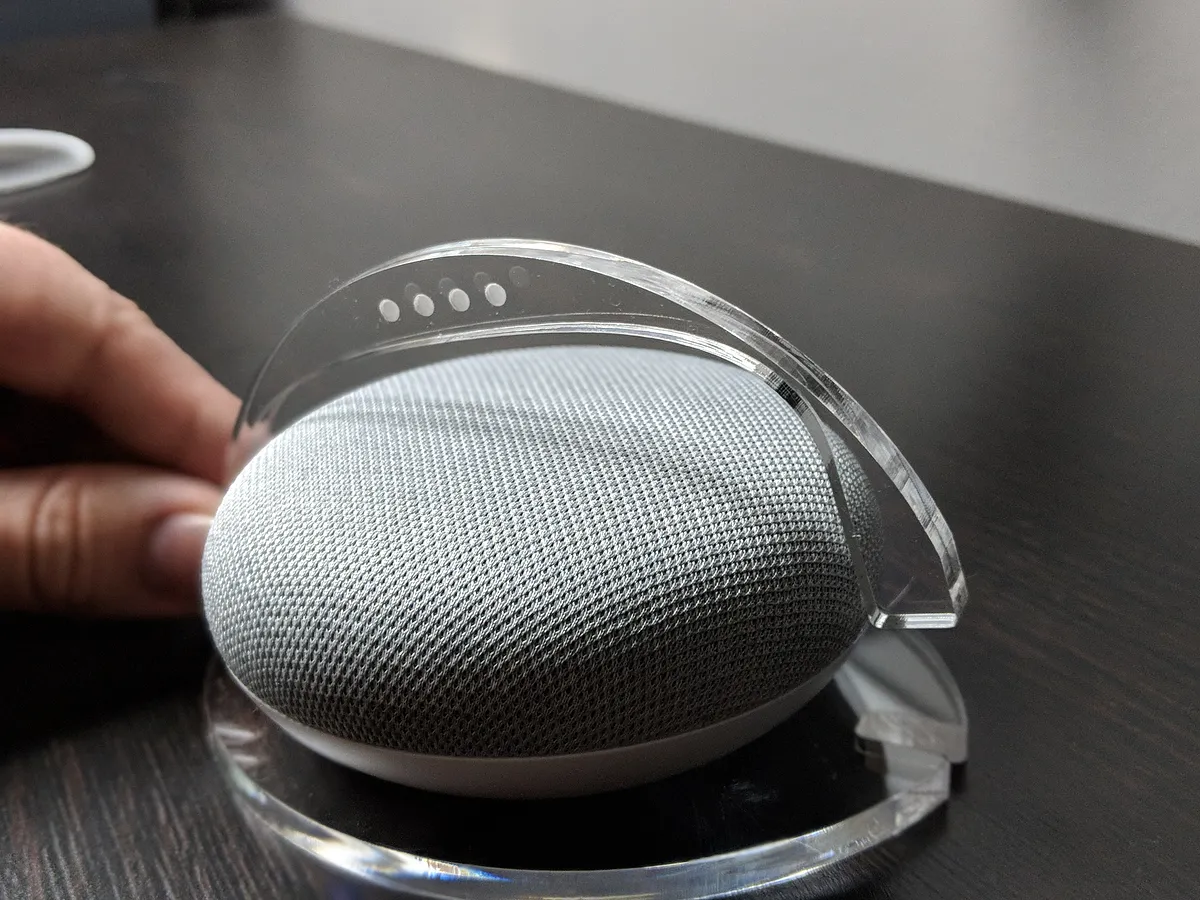
Assembling the stand is extremely easy. The two parts, the Upper Frame and Lower Frame simply slot together. After placing your Google Home Mini in the center of the Lower Frame part, place the Upper Frame on top. The LED lights on the top of the Google Home Mini should be directly under the Upper Frame.
Estimated time: 2 minutes
Comments
that´s truly awesome, is it possible for you to share the project publicly, so it can be opened in easel? I would love to make this for my own home speakers
Rene Pedersen · August 08, 2018
This project has not been shared publicly
Bjarne Tondersen · October 29, 2018
Love your design, but it seems that your design here is strictly to show what you have done, Are you planning on releasing the .SVG files anytime in the future? This would make a great gift item as the Google Mini is becoming such a popular gift item as well.
Tim Shilson · November 18, 2018
I too would love to make this but you need to share your design publicly. I don't know what to do with a .step file.
Erik NaumanPro · December 22, 2018
can you share this publicly???
Troy G · March 13, 2019