XCARVE 24VDC Dust Shoe
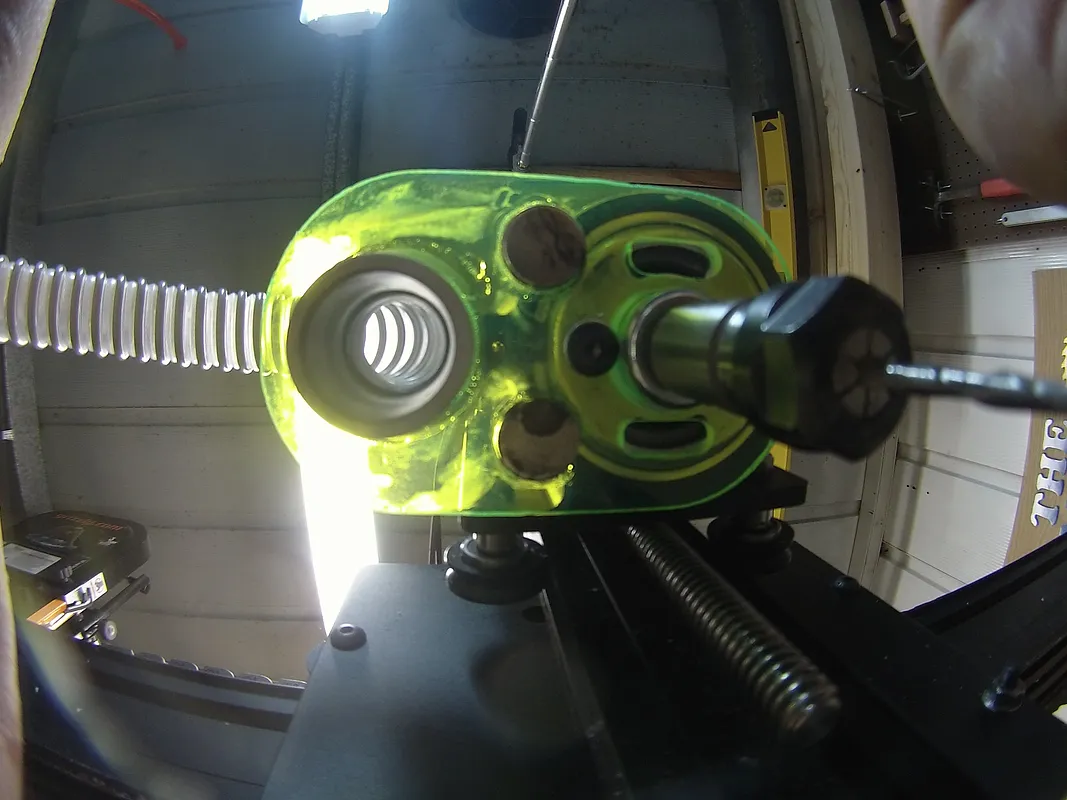
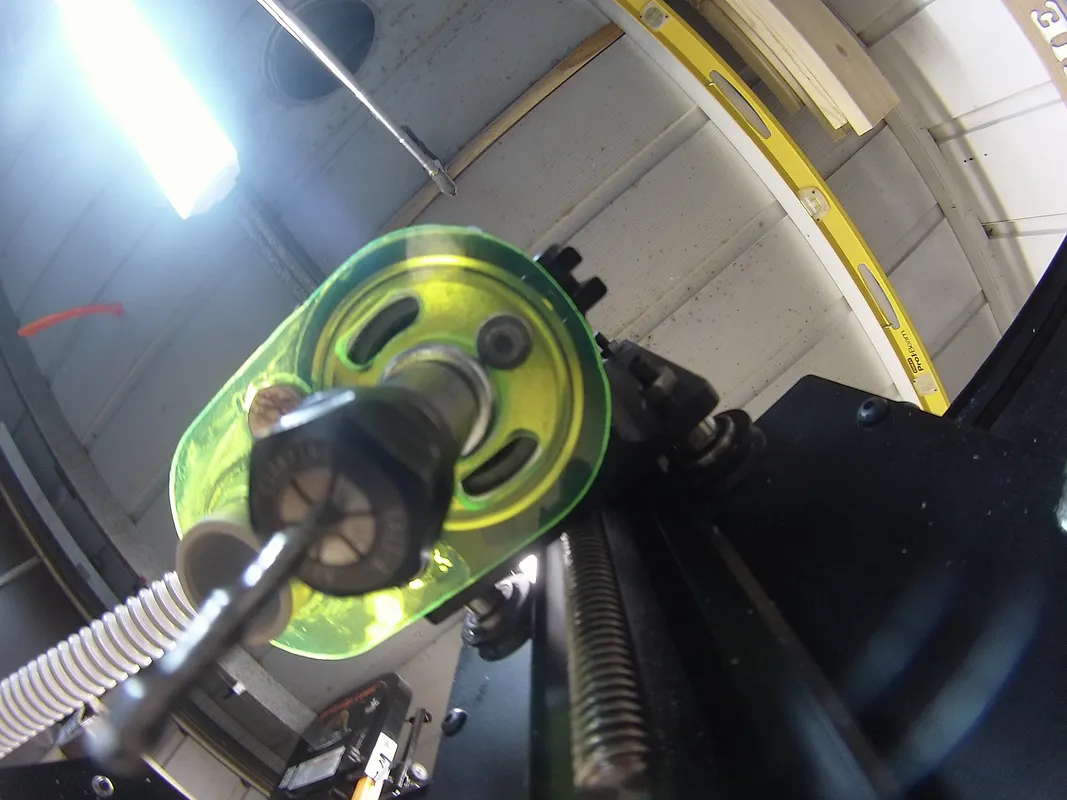
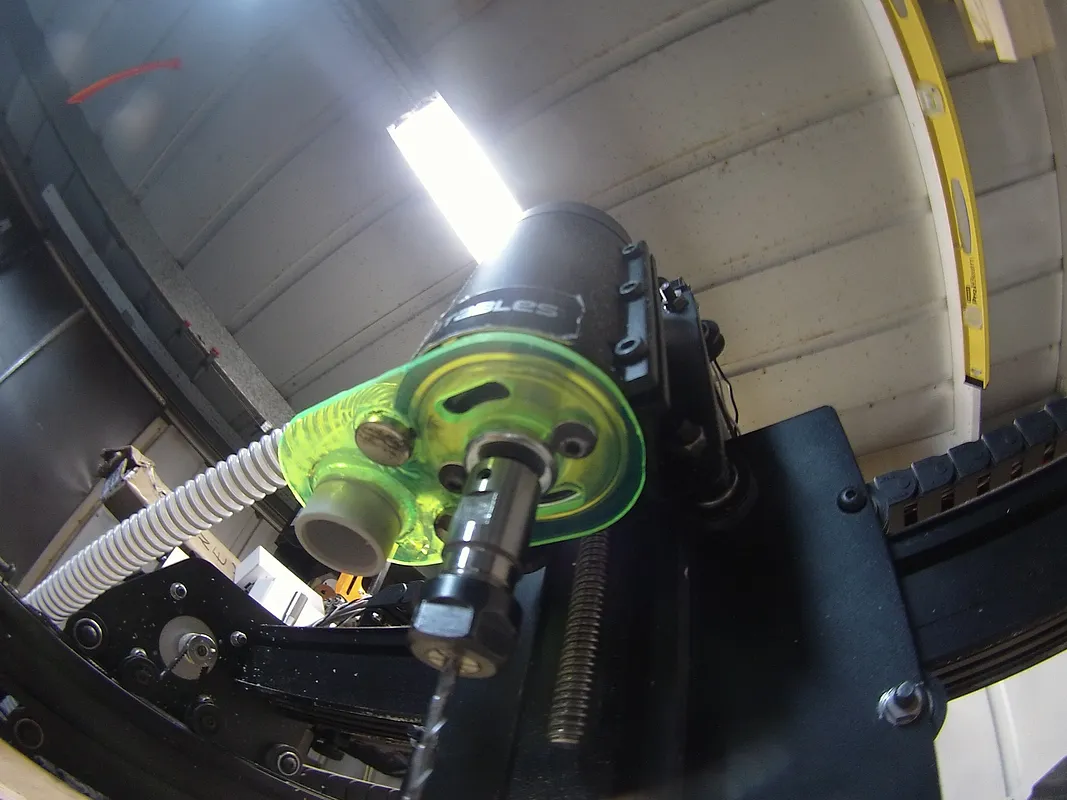

Instructions
XCARVE 24VDC Dust Shoe Top
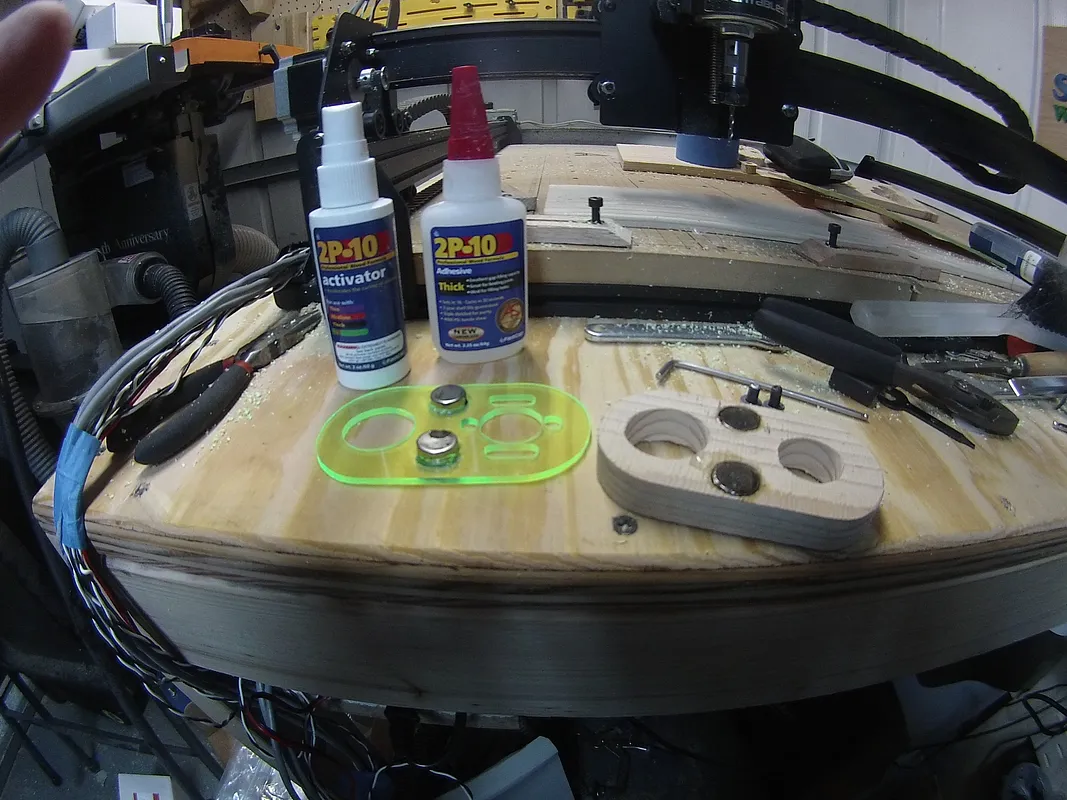
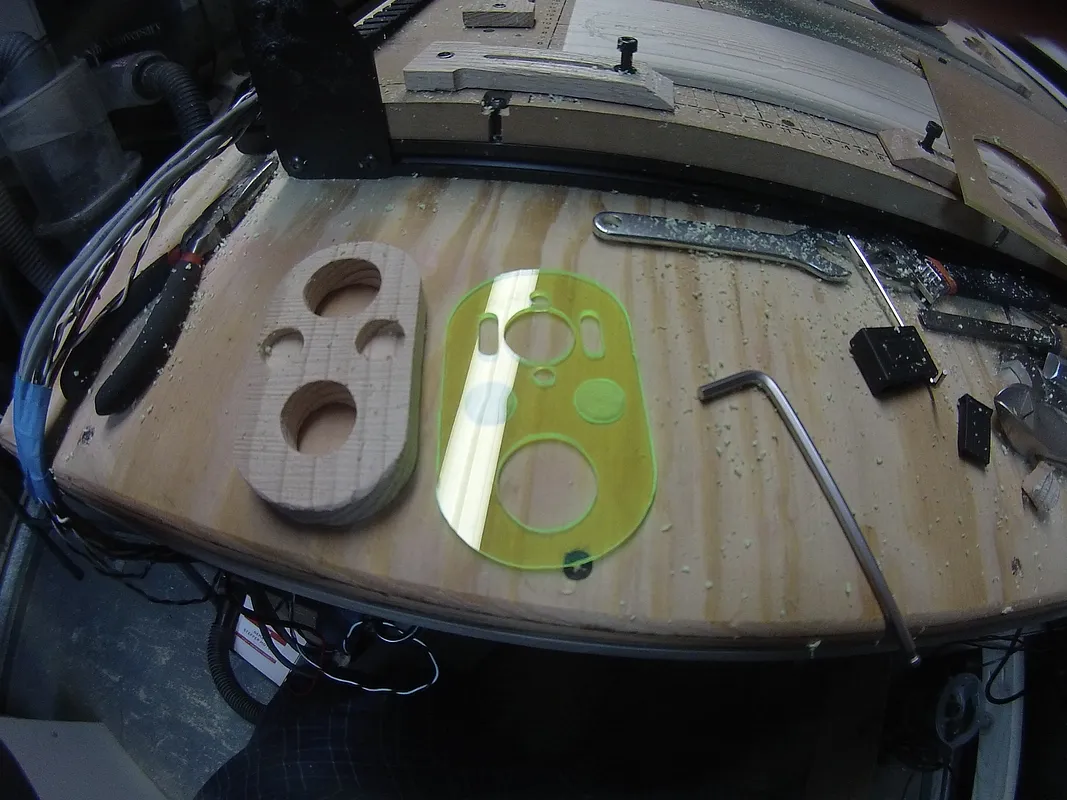
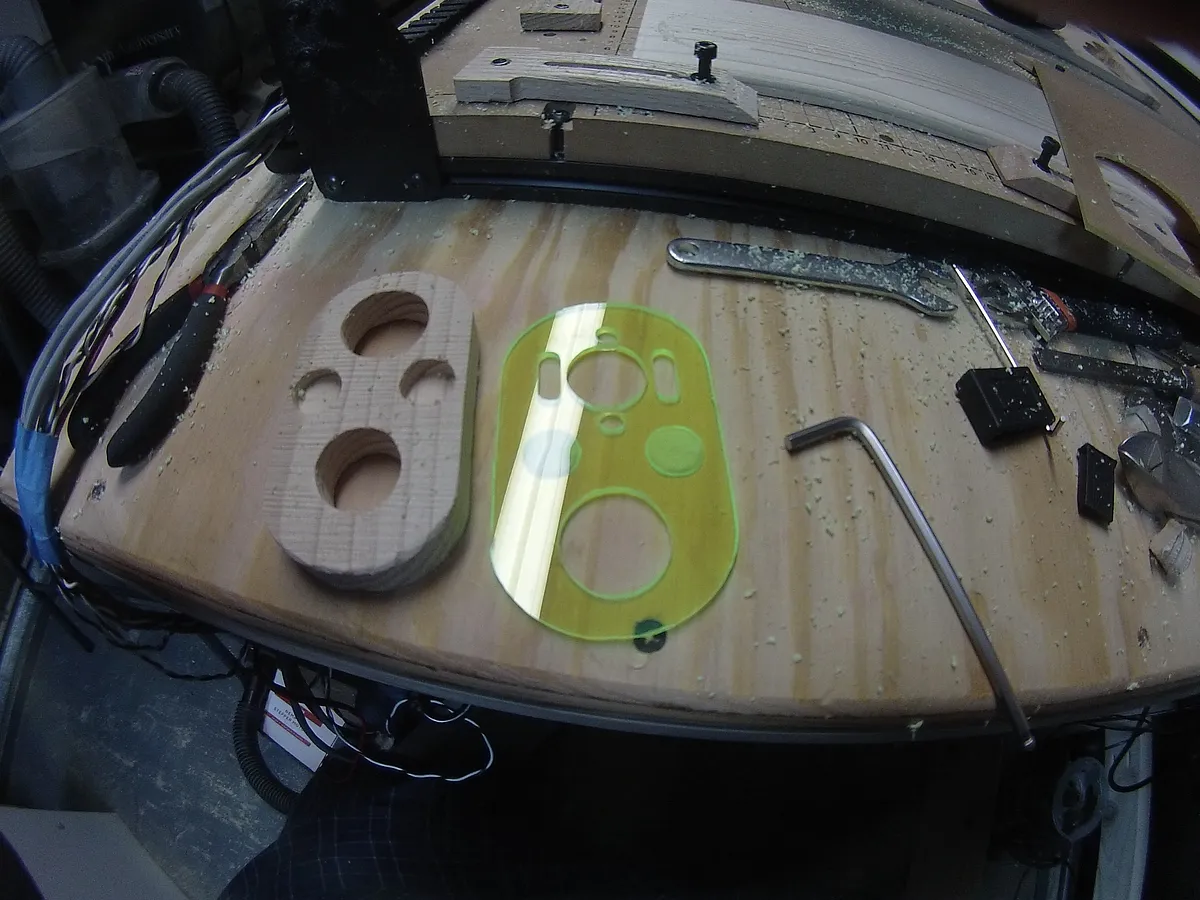
First thing you will want to do is carve out of the acrylic sheet which is the top. http://easel.inventables.com/projects/ZD0Z4oAW4foWJtjsVuknhA
Estimated time: 10 minutes
XCARVE 24VDC Dust Shoe Bottom
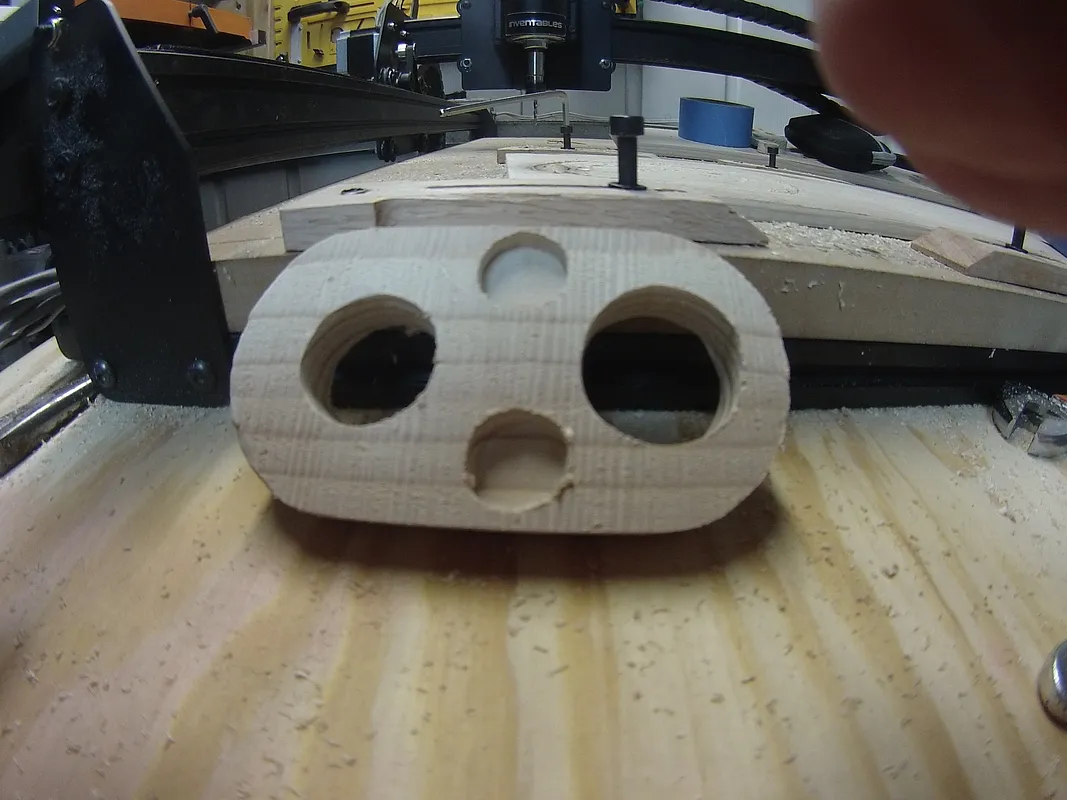
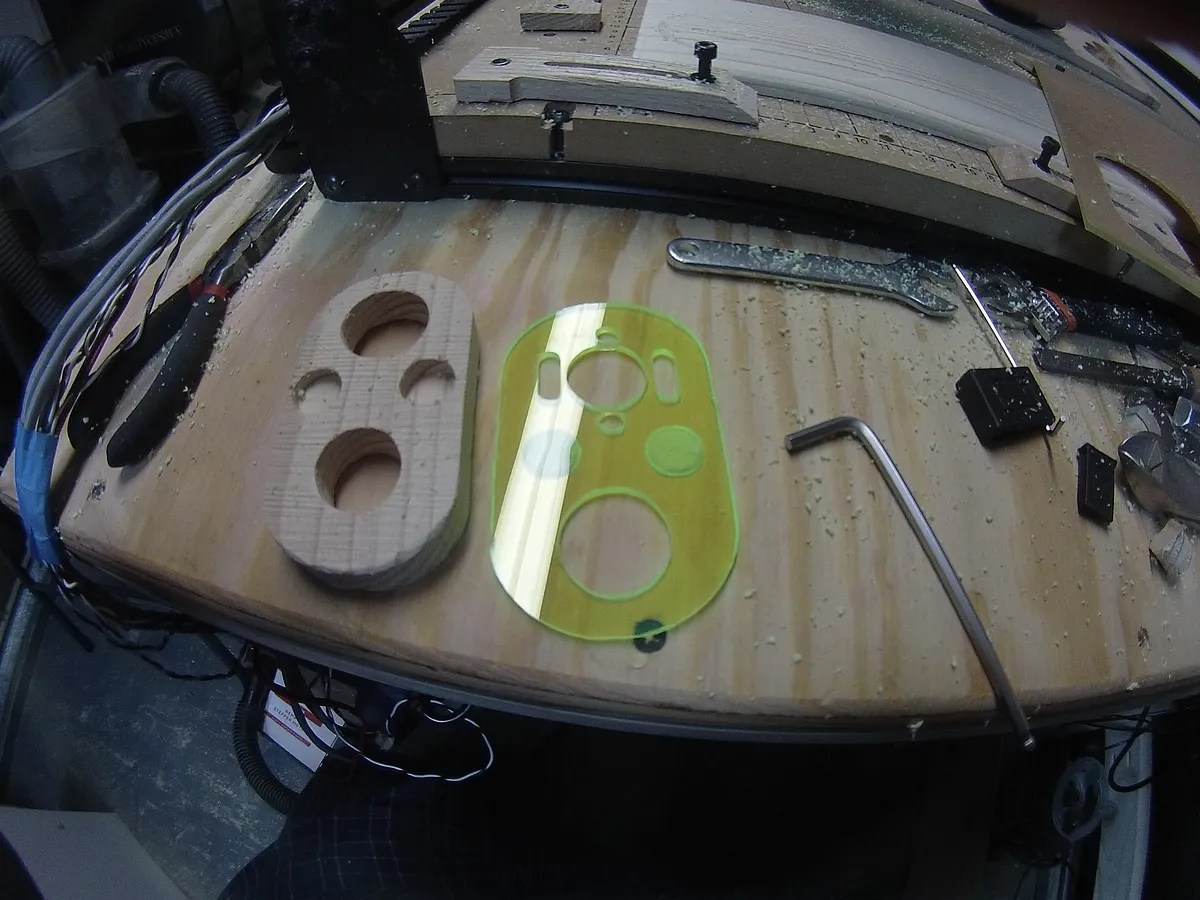
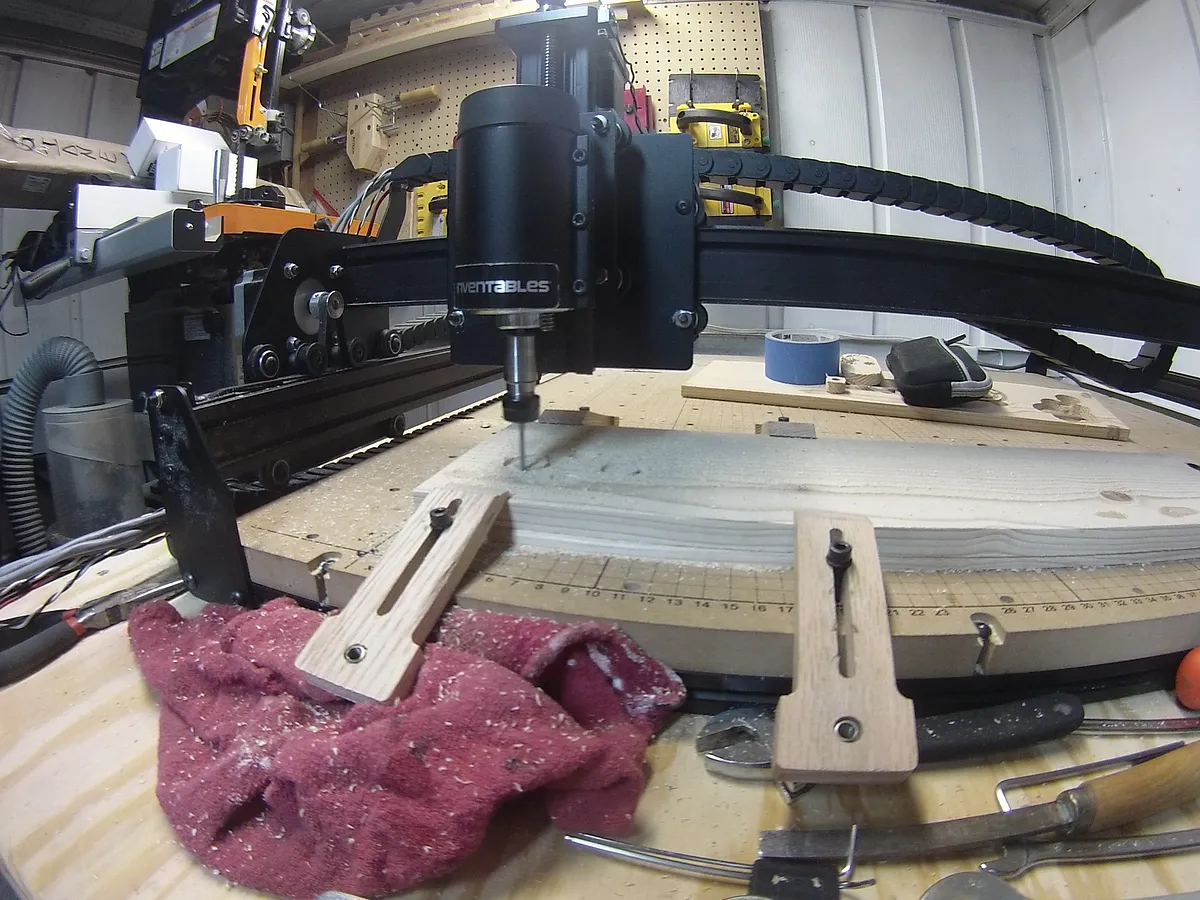
Then you will want to cut the bottom out of 1/2 pine. http://easel.inventables.com/projects/YyVE01a_z5psbK1XQeibJg
Estimated time: 10 minutes
XCARVE 24VDC Dust Shoe Magnets
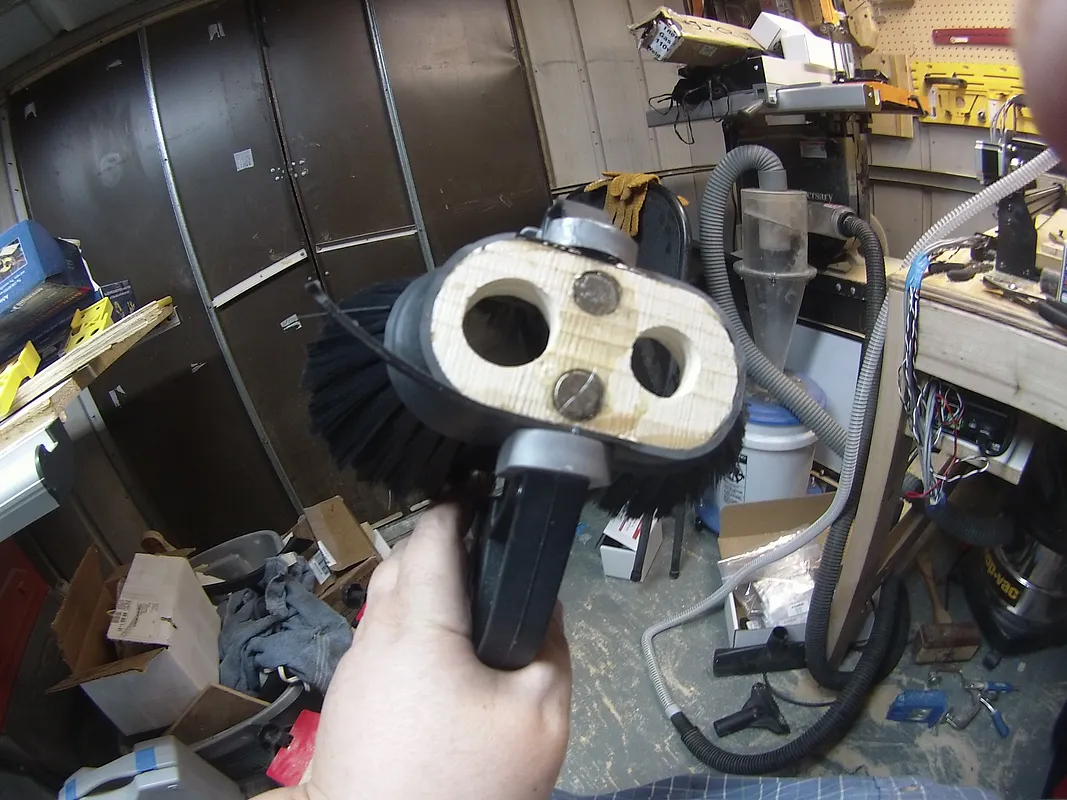
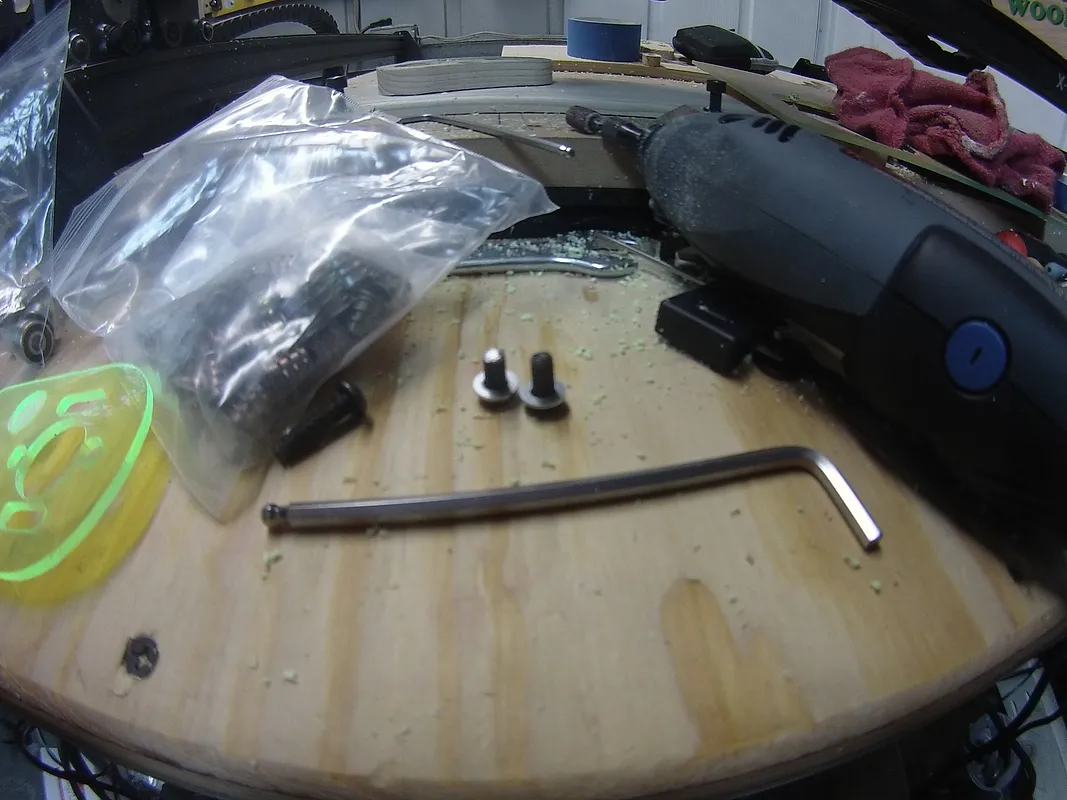
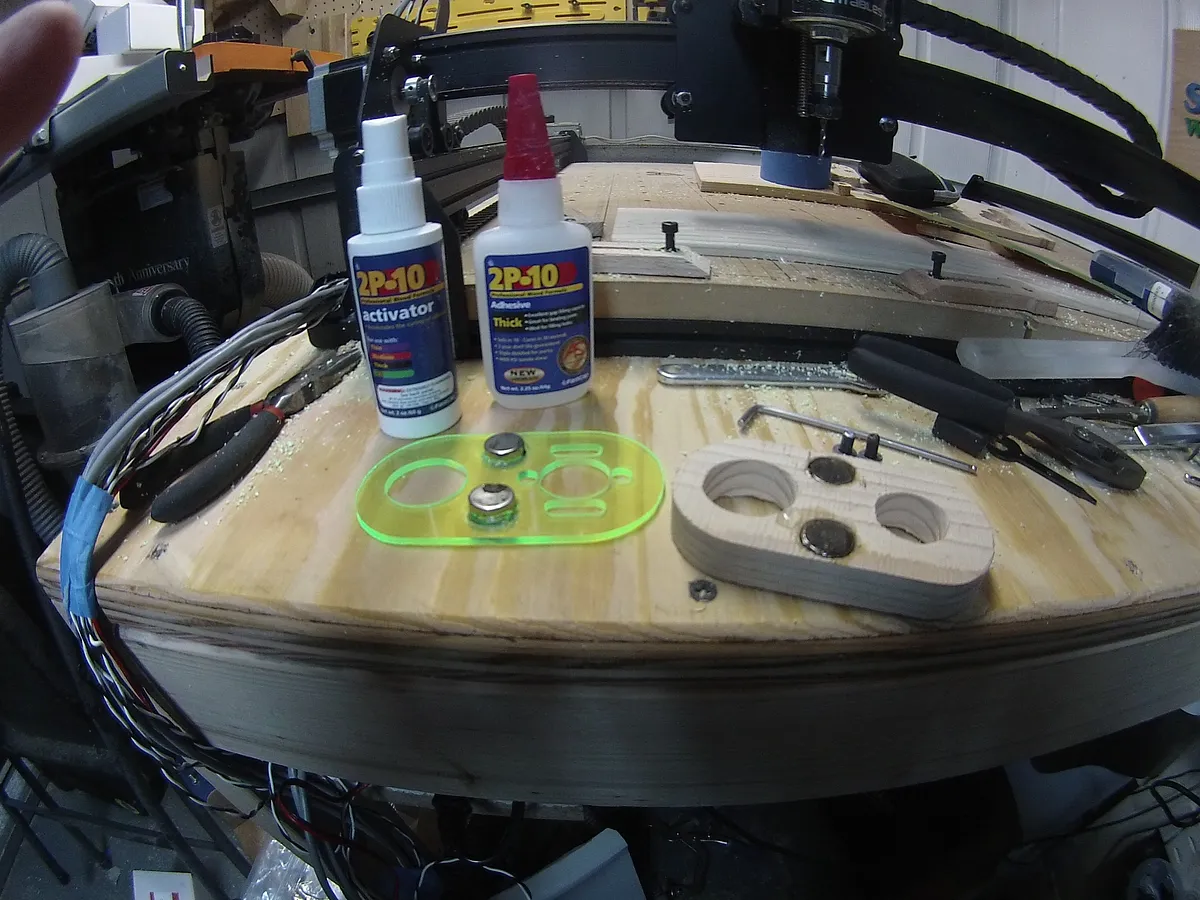
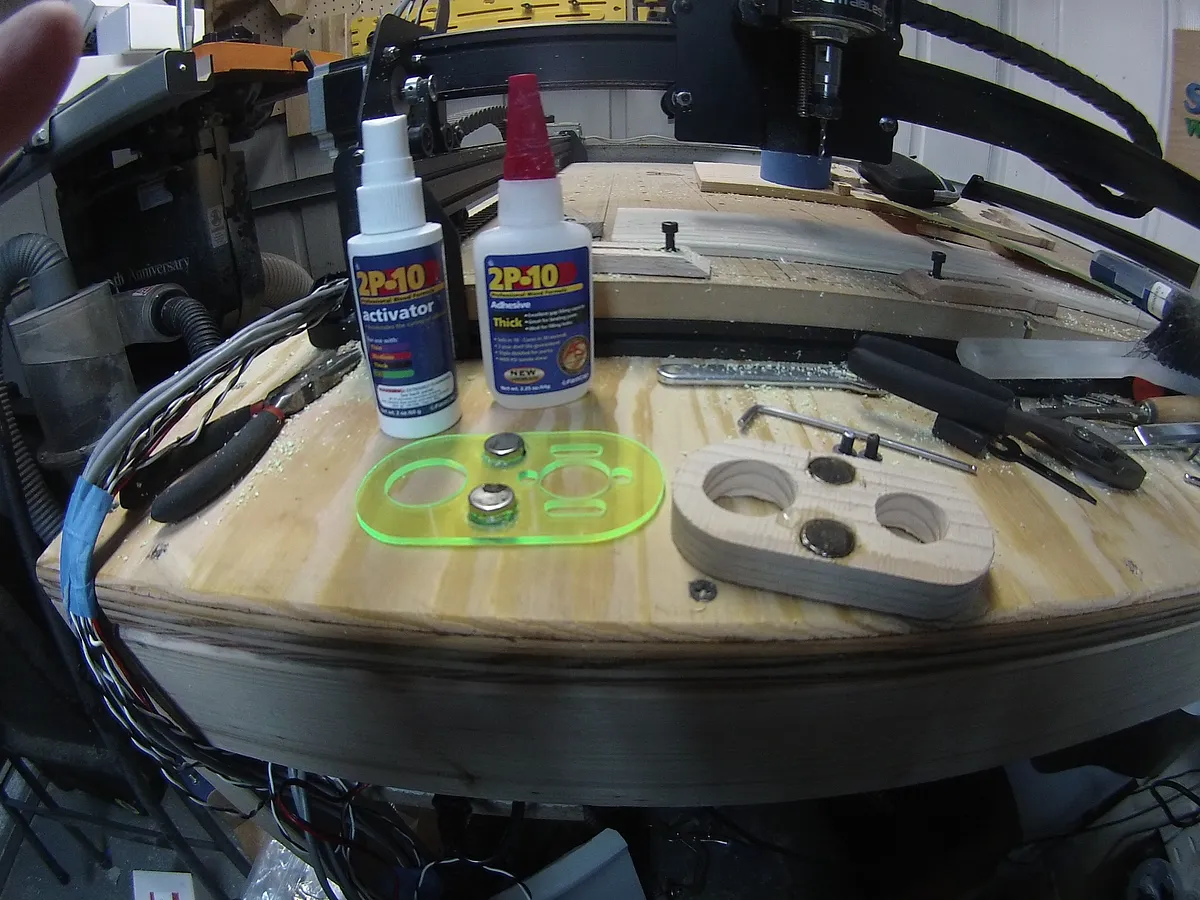
Next, you will want to get some power magnets. 9/16" x 3/16", sand the gluing surfaces, and glue them in the recessed holes. I used Power Mags from FastCap. http://www.fastcap.com/estore/pc/viewPrd.asp?idproduct=302
I used Thick CA Glue from FastCap called 2P10. http://www.fastcap.com/estore/pc/viewPrd.asp?idproduct=12811
Estimated time: 2 minutes
XCARVE 24VDC Dust Shoe Stache
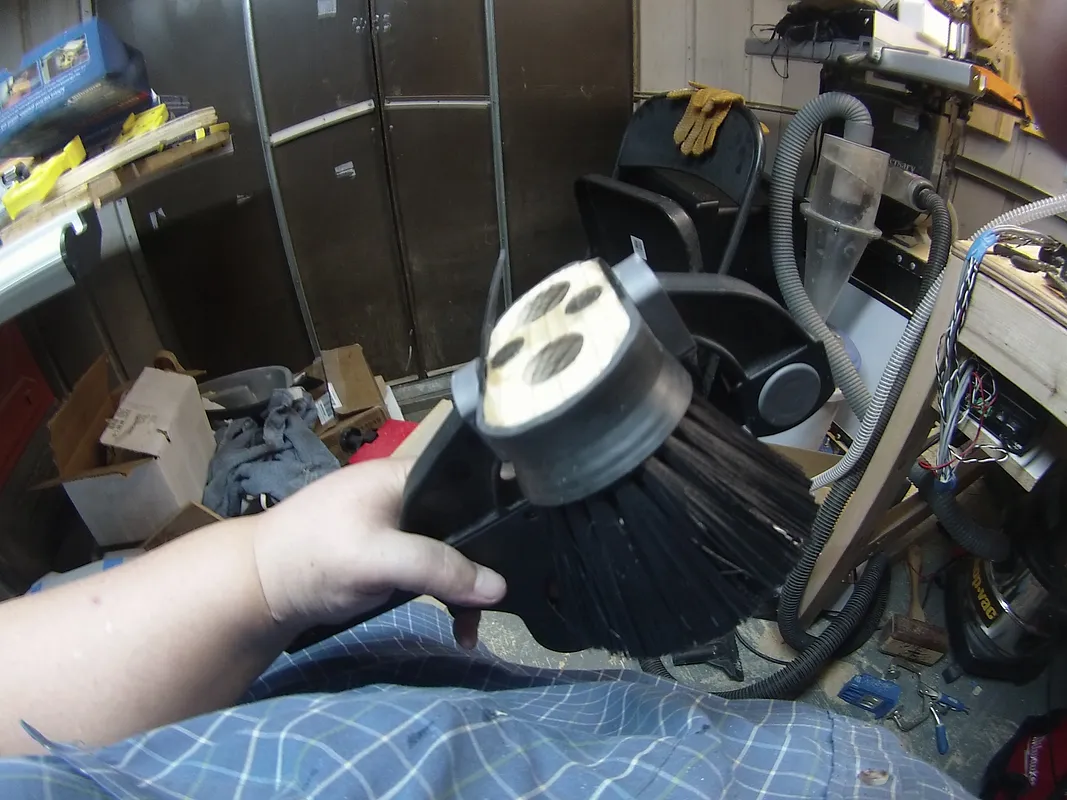
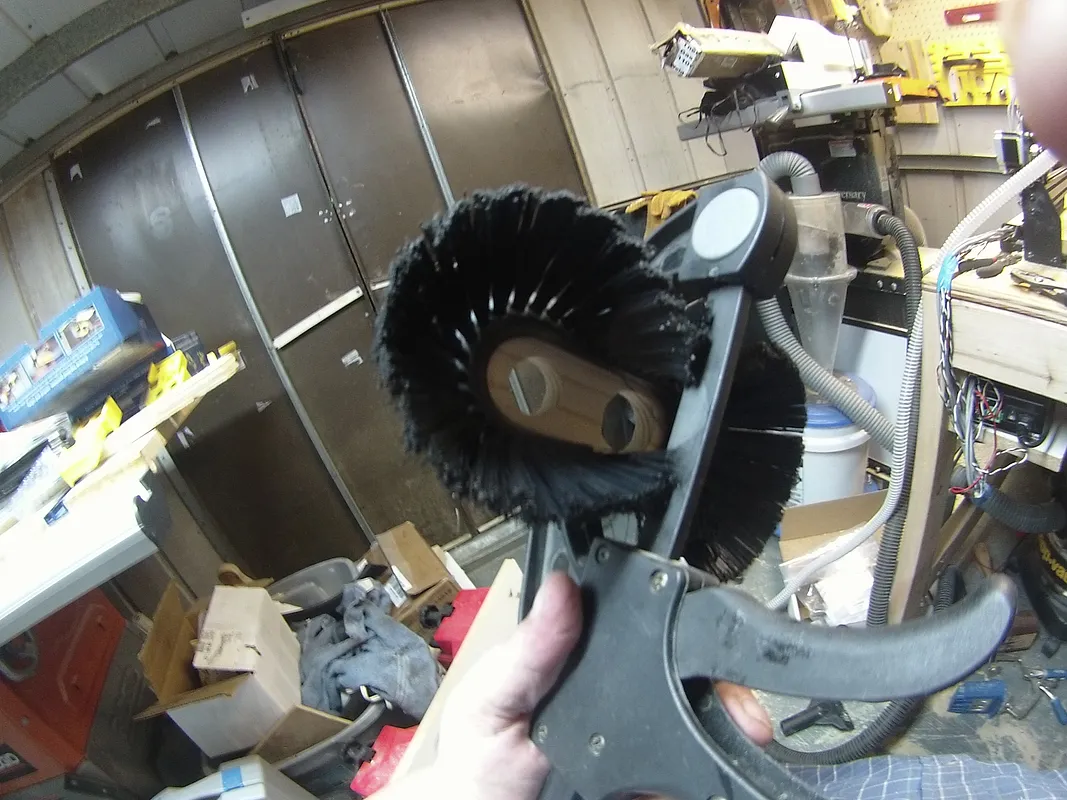
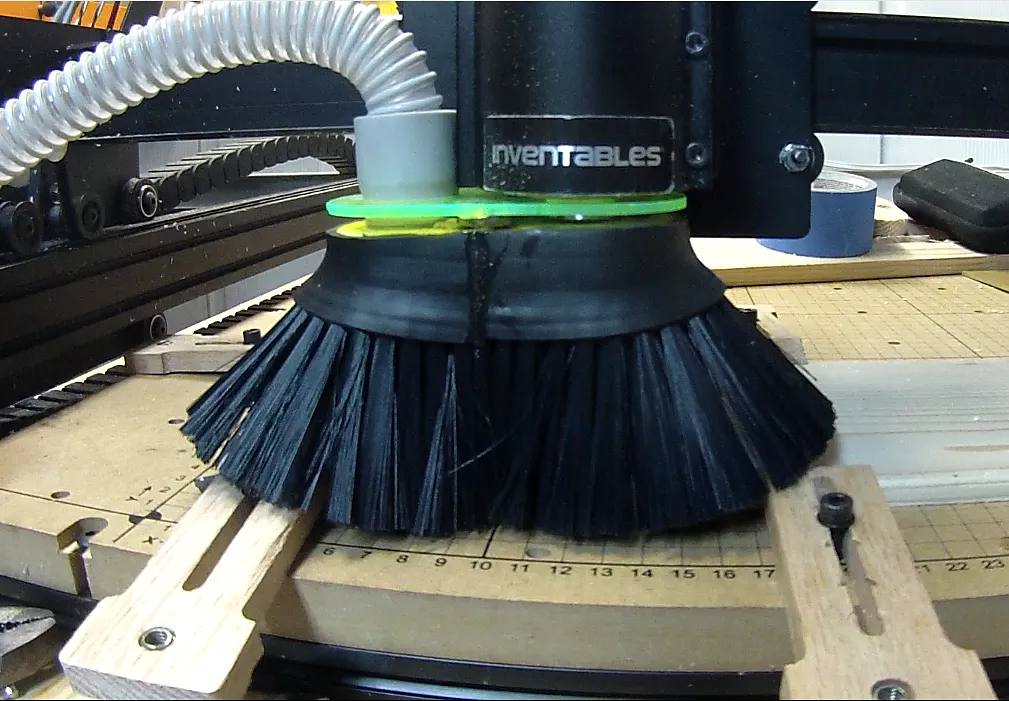
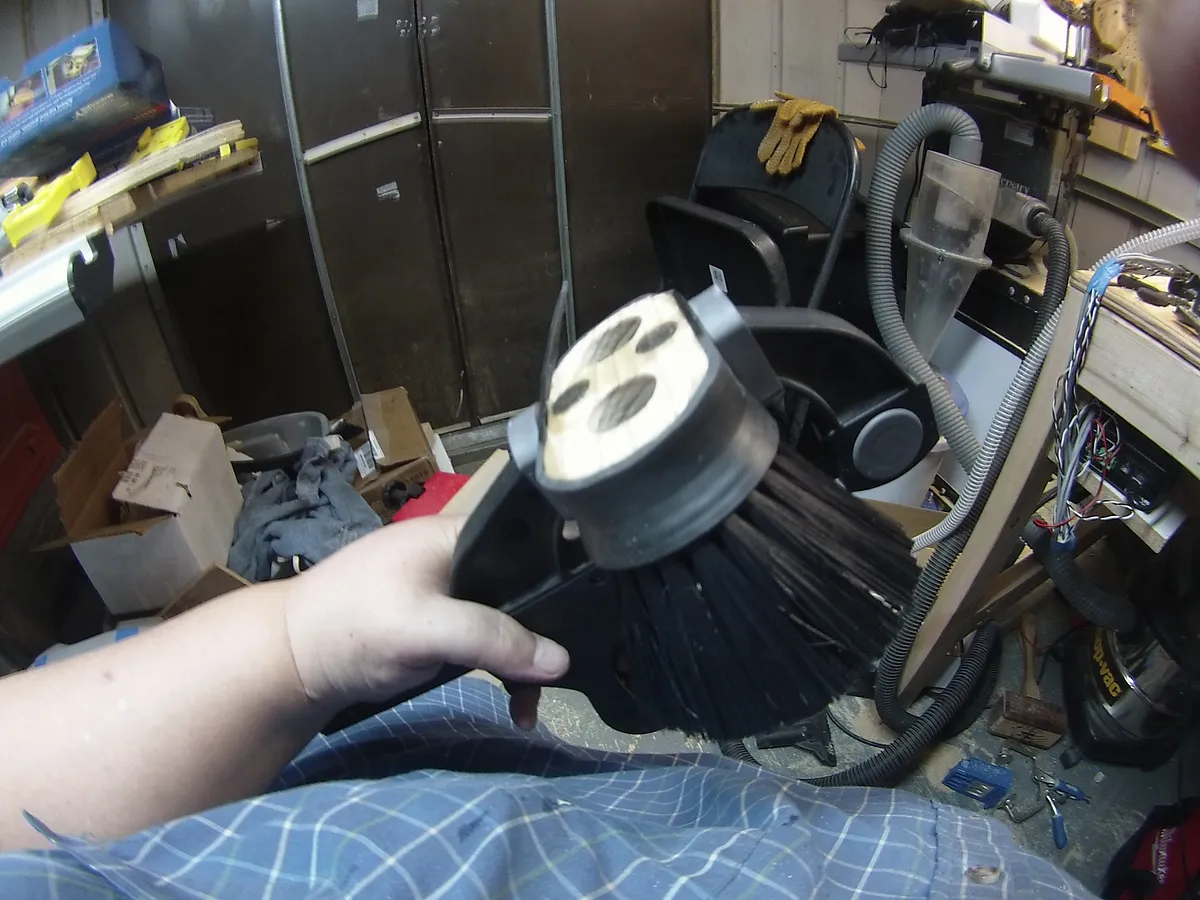
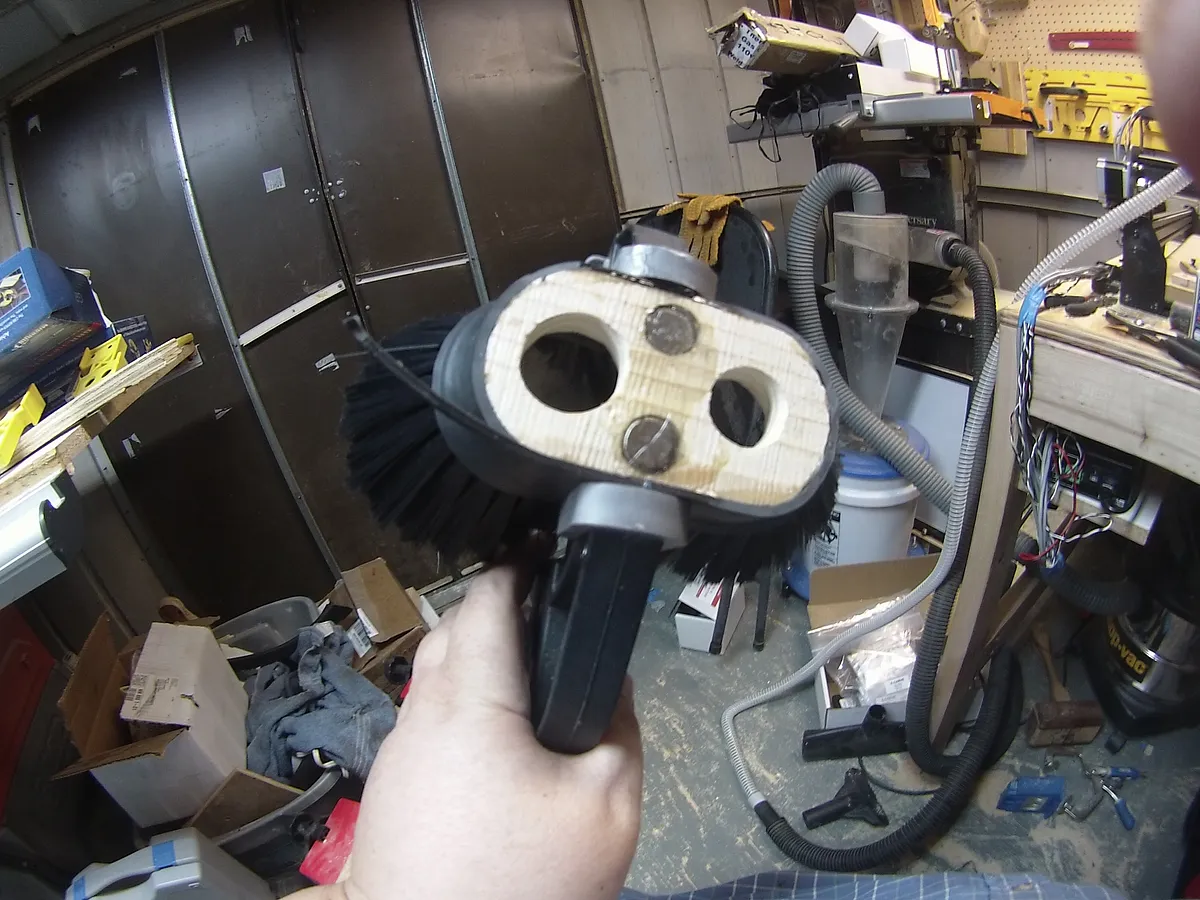
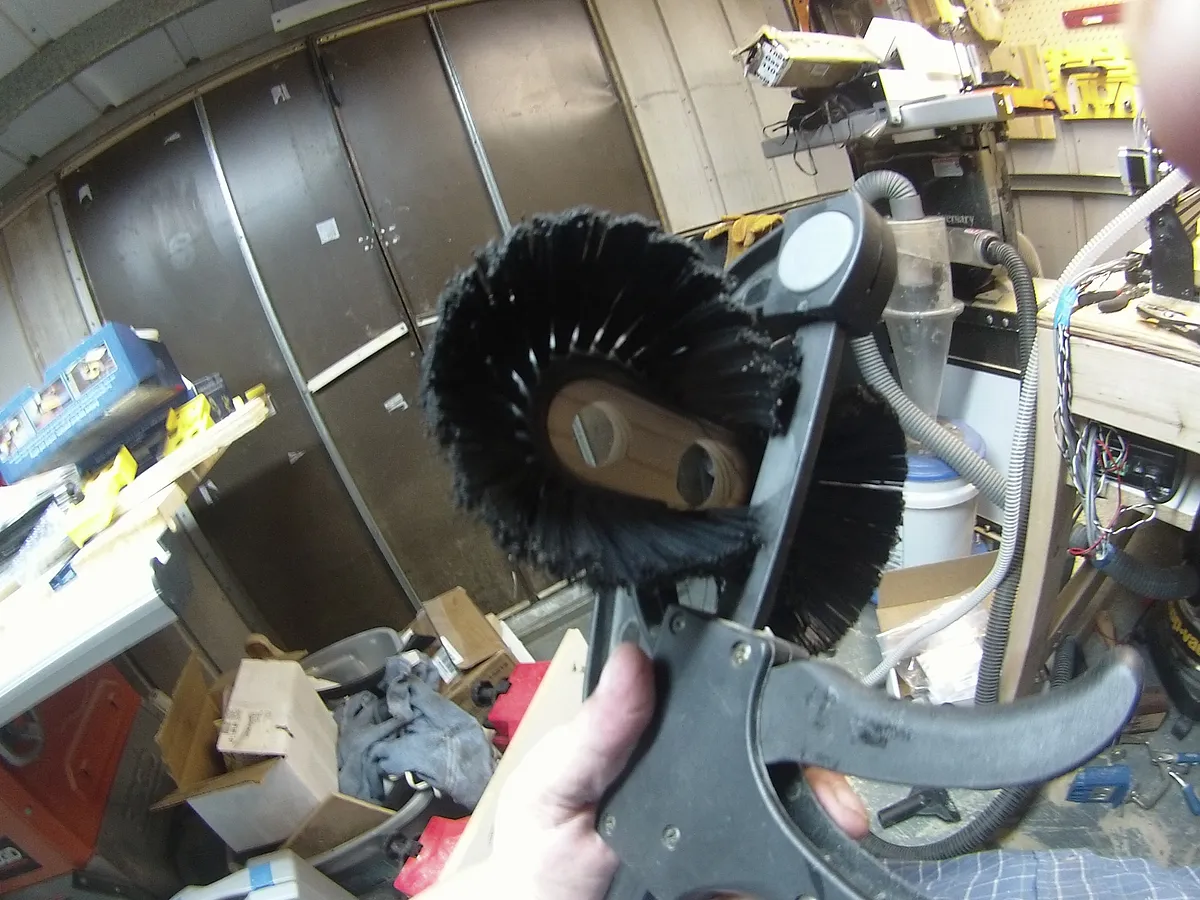
Now, it is time to install the stache to to the bottom pine piece. I used the same CA glue as above to attach it to the piece and clamped for 5 minutes each time I clamped a section. After you have the Stache attached, and it has cured for 5 more minutes. Trim the access rubber from the top of the bottom plate.
You can get your stache here: http://www.fastcap.com/estore/pc/viewPrd.asp?idproduct=53770&idcategory=0
Estimated time: 20 minutes
XCARVE 24VDC Dust Shoe Top Plate Install
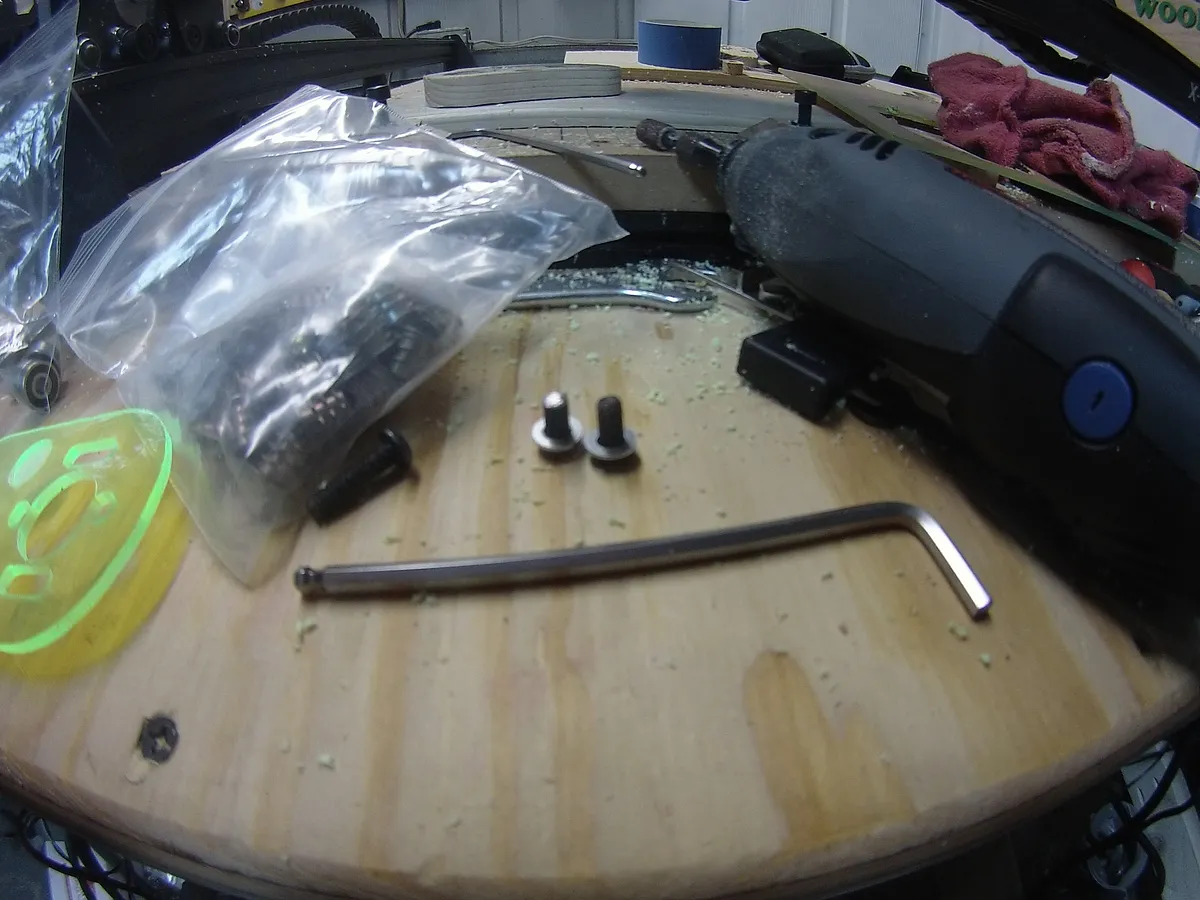
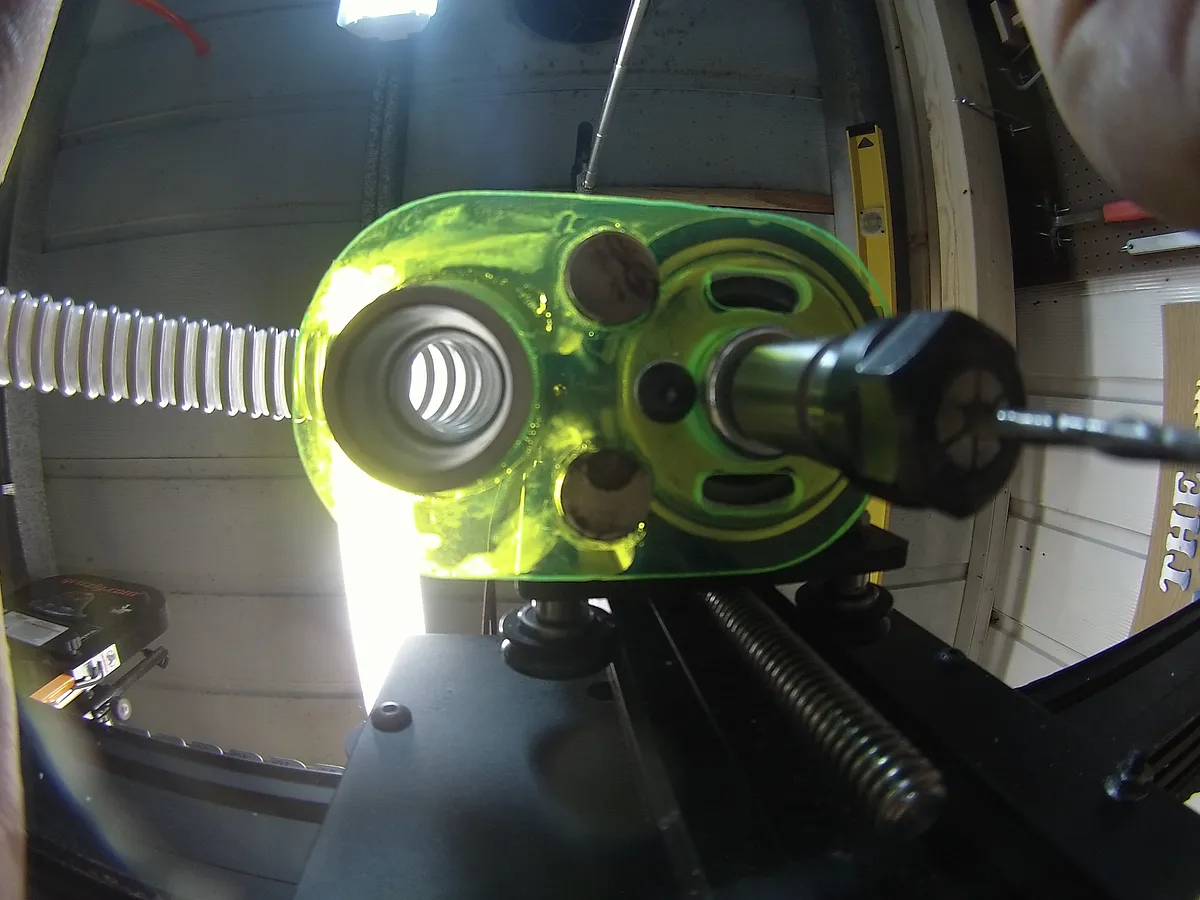
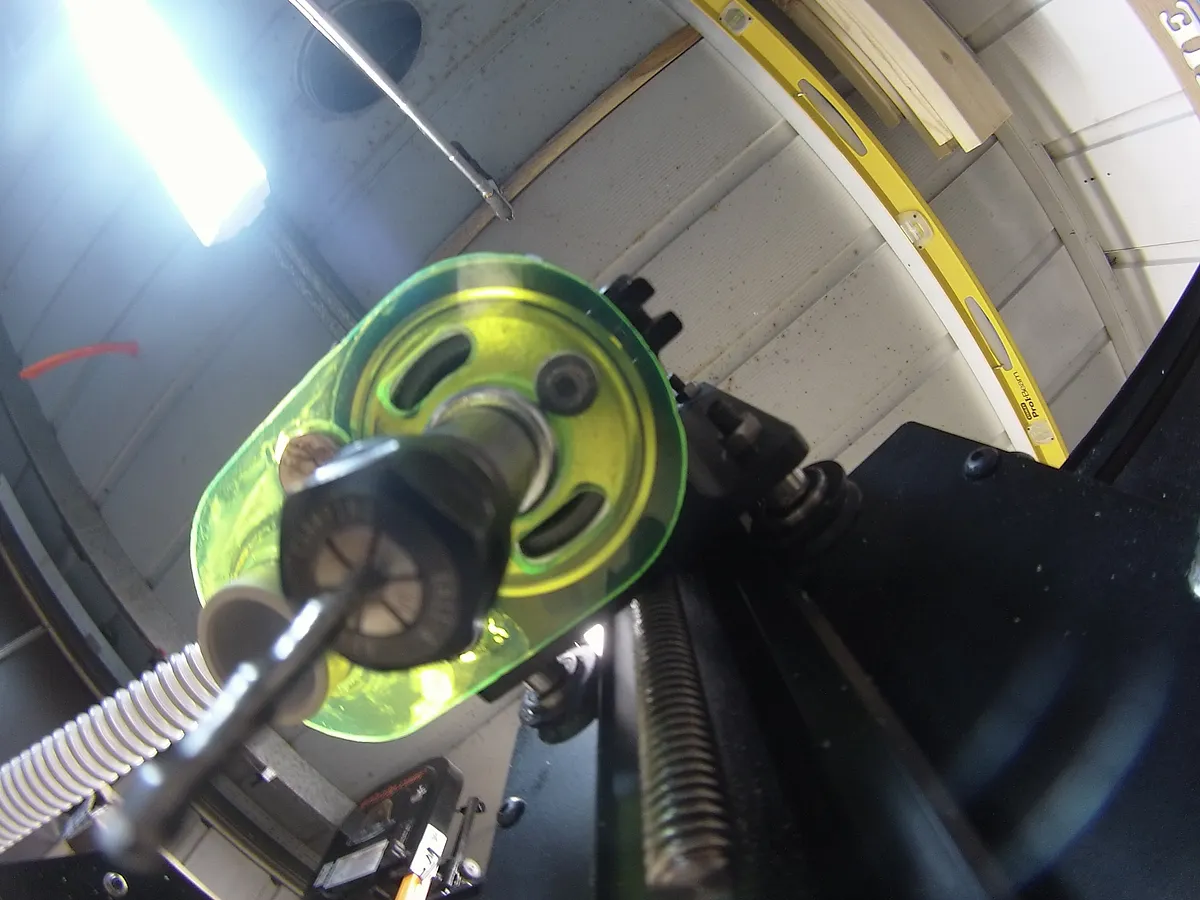
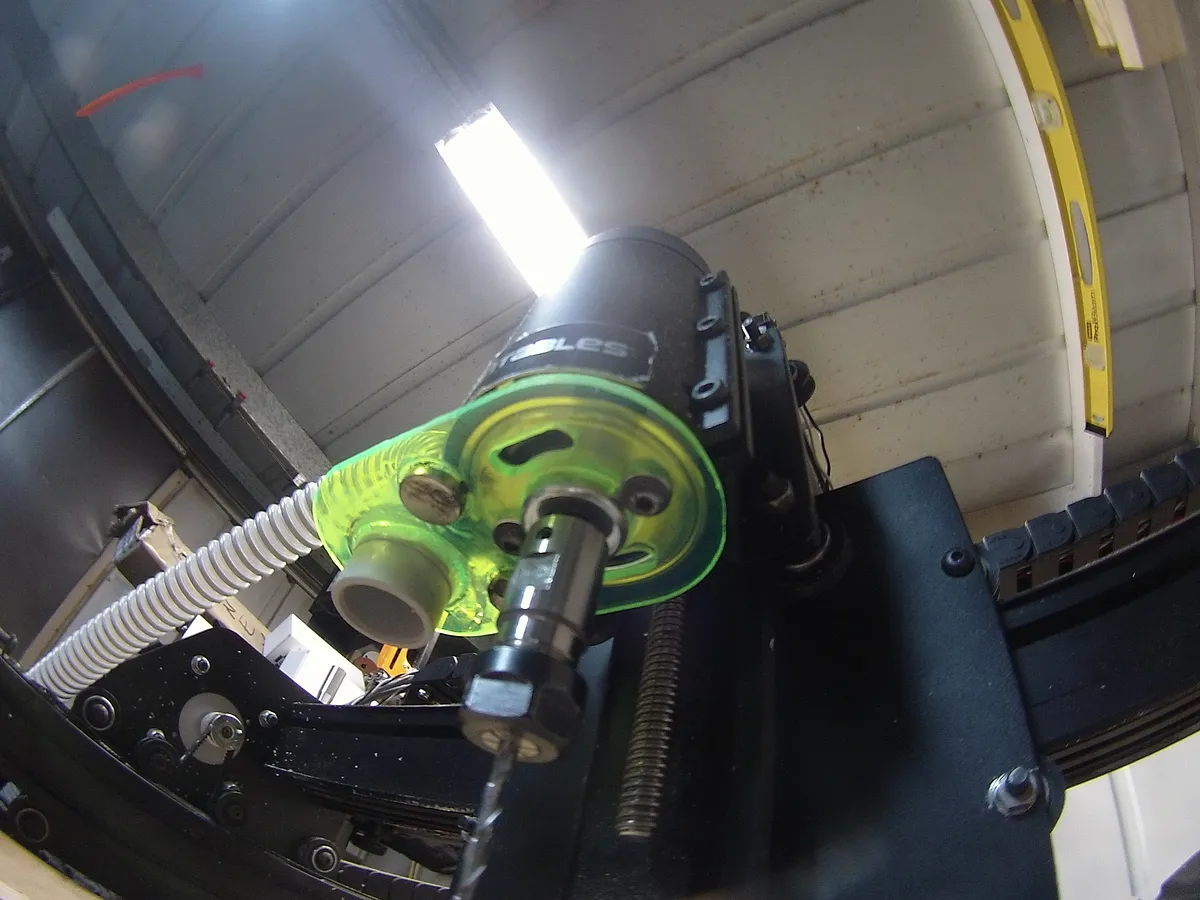
Onward, you use (2) M5x6MM Bolts to attach the acrylic plate to the bottom of the router.
Estimated time: 2 minutes
XCARVE 24VDC Dust Shoe Collection Hose
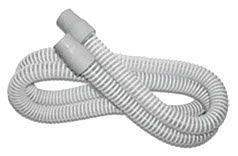
Following, a CPAP hose to the other hole opening and bod it with the CA glue as in the steps above. You can find the CPAP hose here:
http://www.amazon.com/gp/product/B00BHEMK2E/ref=aslitl?ie=UTF8&camp=1789&creative=390957&creativeASIN=B00BHEMK2E&linkCode=as2&tag=summerwoodwo-20&linkId=XBJNNUWDJJ5RAJRJ
Estimated time: 1 minutes
Attach XCARVE 24VDC Dust Shoe
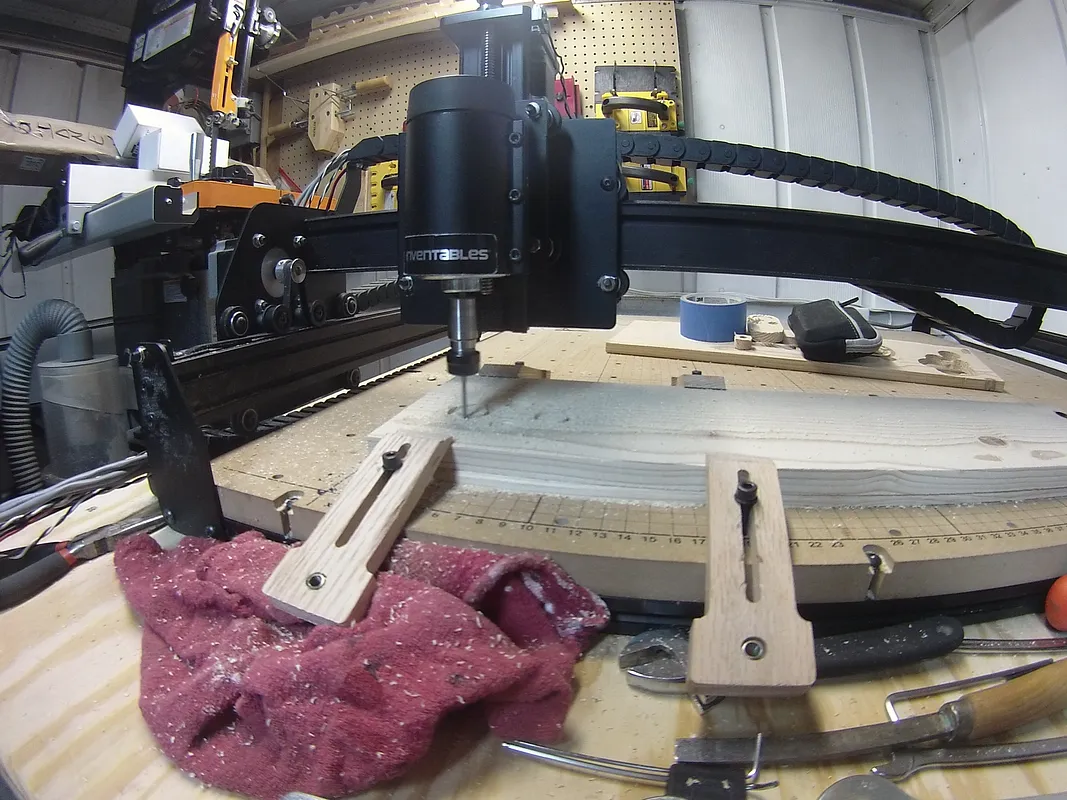
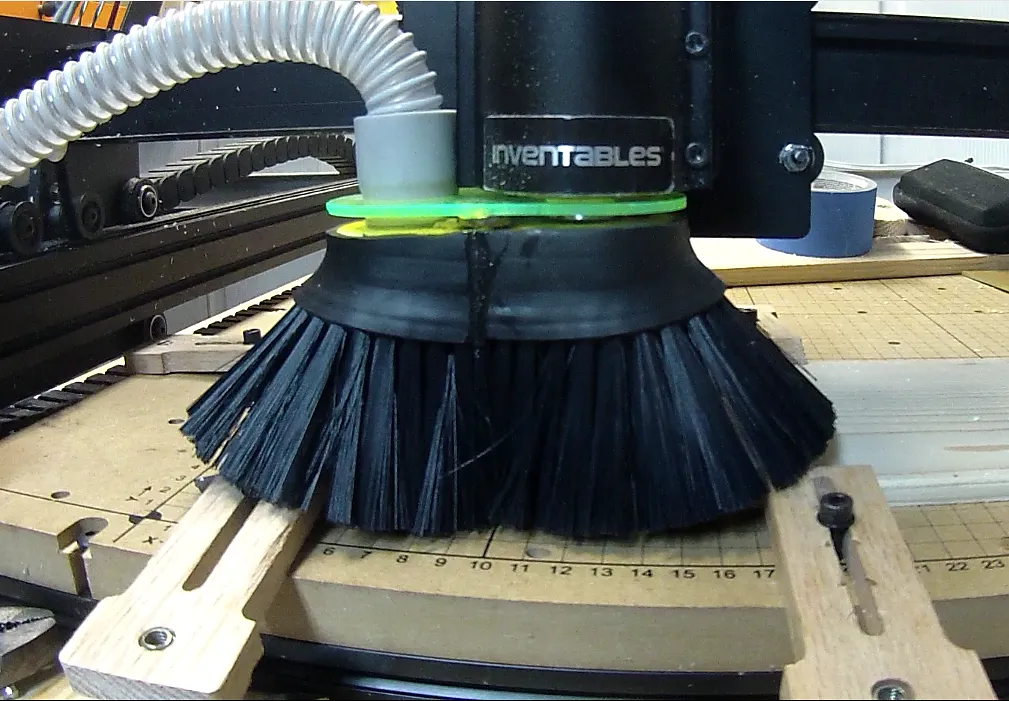
Finally, attach the XCARVE 24VDC Dust Shoe once you have a bit installed and GET CARVING!
Estimated time: 1 minutes
Comments
This looks great. When will you make your Easel files public?
Joshua Albers · January 13, 2016
Ditto on the public Easssssel filesssss pleasssse?
Colleen McGuire · June 26, 2016