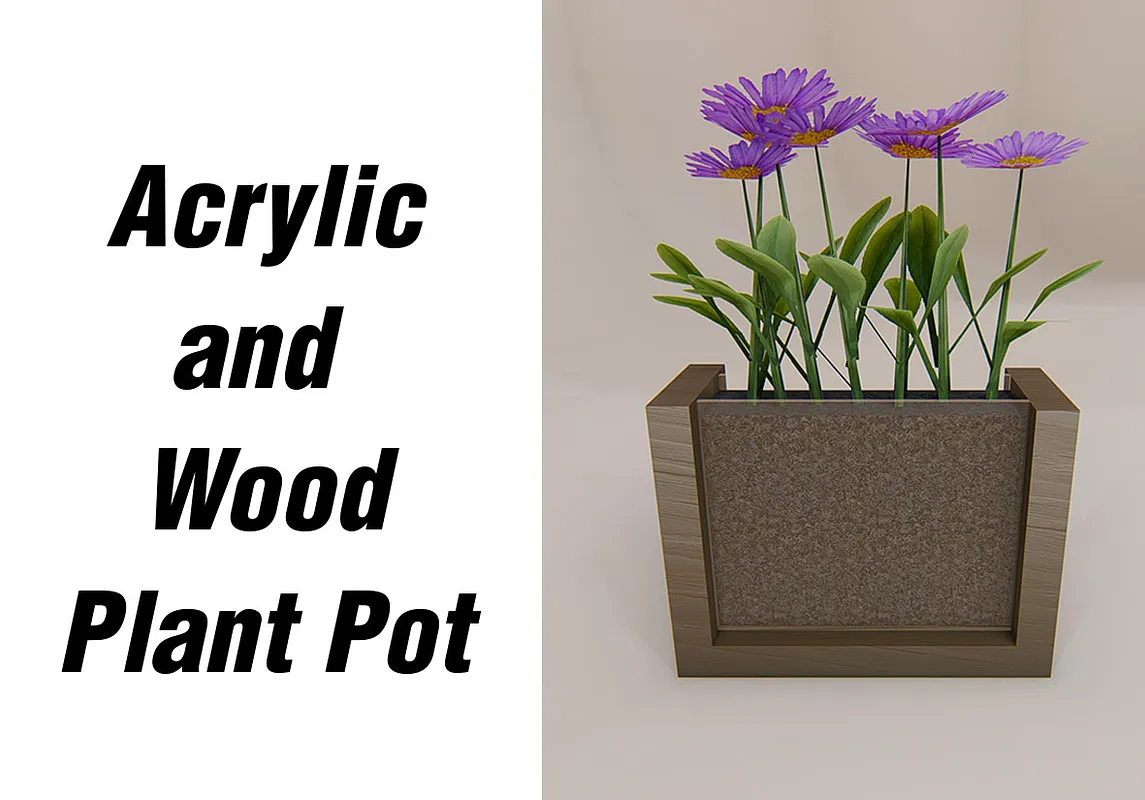
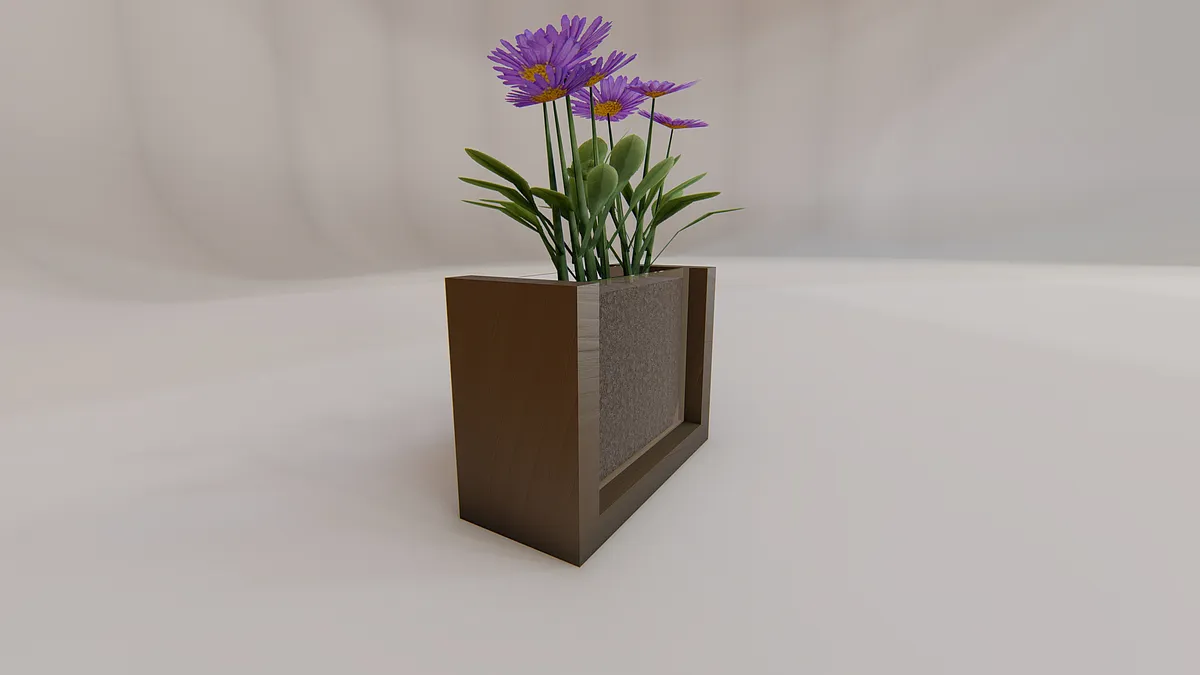
Acrylic and Wood Plant Pot

Instructions
Materials
The materials needed for this project are the following: - 8 x 12 inch piece of walnut, 20 mm thick - 8 x 12 inch piece of transparent acrylic, 1/8 inch thick - 150 grit Sandpaper - Glue
Estimated time: 5 minutes
Carving
Fasten your pieces to your X-Carve and start the carving process.
Estimated time: 30 minutes
Sanding
Once all 5 pieces are done carving, find any immperfections and sand them down with your 150 grit sand paper.
Estimated time: 5 minutes
Glue-up
Make sure the long wooden piece is on the bottom and glue both short pieces to the sides. Make sure the 1/8 grooves are on the inside of the piece. Place a litte bit of glue on the grooves, not too much because we don't want squeeze out and insert the acrylic cut outs into the grooves.
Estimated time: 5 minutes
Finish
Make sure to waterproof the wood so humidity doesn't damage it. In this case I'd go for tung oil.
Estimated time: 5 minutes
Comments
Having the grooves run the entire length of the bottom piece will result in holes on each side when assembled. This would cause a leak if it isn't sealed. I would recommend shortening the groves by 10 mm on either end of the bottom piece. That would eliminate the holes.
Garrett · June 26, 2018
Oh, that's true. Didn't even think of that, thank you very much Garrett, already fixed the design. :)
Antonio Hernandez Menchaca · June 26, 2018