Xmas Gift Card Stocking

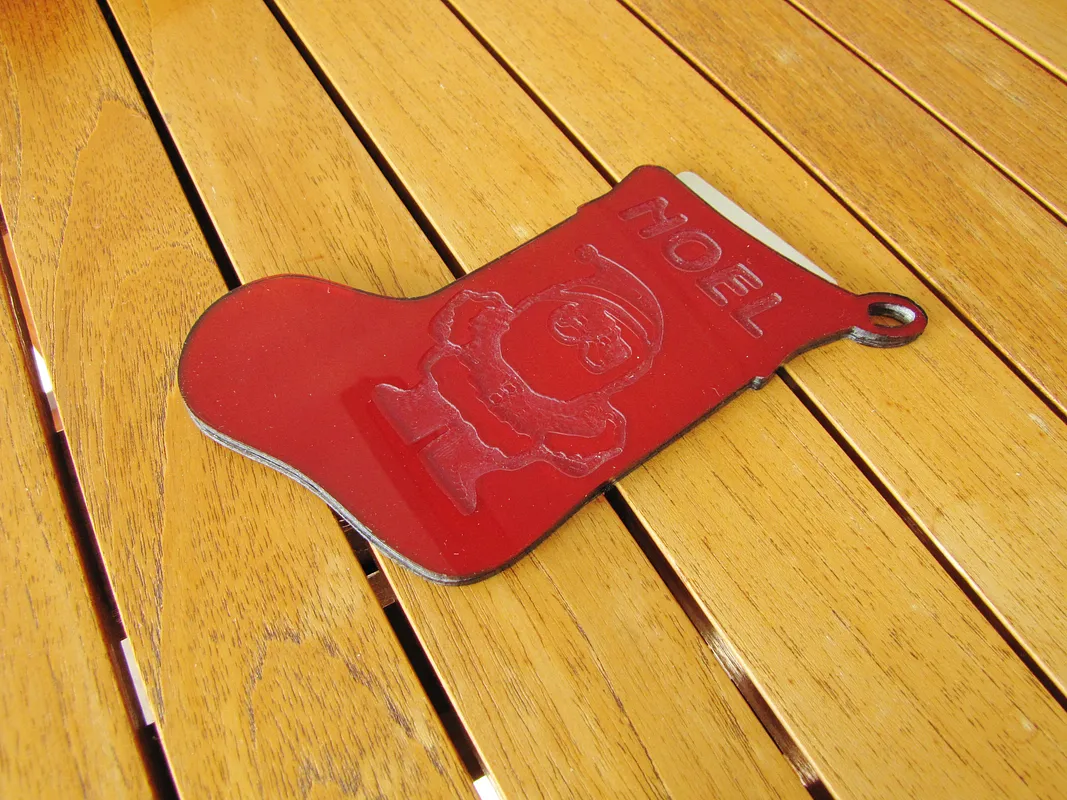

Instructions
Cuttin the Acrylic
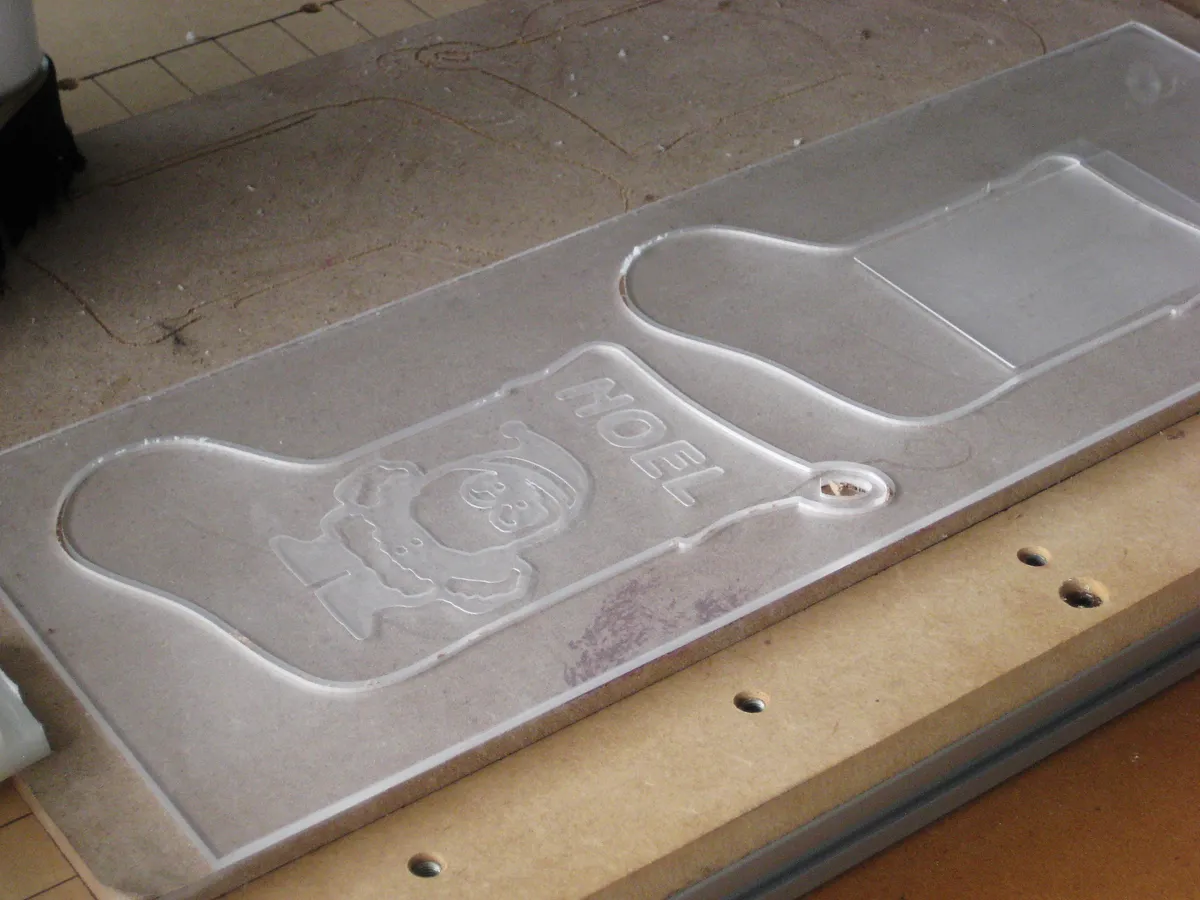
I was short on cast acrylic material, so I just picked up a cheap sheet of .100 extruded plastic at our local Ace Hardware. Since I would be cutting completely through the material, I used 3M 77 spray adhesive to mount the plastic panel, (leaving the protective covering on the glue side) to my sacrificial board . I removed the clear top protective cover, as it sometimes gets wound around the bit and makes a mess. I used a .0625 2 flute up cut bit running at 100 imp & doc at .03 with my Dewalt 611 set on the slowest setting.
Estimated time: 20 minutes
Paint and Finish
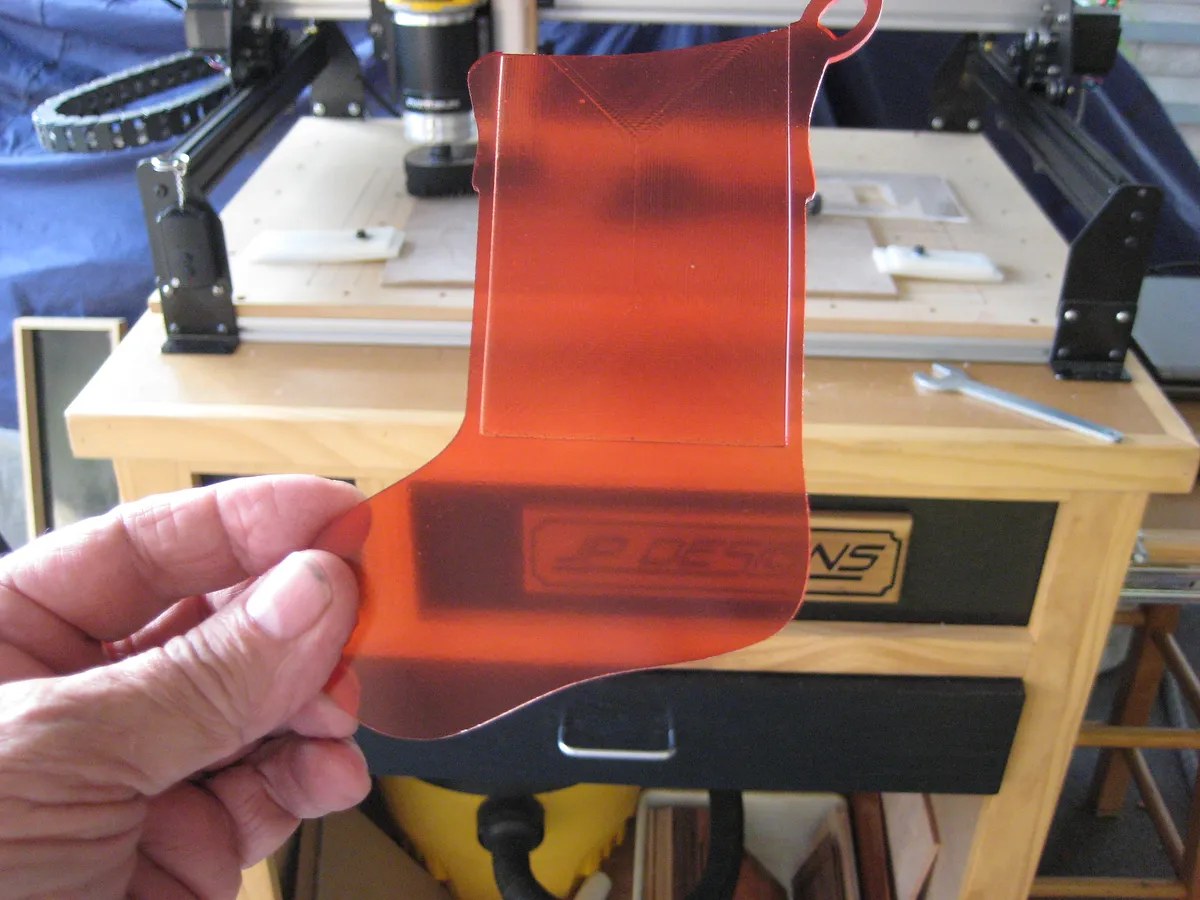
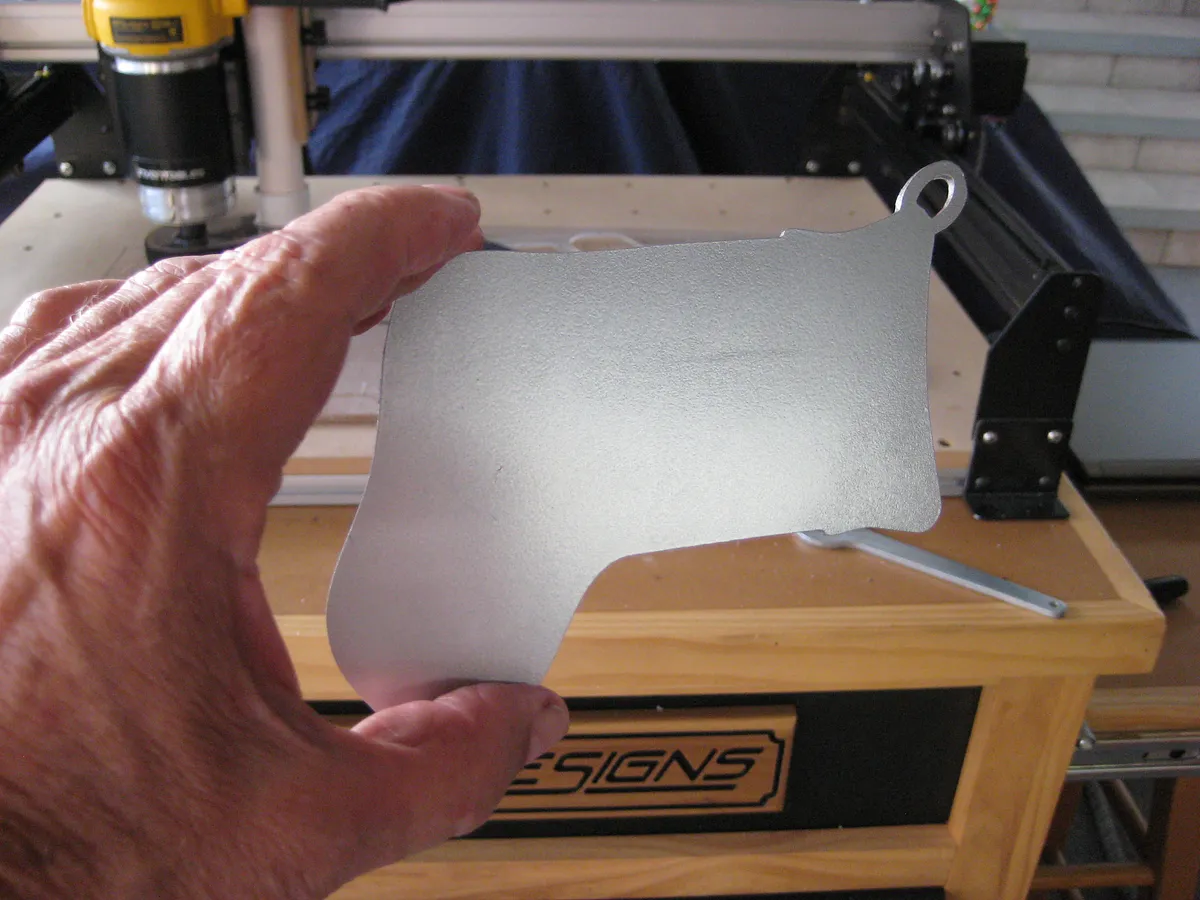
I painted the inside sections with a red transparent spray, and top coated the red with a silver metallic paint. This hid the card from view, and gave me the depth and color I wanted. Had I had more time to complete this project, I would have definitely purchased some red acrylic from Inventables. Would have made it so much simpler.
Assembly
I carefully glued (Tightbond II) the two halves together and put in the card. OMG...everything worked (doesn't always happen) and looked great! My wife said I can now put in a Platinum Credit Card for her for Christmas. I'll have to think about that one!
Merry Christmas everyone!
Estimated time: 10 minutes
Comments