Simple Stand

Instructions
Adjust file for material thickness
The attached easel files were designed for .32" MDF. If the material you wish to use is different than this then open the SVG in the digital files section and adjust the slot widths to the correct size.
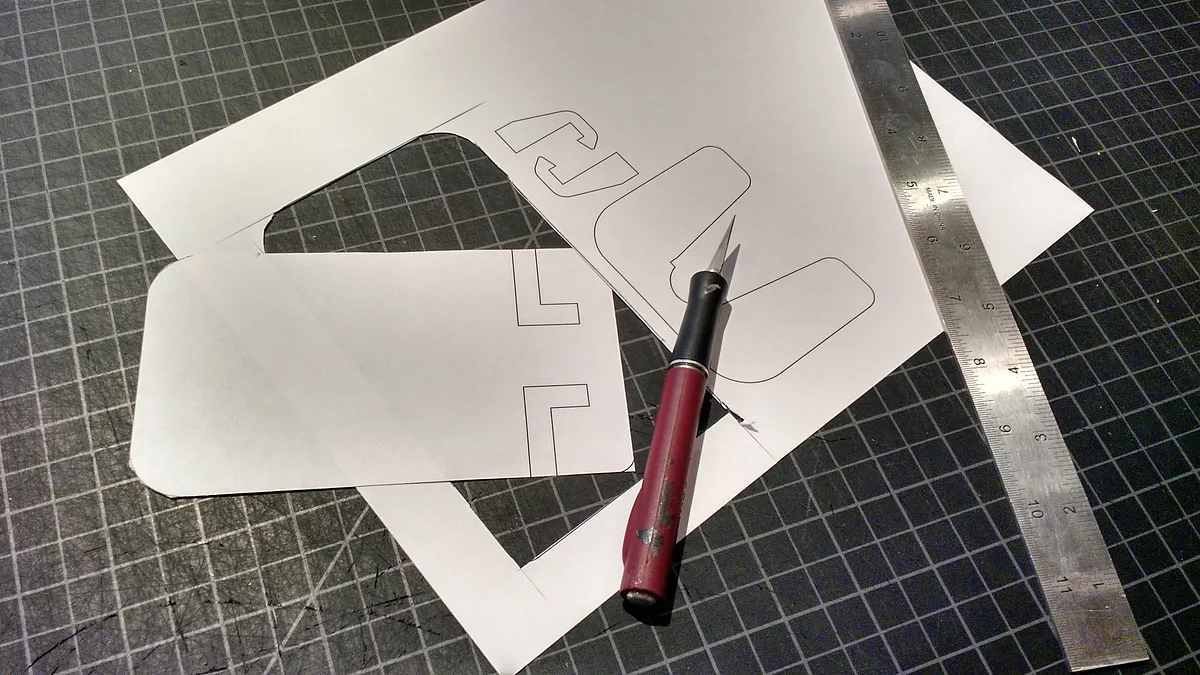
At this point you can also change the overall size of the design to suit your needs. Just be careful to make sure everything still lines up. Try printing a paper version to test the new proportions.
Customize the top section
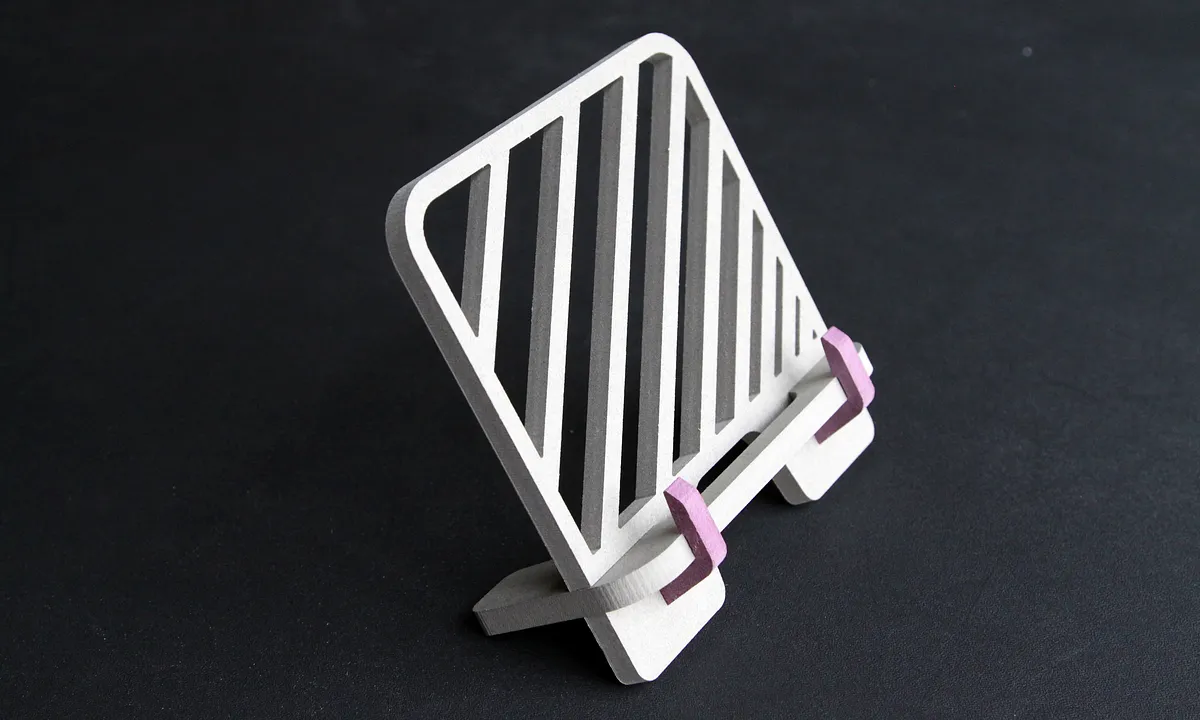
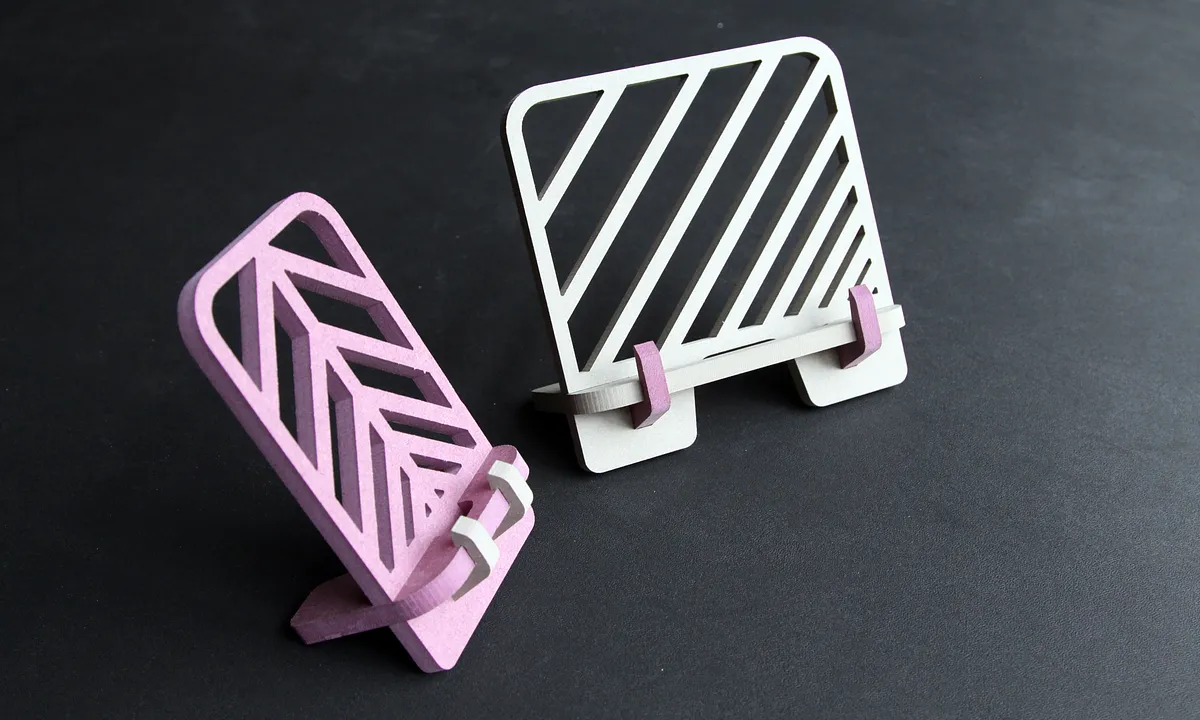
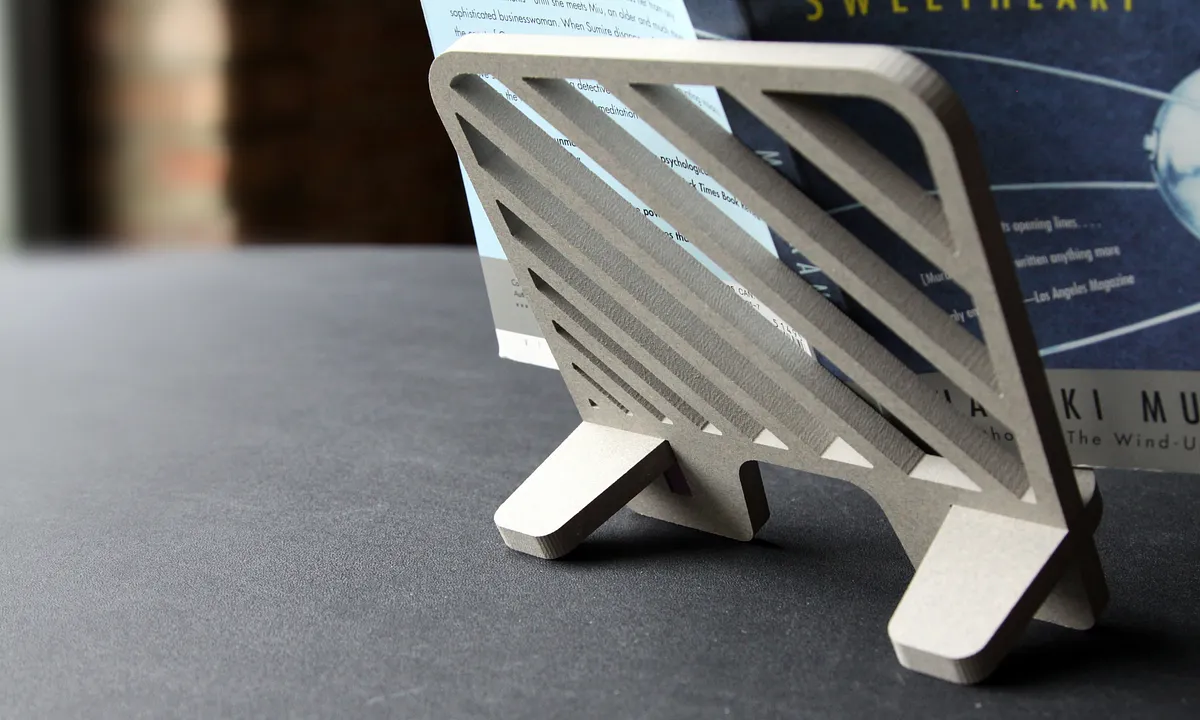
For this area I created a simple linear pattern. This could almost anything, even an etching of an image, icon, or pattern.
Use this blank version of the EASEL "link":http://easel.inventables.com/projects/4iF745Ol7hdFozXZDMWkbA
Mill the parts
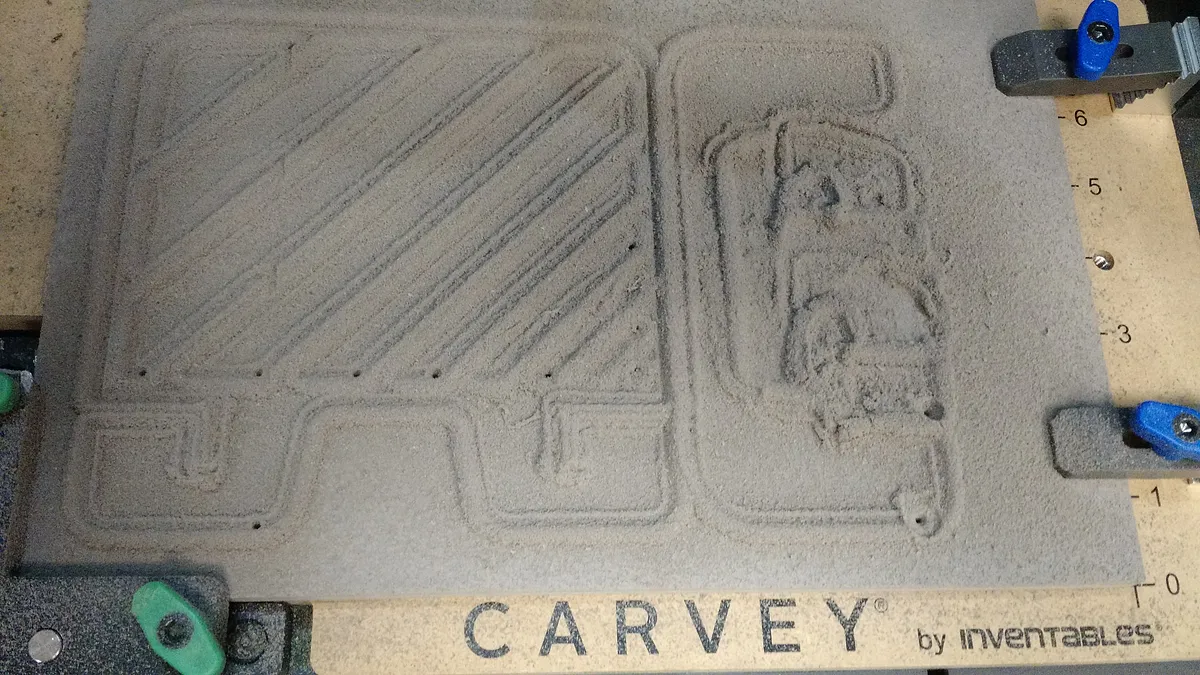
For this cut try using double sided tape to secure the material. This will help with the small parts. Use a 1/16" endmill to keep tight interior corners, creating the best fit.
Use your customized Easel file or use this "link":http://easel.inventables.com/projects/zD5MEWp8b3dlRVs0kac1zg
Assembly
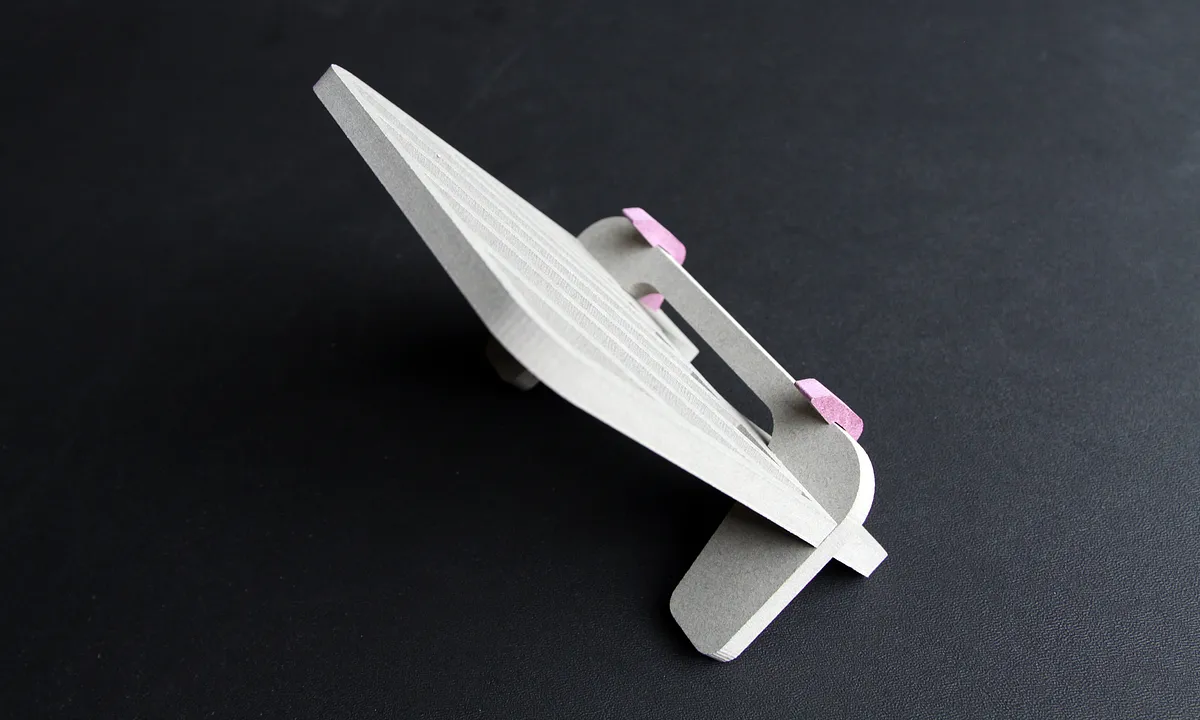
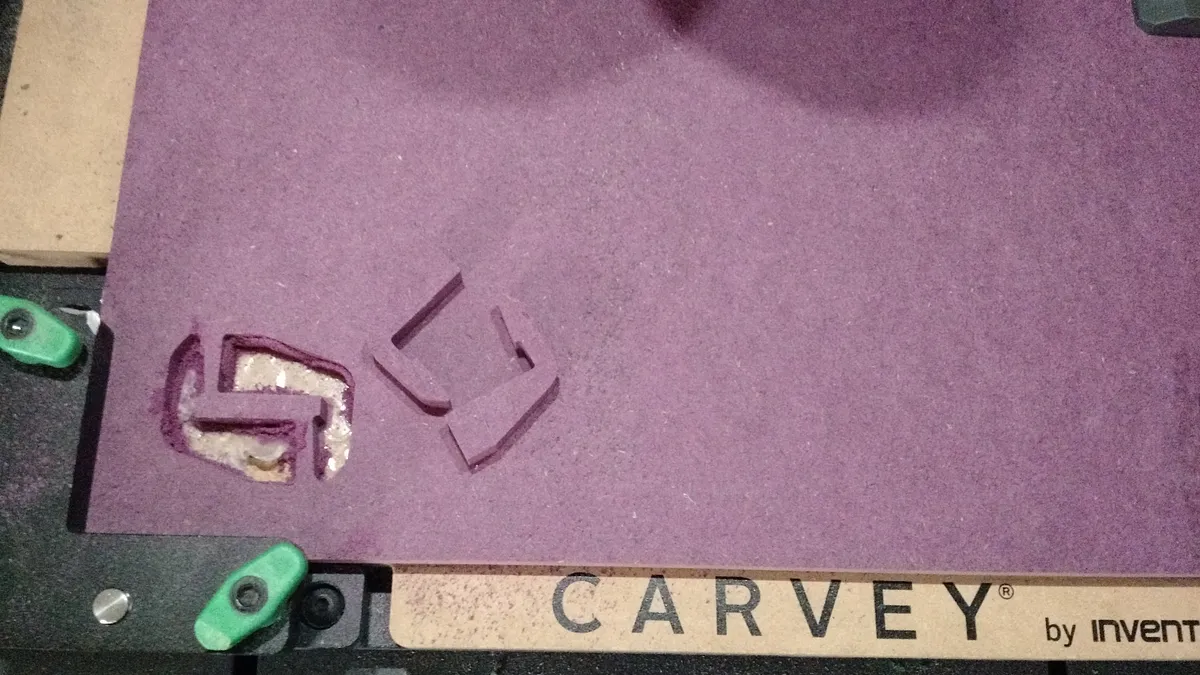
Once your parts are cut they should snugly fit together. If there are any tolerance issues, use a small file to enlarge the slots, or sand the parts to be slightly thinner.
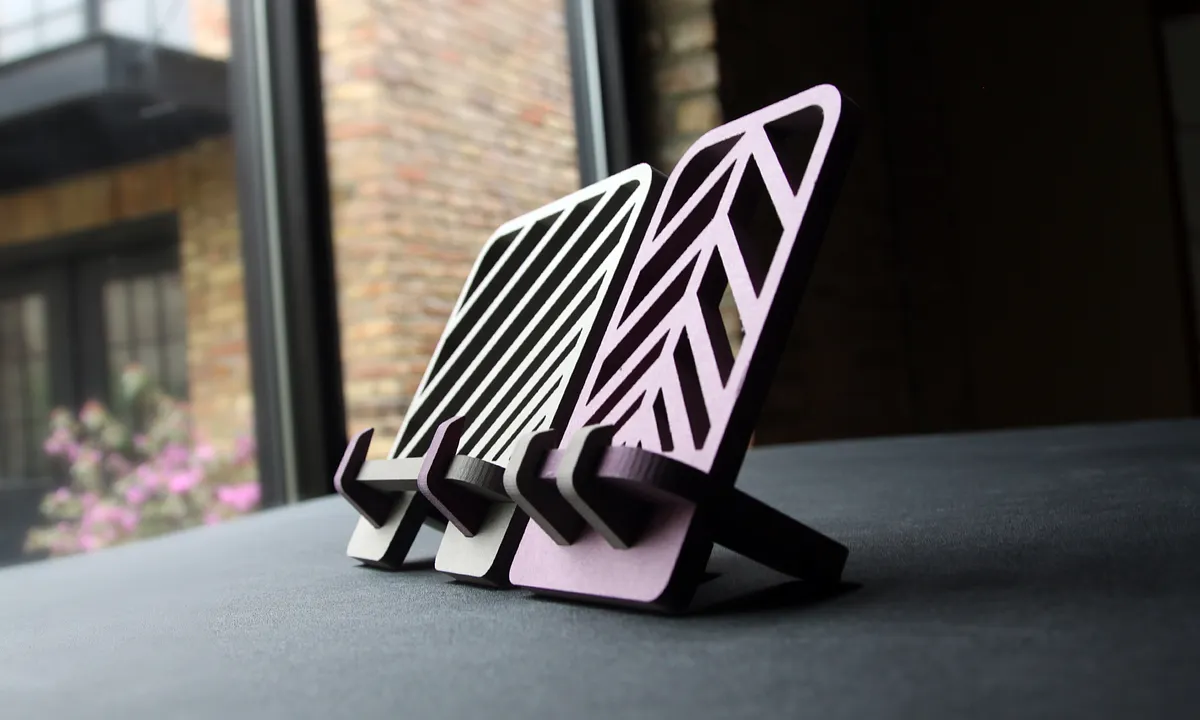
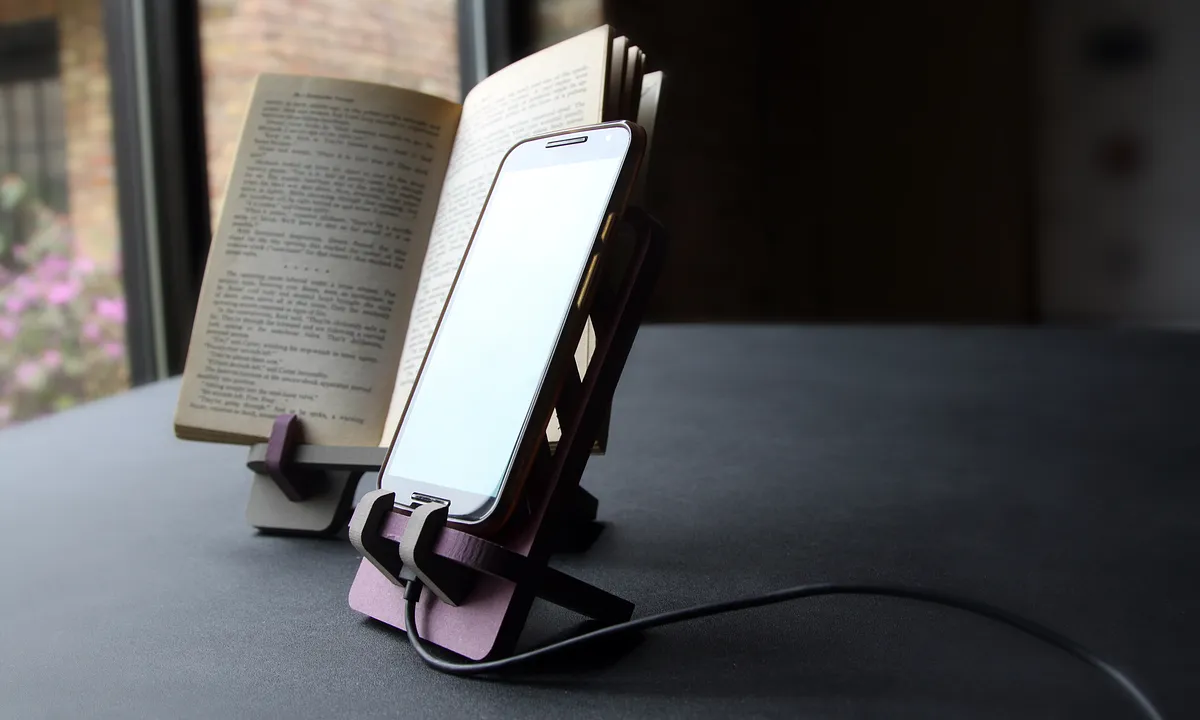
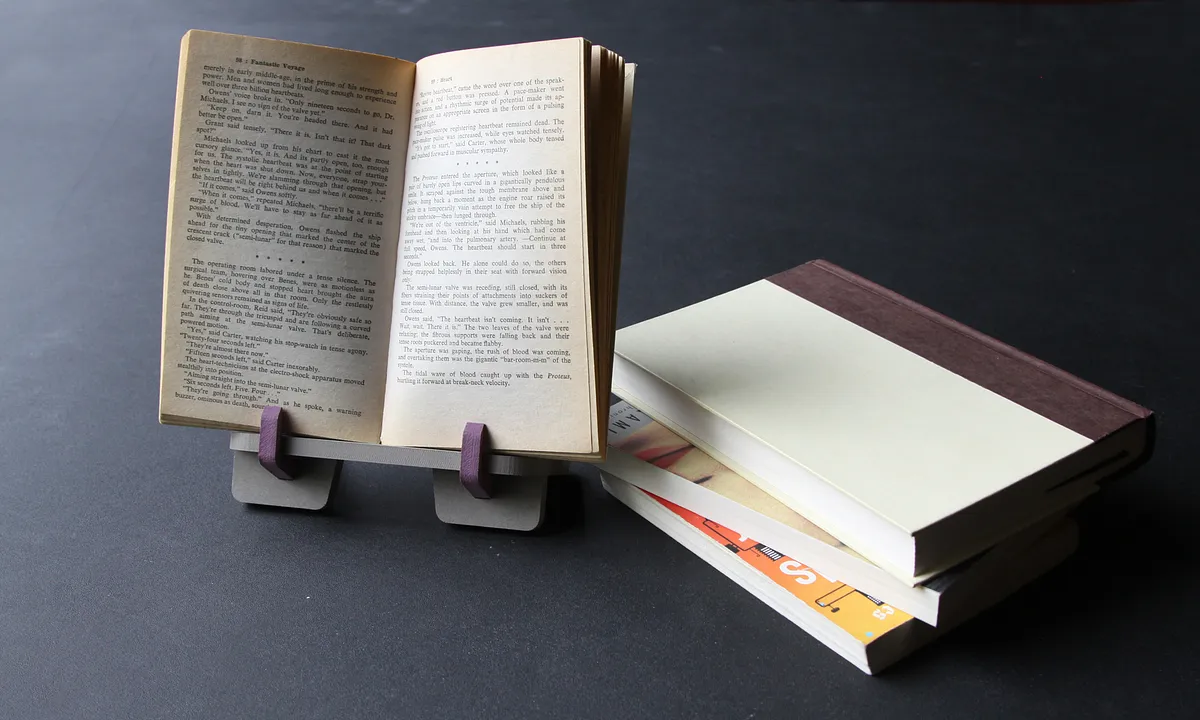
Included in the file are two different size hooks. Pick the best size based on your desired use. You can also cut these in a different accent material.

Comments
Any chance that you could include the pattern that you used for the smaller stand?
Bob Jewell · May 06, 2016
No problem Bob. I added a SVG that has the smaller stand with a pattern
Beyond Design · May 09, 2016
Its really good from what school are you and in what grade?
mellanie · January 09, 2017
how do I adjust the size of the slot widths? I don't think there's a measurement tool in Easel... Is there another software tool that you recommend that would allow me to make measurable changes to the SVG files?
Easel User · February 16, 2017
How do the pieces fit together?
Easel User · February 17, 2017
For anyone looking to do this, make sure you don't make the same mistake as I did and use .500 MDF. None of the parts fit together until I filed them all down haha. Great template though!
Jonathan Hornak · November 27, 2018
Where did you get the 3/8 inch colored MDF?
Eric Cisneros · November 24, 2019
You can always use thicker board and overlay a pocket tool path and set its depth so the final board thickness is the width you need. 1/2" board and you need 3/8"? Create a pocket path spanning the entire board (minus clamp areas)at .115" deep. THEN, cut out individual parts in the pocket area..
Mike LarsenPro · September 01, 2021
Downloaded zip file- Empty ??
Neil Jennings · June 25, 2024