Make a wooden tool tote

Design a plywood tool tote in Easel with a base sized for your tools, low sides and comfortable hand openings.

See the plywood totes

Start from a blank workpiece

Draw a five-panel caddy with two end grips

Make an open tool caddy from half-inch plywood, with separate wood glue and screws for the assembly. This two-hand version has a grip in each end instead of the makers’ overhead handle. In Easel, first draw a 12 × 8-inch base. Add two 12 × 3-inch side walls and two 7 × 7-inch ends. Set their outside edges to cut through the plywood, then draw a 4 × 1-inch hand opening in each end, centered across its width with one inch of wood above it. Cut those openings on the inside of their outlines.

Recorded in the Easel editor, playing at 3× real speed.

Stand all four walls on the base. The 7-inch ends fit between the half-inch side walls, leaving an 11 × 7-inch interior. Glue the butt joints, then drill pilot holes and countersink screws through the base into the walls and through the long sides into the ends. Choose pilot size and screw length for your actual plywood; the recording does not drill these holes. Round and sand the grip edges after cutting.

The recording lays out the complete five-panel design and two through-cut grips, not an assembled or load-tested tote. The dimensions are examples: measure your longest tool and actual sheet thickness before resizing. Leave holding tabs or another suitable workholding method when preparing the real carve, then remove tabs and grip offcuts.

One long handle or a smaller carry box?

An overhead handle leaves one hand free, but it also limits how tall tools can stand in the middle. The smaller tote brings the same arrangement to a compact box. Measure the longest tool across the floor and the tallest one beneath the handle before choosing a size.

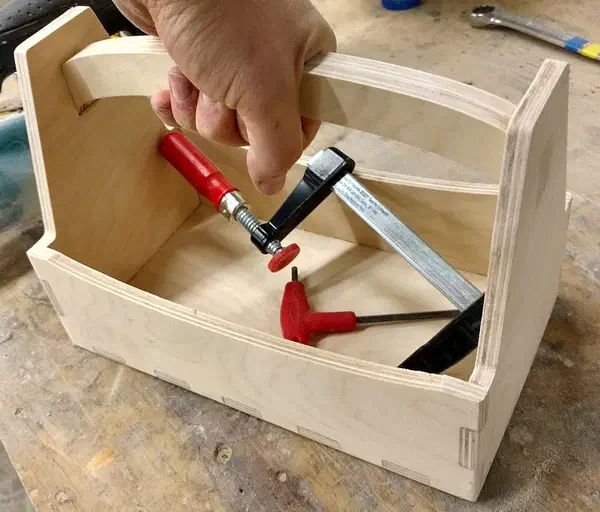
Andrew Camardella’s complete birch-plywood tote held by its curved handle, with two red-handled clamps inside on a workbench. Tiny Tool Boxby Andrew Camardella

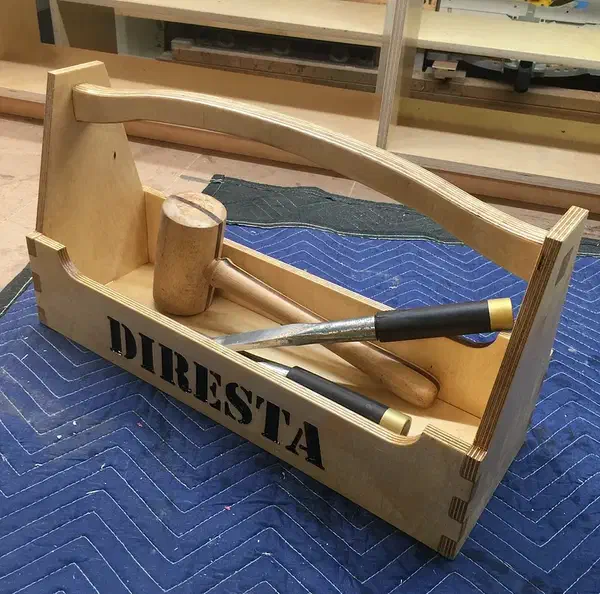
The compact version with tools inside

Andrew adapted the DiResta tote for Carvey-size cutting. His main preview contains the bottom, finger-jointed wall outlines and curved handle profiles together, but several parts extend outside the displayed 12 × 8-inch stock. Rearrange the parts onto suitable sheets rather than carving that layout unchanged. The individual Carvey links in his notes currently lead to login, so this page links the accessible combined preview. Add glue and a finish separately, and check the mating cuts before using a full sheet.

See more tool-box search results →

From the project discussion

Sheet thickness changes the finger-joint fit

The Tiny Tool Box discussion is readable without an account. Sign in to add a question about its joints; a reply is not guaranteed.

Use the thickness of the sheet you actually have

Jeff Swenson reports that his material was the wrong thickness, so the joints did not line up. His comment on Andrew Camardella’s Tiny Tool Box identifies stock thickness as the cause of his fit problem.

Comment by Jeff Swenson: read the source.

From Tiny Tool Box by Andrew Camardella.

Ask a question

Give your longest tool a place on the floor

Lay out the tools you carry together before drawing the base. Keep the low sides below the tools you reach for often, and leave room to grip both ends without catching your knuckles.