Make a wooden mallet for your shop

Carve the flat parts for a laminated mallet, then glue and shape them into a shop tool. Explore full-size and miniature builds, or start by drawing a simple head and handle in Easel.

Explore the wooden mallets

Start from a blank workpiece

Draw a center layer and two matching head cheeks

Start with a new blank workpiece in the real Easel editor. Make a 4 by 2 inch rectangle for the head, overlap a 1 inch-wide handle into it, then use Combine to join the shapes. Add two matching rectangles for the outer head cheeks. Set outside cuts to the half-inch stock thickness and inspect the three parts in the native 3D preview. This unsaved demonstration draws a simple 6 inch-long center layer with a straight handle. It shows the flat layout, not an assembled or test-cut mallet. The handle still needs shaping after glue-up; use a featured maker’s build for a more developed design.

Recorded in the Easel editor, playing at 3× real speed.

Choose hardwood layers, dowel pins or a miniature build

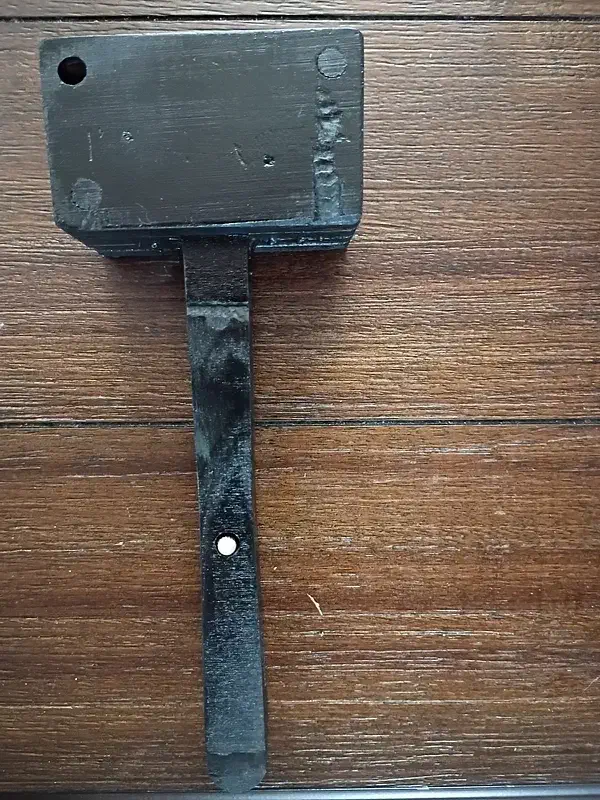
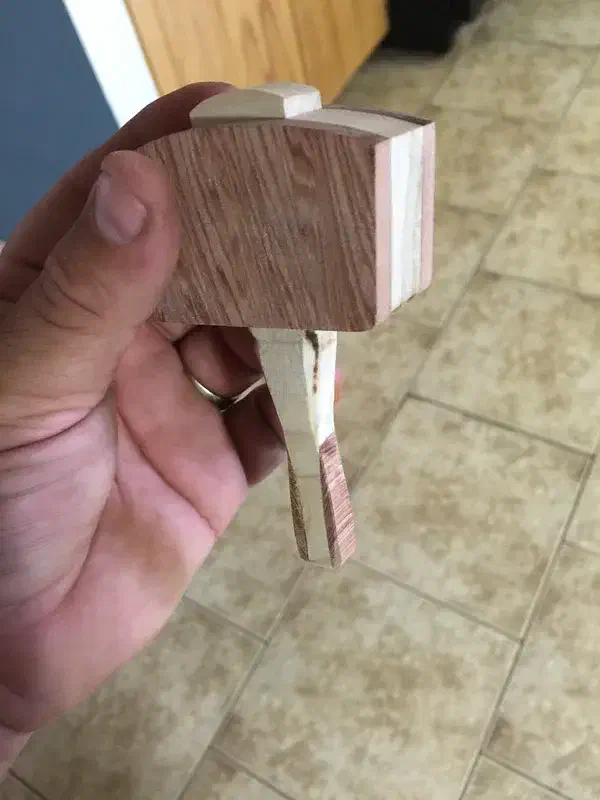
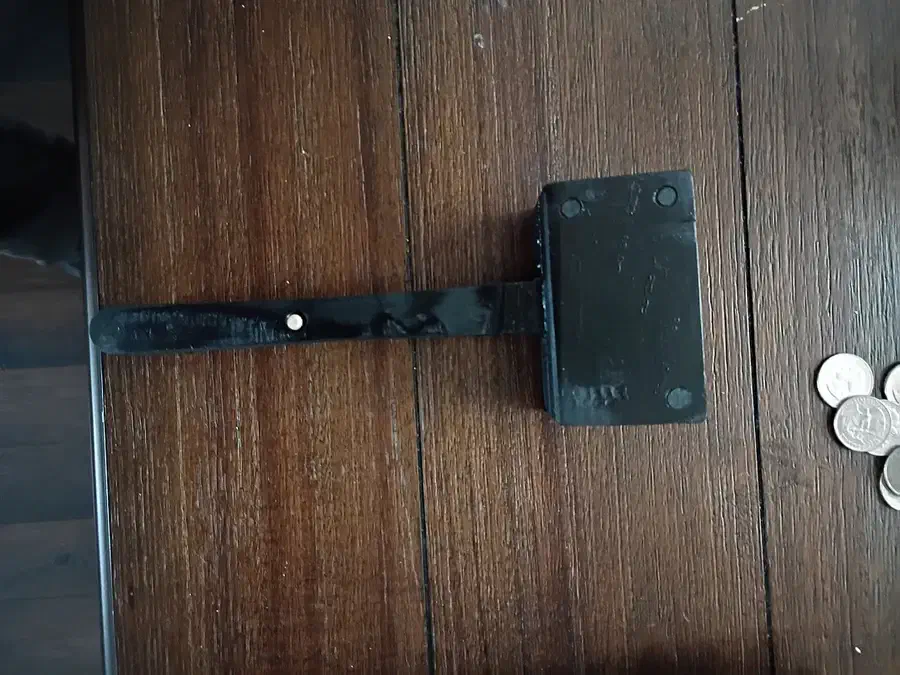
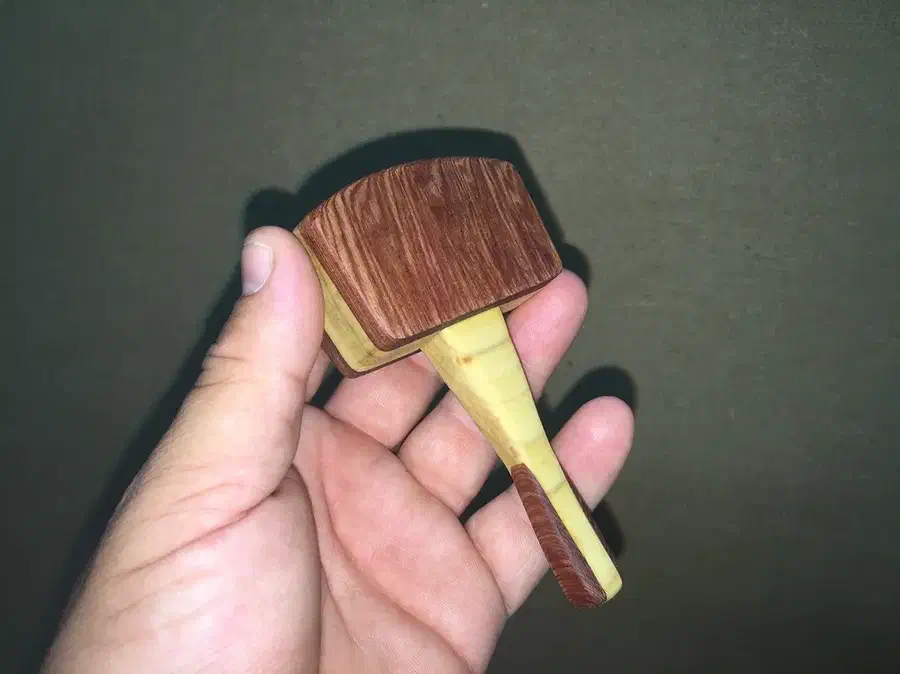
The miniature mallet fits in one hand. Full-size versions stack hardwood or plywood layers, with dowel pins on Christopher Young’s design to align the head.

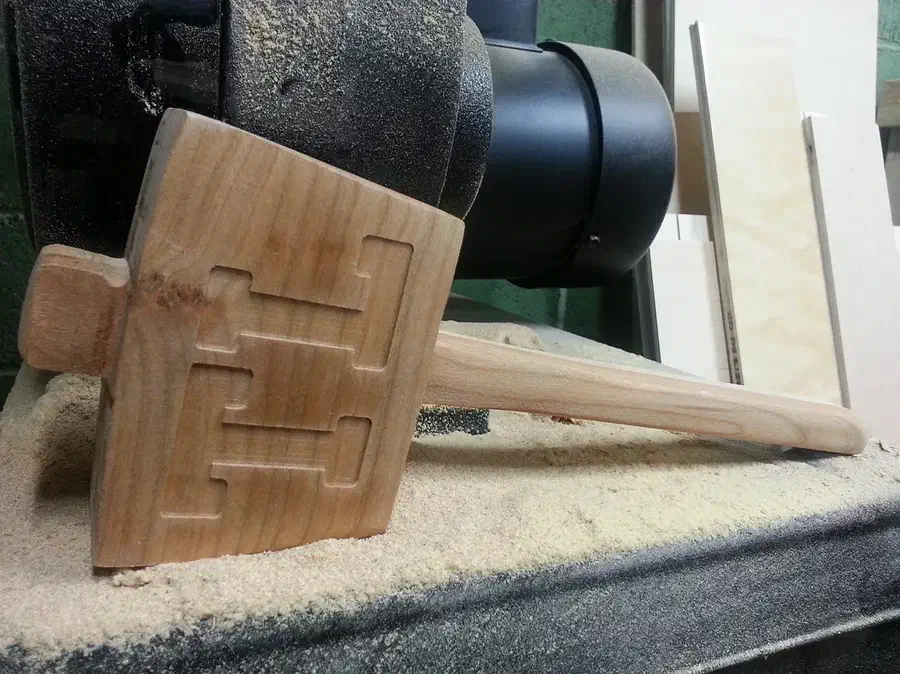
A laminated wooden mallet with carved initials on its broad head, resting beside a workshop sander A laminated hardwood shop malletby Travis Lucia

A laminated hardwood shop mallet

Make a traditional shop mallet from flat hardwood parts, then shape the handle after glue-up. Travis uses half-inch maple and cherry and adds carved initials to the head. His shared layout contains the center handle-and-head layers and the outer head pieces. Add your own lettering for initials like those in the photo. His instructions show cutting, gluing, shaping and finishing.

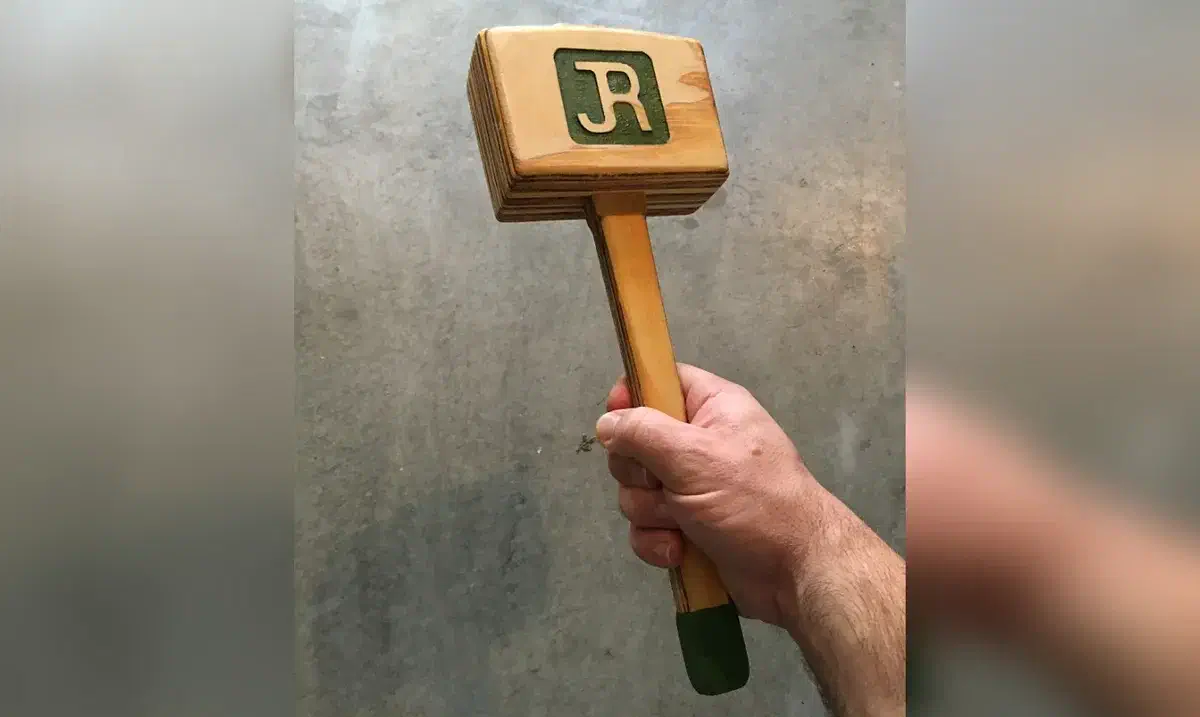
A hand holding a laminated wooden mallet with a carved R on its square head A personalized mallet for chisel workby Jeremy Richards

A personalized mallet for chisel work

Jeremy made this birch-plywood mallet to square pocket corners with a chisel. A carved letter makes the finished head easy to recognize in the shop. His shared design includes the handle, head layers and a paw-print decoration. Replace that decoration for lettering like the photo. Carve the flat parts, then glue, shape and finish them; the gallery does not provide a step-by-step assembly guide.

See more mallet search results →

Line up the layers and choose the head width

Log in to post a question in the project comments. Replies are up to the community.

Use dowel holes to line up the layers

In the discussion on Travis’s mallet, Johnathan Branson suggests adding dowel holes to make glue-up alignment easier. It is a suggestion, not a reported test. Christopher Young’s separate plywood design already includes pin holes, and his finished photo shows the dowel ends. If you add pins to another layout, keep the holes in the same places on every matching layer.

Comment by Johnathan Branson: read the source.

From Woodworking Mallet by Travis Lucia.

Ask a question

Add head layers when you want more width

Christopher says he used only two of the extra flat pieces in his layout and could use the other two for a wider head. That gives you a way to change the laminated head’s width without making the handle longer. Lay out the stack before gluing so you can check the width and the matching pin holes.

Project notes by Christopher Young: read the source.

From mallet by Christopher Young.

Ask a question

Check the faces while tightening the clamps

Travis spreads glue over the whole joining surface, then checks that the mallet’s faces stay even and flush as he tightens the clamps. A shifted layer leaves more wood to remove afterward. His optional bandsaw cleanup and handle sanding happen after glue-up, so leave that shaping for the assembled mallet.

Project notes by Travis Lucia: read the source.

From Woodworking Mallet by Travis Lucia.

Ask a question

Lay out the handle between the head cheeks

Keep the center handle layer and outer head pieces aligned. Stack extra cheeks for a wider head, then shape the grip after the layers are glued.