Make a wooden bow-tie face from ⅛-inch walnut, with a fabric center and an adjustable neck strap added separately. Steven Paxman's instructions explain the fabric wrap, glue and purchased bow-tie hardware. For the plain face shown here, begin in Easel with a 4½ × 2-inch rectangle. Place a 4 × 1.3-inch oval across each long edge so the inward curves leave a 0.7-inch waist. Cut outside the rectangle and inside both ovals, through the wood.
Recorded in the Easel editor, playing at 2× real speed.
Creating an Easel account is free. No credit card required.
The recording shows the rectangular outline and two oval cuts within a 5 × 6-inch blank. After cutting and removing the oval waste, the connected piece between the curves is the bow-tie face. These crossing profiles leave loose offcuts: plan workholding and tab placement before machining, rather than cutting the preview unchanged. The dimensions are an example to resize against your collar, not a tested wearable pattern.
Sand the edges, wrap a narrow fabric band around the waist and glue its join at the back. Attach an adjustable neck strap to that center band, following the strap hardware's instructions. The recording draws the plain wooden face only; it does not reproduce either maker's engraving or demonstrate sewing, carving or wearing the assembled tie.
Engrave a repeat pattern or divide the wings
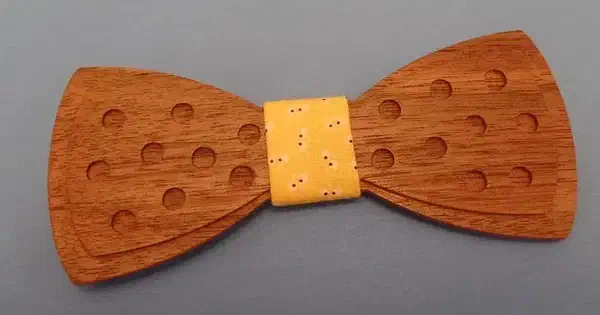
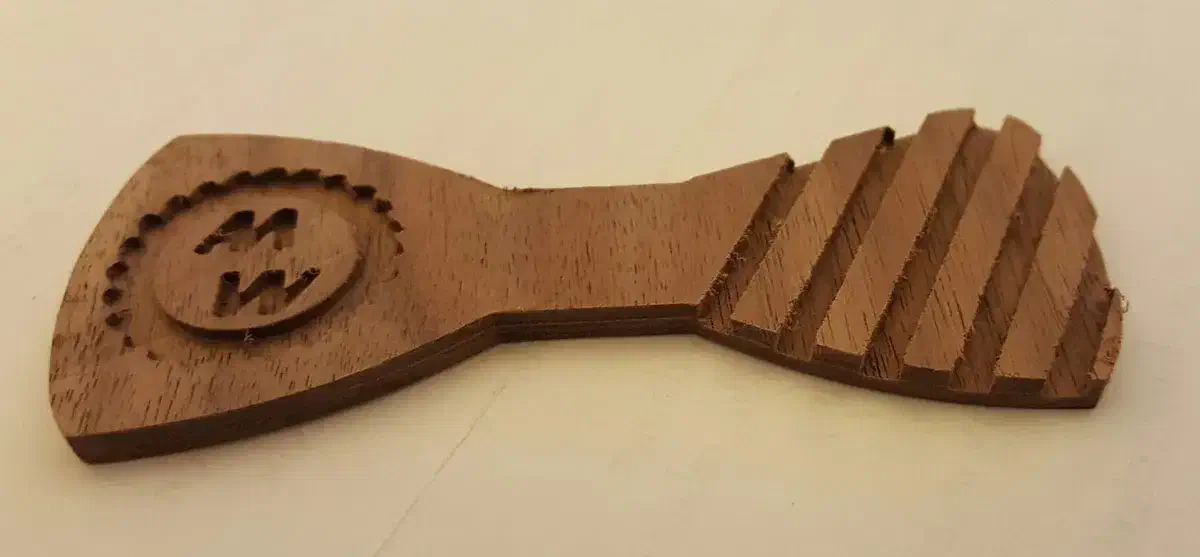
Small dots keep the wood grain visible across both wings. A logo and diagonal stripes give each side a different role; keep the important artwork away from the center that fabric will cover. Neither wooden cutout supplies the neck strap. Choose the center fabric and adjustable fastening as part of the wearable assembly, not as decoration to resolve after carving.
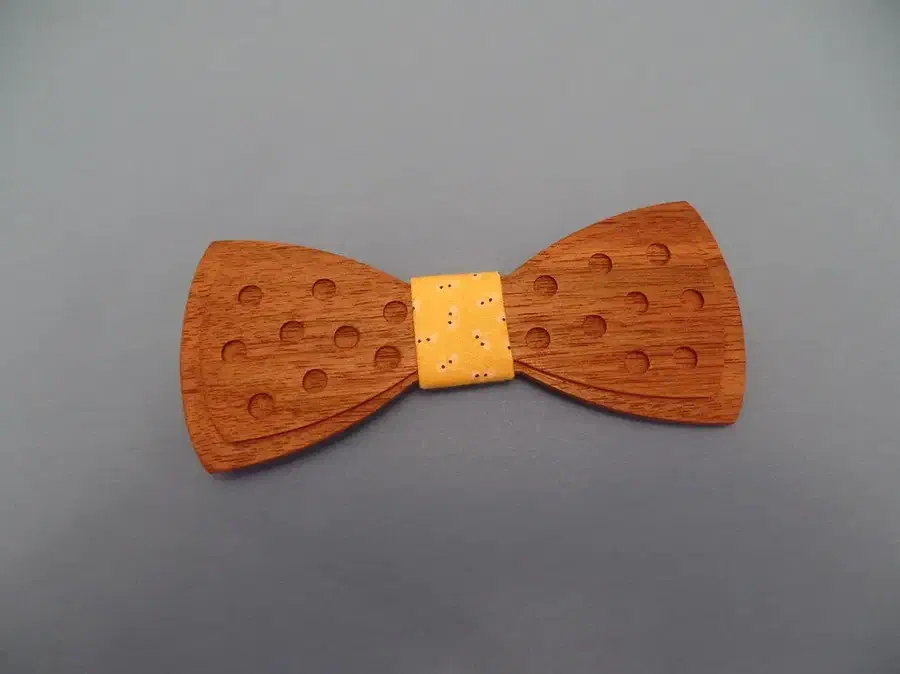
Steven's tie uses ⅛-inch walnut with engraved dots and a glued fabric wrap at the waist. The shared file supplies the bow outline and dot pattern, not the fabric or neck strap. His assembly instructions offer elastic, a Velcro-adjustable strap or purchased bow-tie hardware; the pictured yellow center is sewn and wrapped separately.
Joshua imported his own business logo as SVG artwork and drew contrasting stripes in Easel. The current shared file includes that logo, the diagonal stripes and the bow outline. Replace the business artwork with your own before making a personalized version. The photo shows the wooden face without a fabric wrap or strap, and rough fibers remain visible inside the cuts.
Creating an Easel account is free. No credit card required.
From Steven Paxman's instructions
Clean inside the engraving before spraying the finish
Steven describes this sequence in step 2 of Simple engraved bow tie. The project discussion can be read signed out; posting a question requires login.
Reach the fuzzy edges inside each dot
Steven Paxman uses the corner of 220-grit sandpaper to remove fuzzy wood inside the small engraved dots, then sands the top and bottom. He follows with 400 grit for a smoother surface. For his lacquer finish, he sprays two coats on each side, sands lightly with 400 grit and adds one final light coat, approaching from different angles to reach inside the engraving.
Position your engraved motif on the exposed wings. A center band hides part of the design and also carries the separate neck strap, so decide its width before filling the face with artwork.
 Simple Engraved Bow Tieby Steven Paxman