A useful project for your table

Make a trivet for your table

Turn a small board into something worth leaving out. Try open slots, a carved pattern or a contrasting wood inlay.

See the finished trivets
43 gallery results for “trivet”
5,554 copies of these gallery results
59 comments on these gallery results

Choose the surface and the shape

Cut open slots or carve a textured top

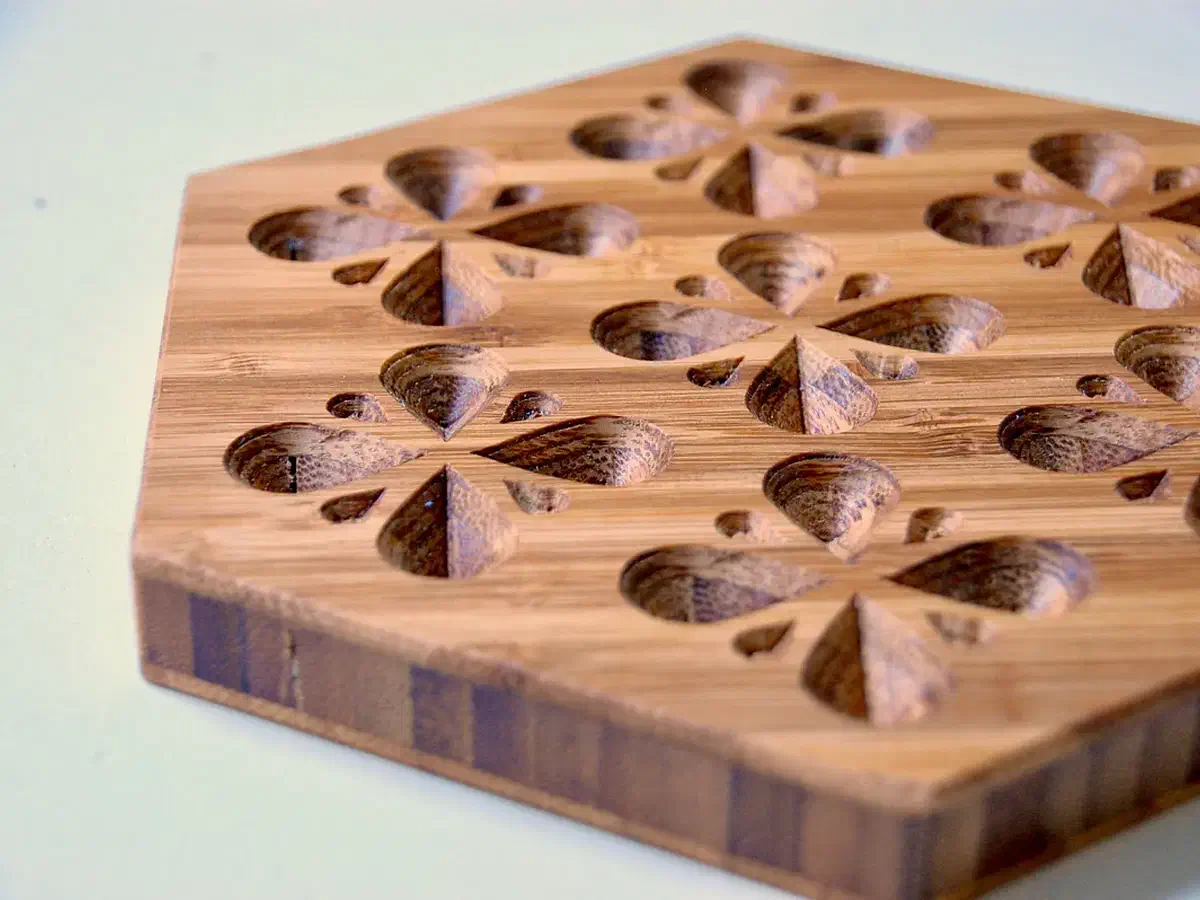
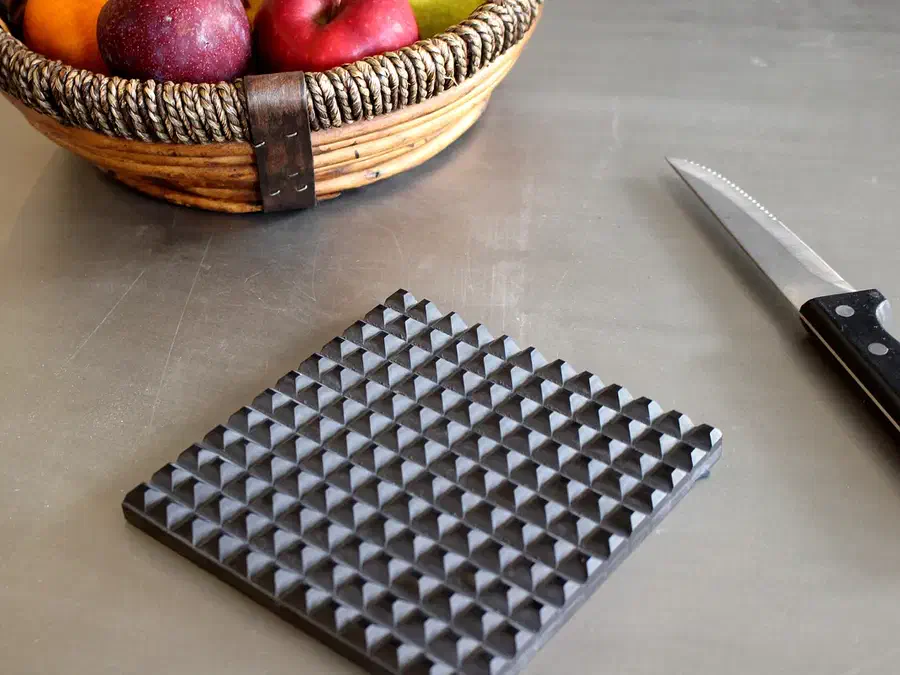
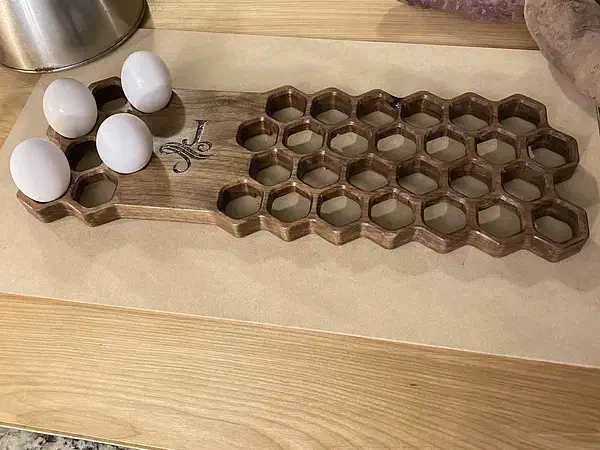
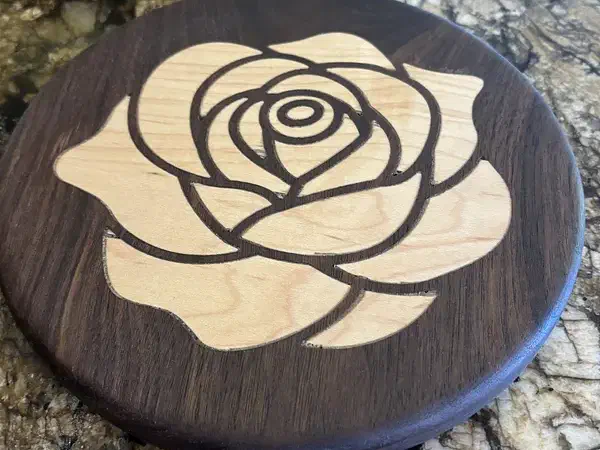
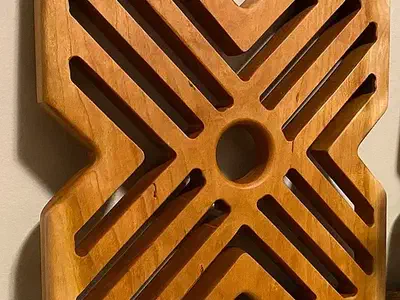
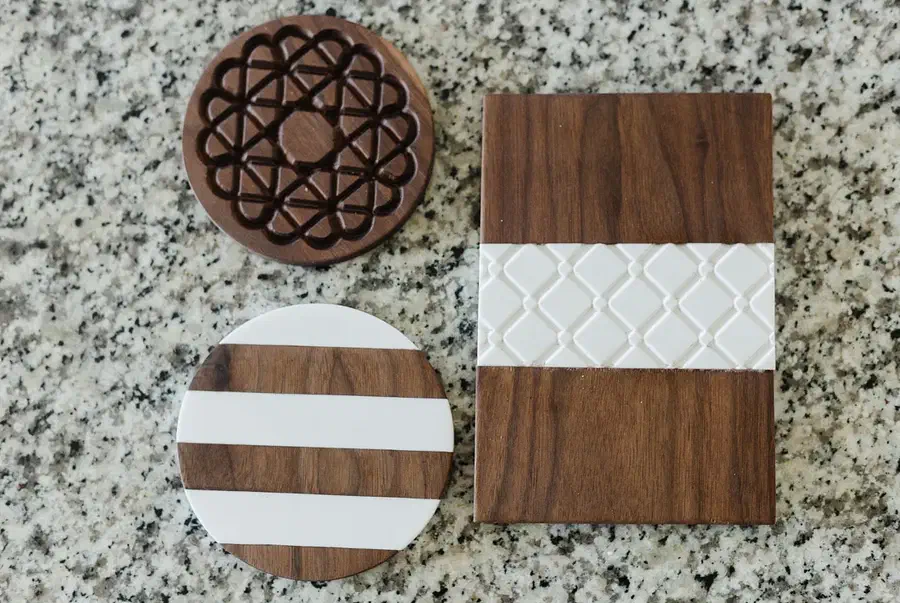
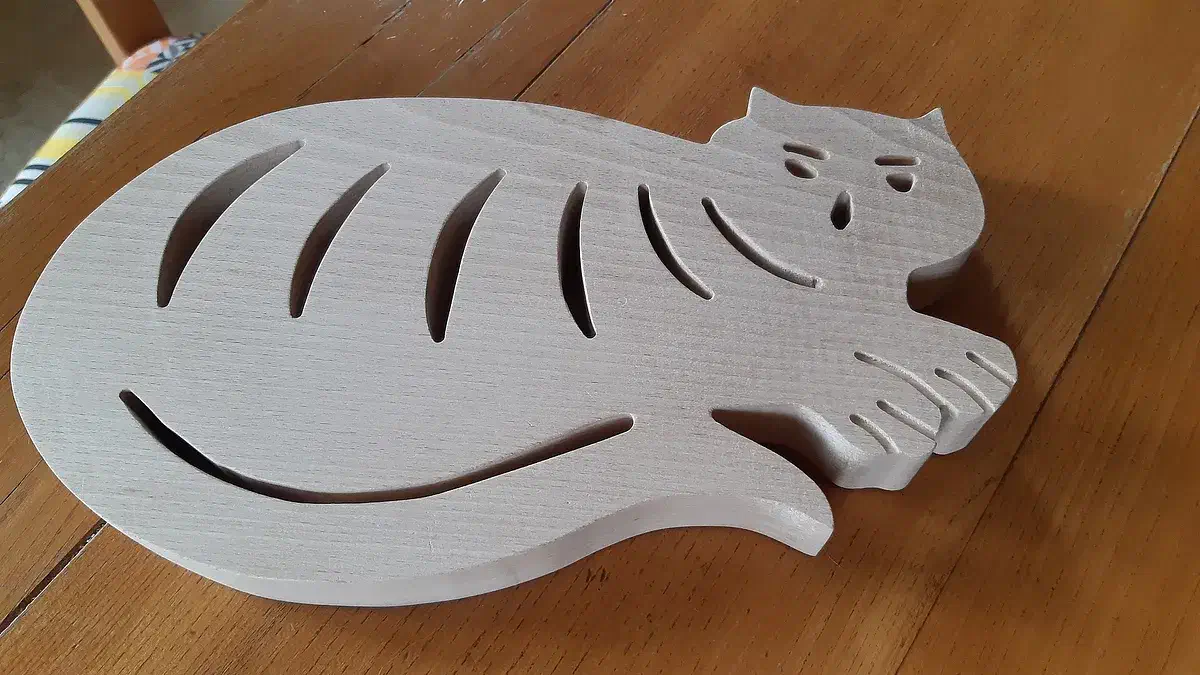
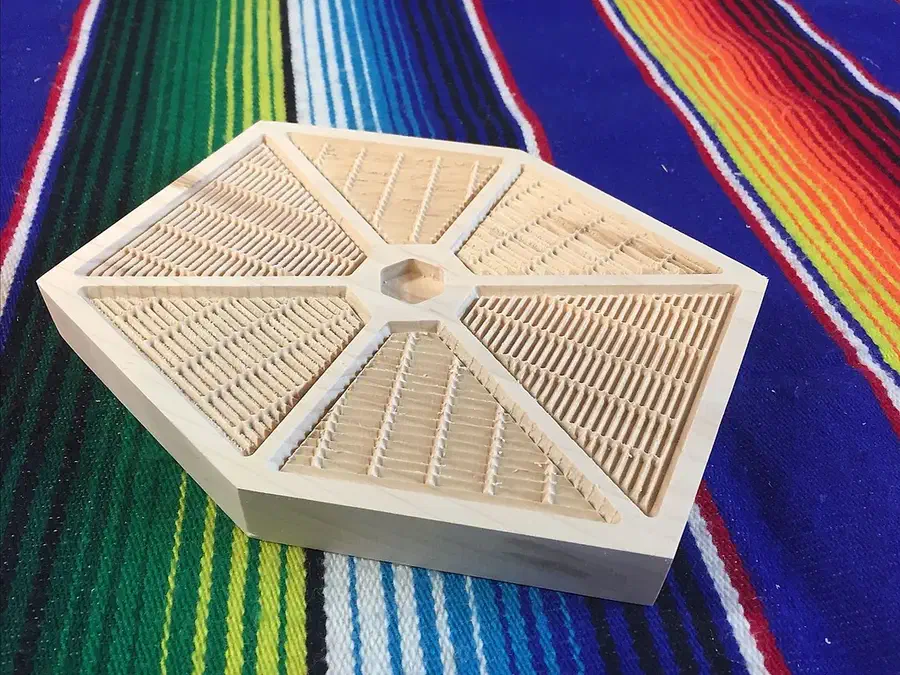
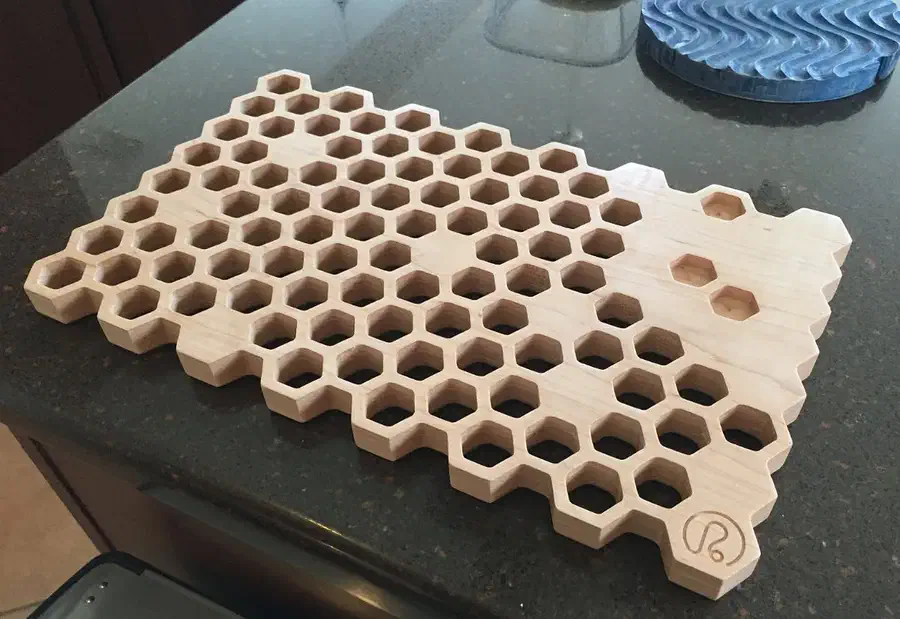
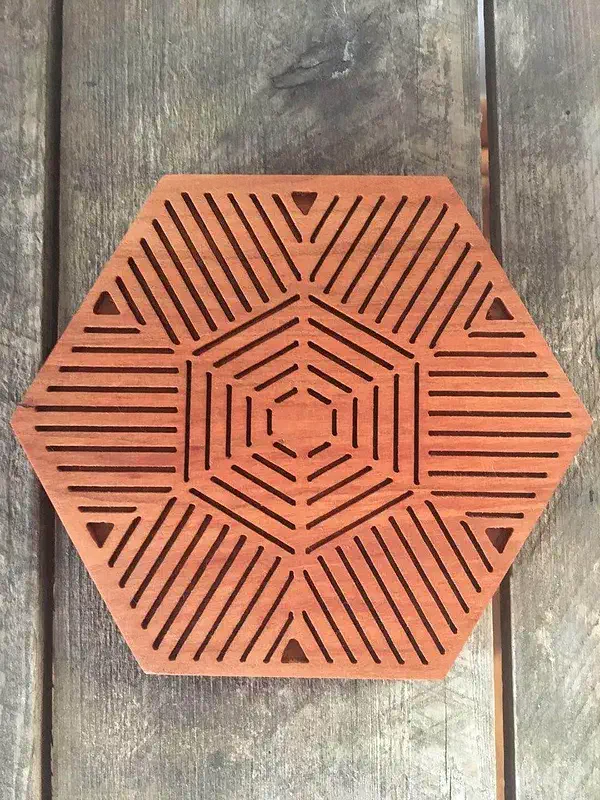
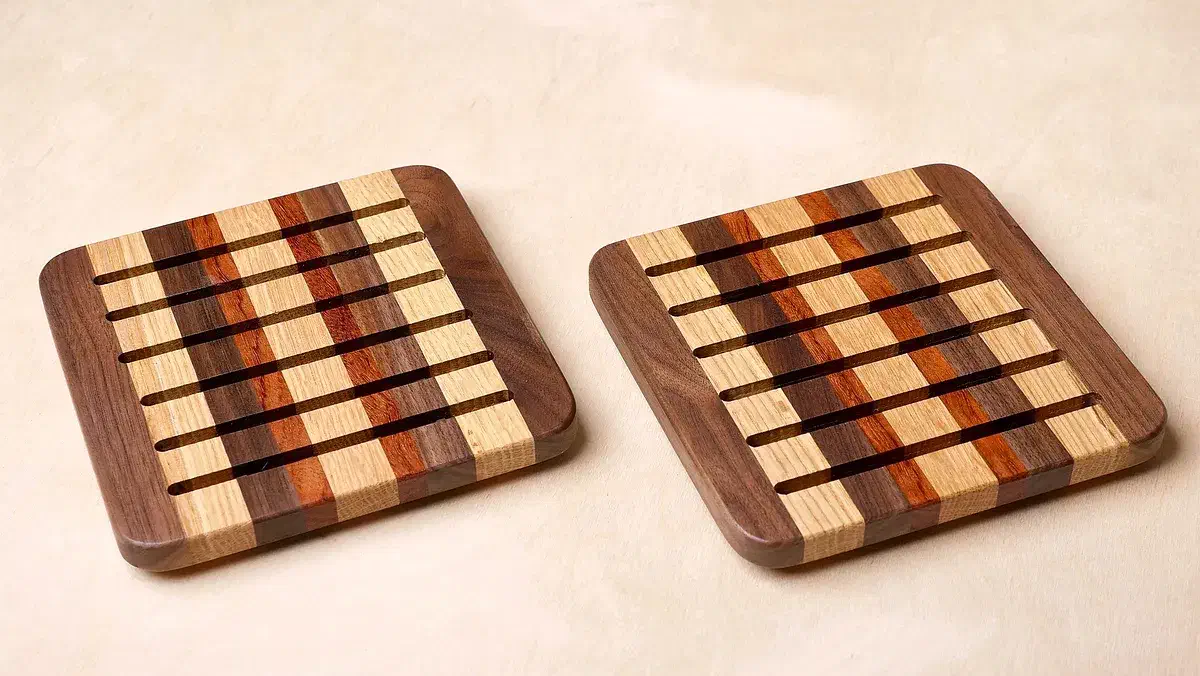
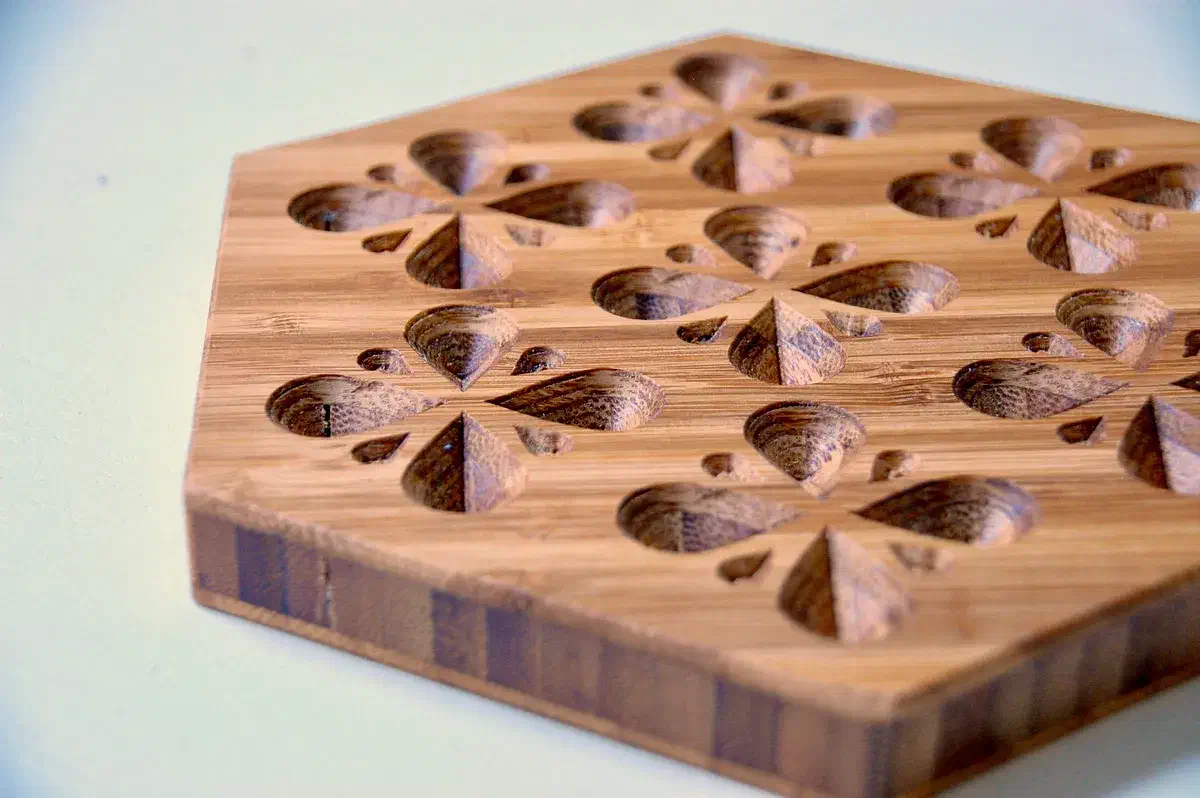
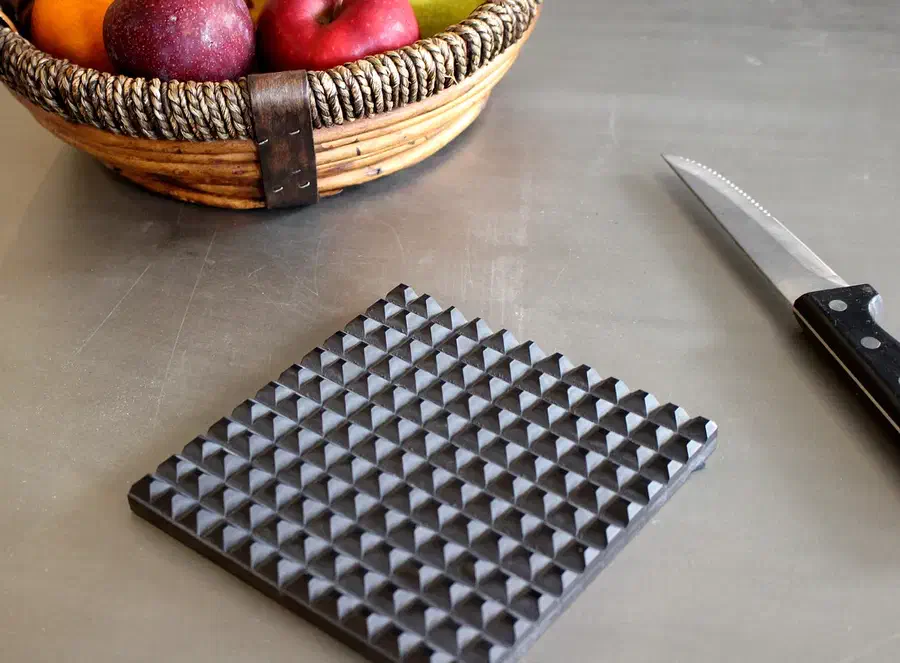
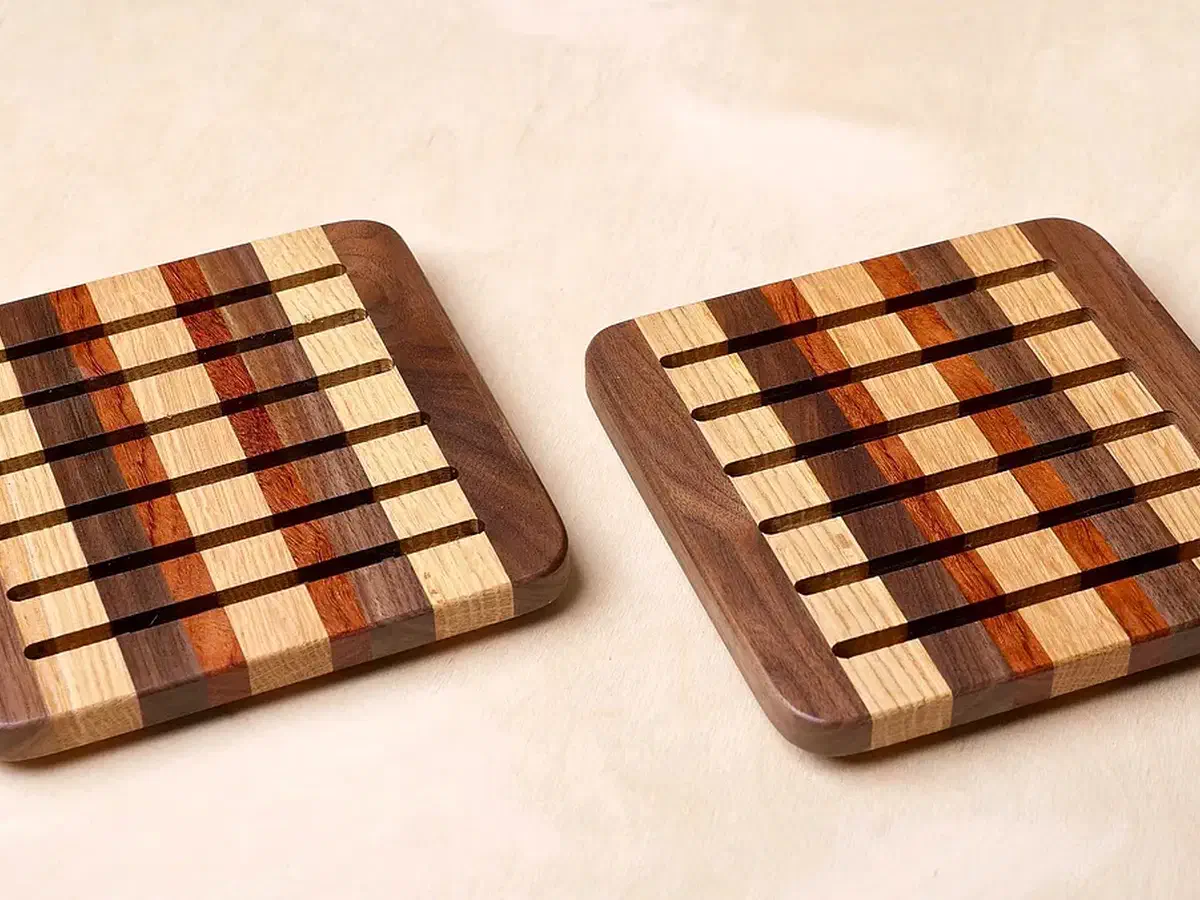
Slots make the scrap-wood and bamboo designs feel open and light. A carved surface keeps more of the board intact, while a rose inlay uses contrasting woods for a smooth decorative top. Choose the effect you like, then follow that maker’s build instructions for the parts and finishing.

Finished pieces from the gallery

Slotted wood, carved bamboo and a rose inlay

Explore slotted wood, carved surfaces and contrasting inlays. Open a project to see how the maker built it, then adapt the linked design for your own table. V-carving and V-carve inlays require Easel Pro to carve.

See more trivets →

From the community comments

What these makers learned about carving both sides

Log in to post a question in the project comments. Replies are up to the community.

Use separate stops to position the second side

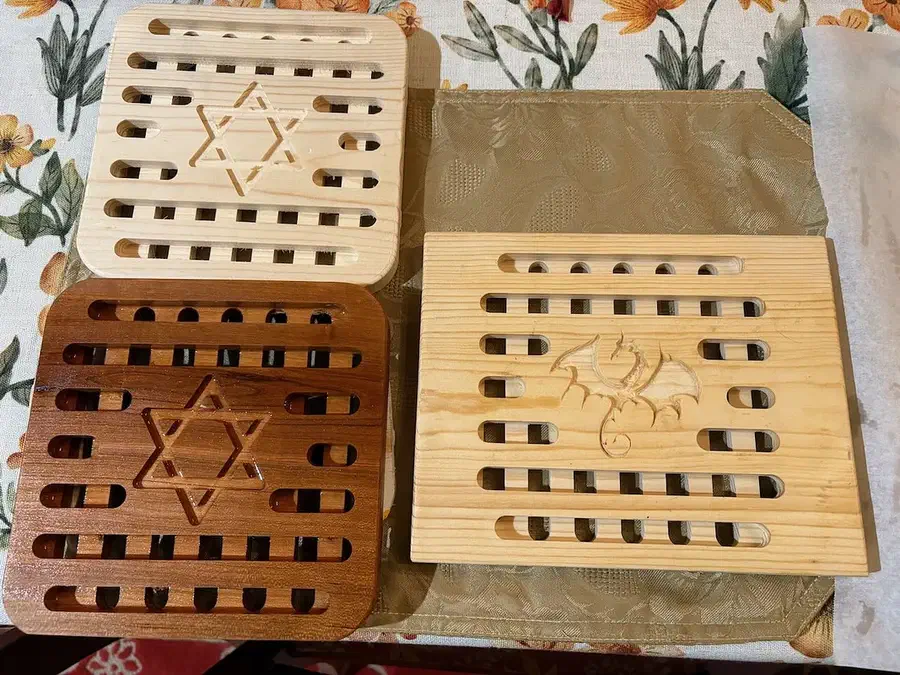
Allan Schwartz uses three upside-down clamps as locating stops, separate from the four clamps holding the blank down. The stops keep his work origin in place when he flips the wood. Johnny Brooke’s scrap-wood instructions show why the second-side orientation matters: he flips his blank and rotates it 90 degrees before carving the crossing slots. Decide where the blank will locate on each face before the first carve.

See also DIY Scrap Wood Trivet by Johnny Brooke.

From Trivet Collection (Loon • Dragon • Magen David) by Allan Schwartz.

Ask a question

Make a trivet of your own

Choose a design, make a copy and adapt it to your wood and table.