Make a tea storage box

Size a wooden tea box in Easel around the packets you buy.

See the tea boxes

Start from a blank workpiece

Lay out an open-top box for tea packets

The tea packets sit in a shallow, open plywood box: four upright walls meet edge to edge on a flat base. Glue holds these joints together while clamps keep the walls aligned; there is no lid, hinge or other hardware. In Easel, first draw a 6 × 3½-inch base for ¼-inch plywood. Add two 6 × 2½-inch long walls, then two 3 × 2½-inch end walls. Set each part to cut around its outside edge through the stock.

Recorded in the Easel editor, playing at 3× real speed.

Stand the walls on the base, with the two short walls between the long ones, then glue and clamp the joints. That leaves a 5½ × 3-inch interior and 2½-inch-high walls. The recording shows all five parts laid flat, not the makers’ dispenser or spline joints. These are example dimensions: measure your wrapped packets and actual plywood thickness before resizing the parts.

Tea on the wall or beside the kettle?

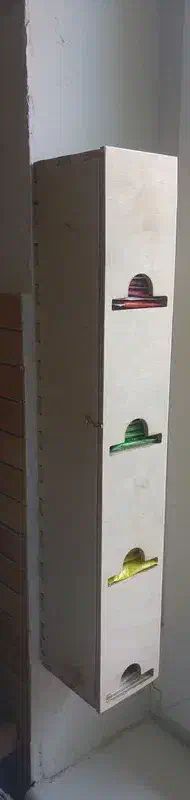
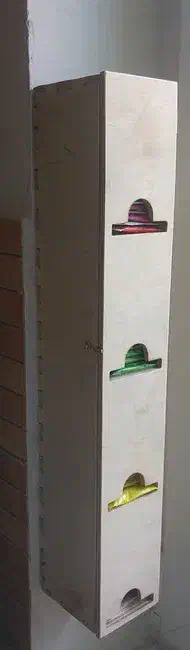
A tall dispenser separates packets behind four access openings without using counter space. A lidded tabletop box keeps one small tea selection together and can move with the cups. For either layout, check a wrapped packet against the usable interior, not just the outside dimensions.

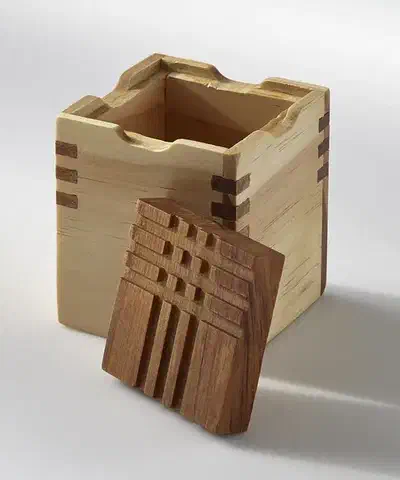
A complete light-wood box with dark corner splines and a separate patterned wooden lid leaning in front, on a plain pale background. Box with Spline Jointsby Jeremy Richards

A small box with contrasting splines and a lift-off lid

Jeremy made this box to hold tea. His shared layout includes the four sides, bottom, lid and small spline pieces. The project lists hard maple; his instructions describe using two woods and machining half-inch stock down to 10 mm. The joints depend on that thickness and the measured cutter diameter, so changing wood thickness means adjusting the mating parts together. Add glue, clamps and your chosen finish; no hinge is required for the separate lid.

See more tea-project search results →

From the maker’s instructions

Clamp the box in both directions

Jeremy’s project includes the glue-up sequence in step 6, “Assemble.” Its discussion is readable without login; sign in if you want to ask about his box.

Add the sides before clamping both ways

“Now add the sides one by one until they are all in place and then clamp the box in both directions.”

Project notes by Jeremy Richards: read the source.

From Box with Spline Joints by Jeremy Richards.

Ask a question

Leave room to reach the last tea packet

For a dispenser, the opening must let you grasp a packet when the stack is nearly empty. For the open-top design, check that your fingers fit beside the packets before settling on the inside width.