Make a router dust shoe

Draw a router dust shoe in Easel around your router, hose adapter and mounting points, with access for changing the bit.

See the finished builds

Start from a blank workpiece

Design your own router dust shoe

The animation below shows drawing an acrylic router dust shoe from scratch in Easel. A horizontal plate carries a separately bolted hose adapter and a brush, while an upright strip and two angle brackets attach it to the machine mount. Use 5 mm cast acrylic and separate M4 bolts, wide washers, locknuts, brush, epoxy and a sealing gasket. Assume a 70 mm router envelope, 50 mm outside-diameter adapter, 76 mm adapter flange with two fixing holes 64 mm apart, and a brush with 5 mm-wide backing and 40 mm free bristle length. These references are untested and do not establish compatibility with a particular router. Draw a 200 × 140 mm plate with 72 mm router and 52 mm hose openings, centers 75 mm apart. They give 2 mm diametral clearance at each opening and a 13 mm web. Center the flange above the hose opening and draw two 4.5 mm fixing holes on its centerline, 32 mm either side of the port center toward the front and rear. The 76 mm flange overlaps the 52 mm opening by 12 mm radially; fasten it to the plate with M4 × 16 mm bolts, washers and locknuts over a thin gasket, so retention comes from bolts rather than a loose push fit. Draw a 200 × 40 mm upright strip with two 20 × 4.5 mm mounting slots on 80 mm centers, their centerline 20 mm above its lower edge. Two separate 20 × 20 mm angle brackets with 15 mm hole offsets join it to the plate rear edge. Place plate holes 15 mm from that edge and matching strip holes 15 mm above its lower edge. Rest the strip’s lower edge at the plate top and bolt both bracket legs through the 4.5 mm holes with washers and locknuts. The mount-slot centerline is then 25 mm above the plate underside. For machine mounting bolts 64 mm above the work surface, set the strip at its slot centerline: the plate underside sits 39 mm above the surface. Epoxy the brush backing under the perimeter so its 40 mm bristles have 1 mm reference compression; check this at the intended cutting height rather than treating brush width as reach. With power isolated, remove the complete shoe at its mount bolts for bit access. Verify this static geometry, hose strain relief, all machine travel and actual brush contact on an unpowered mock-up; extraction, retention strength and motion clearance have not been physically tested.

Recorded in the Easel editor, playing at 4× real speed.

A split vinyl-skirt shoe or a brush-edged acrylic plate

Stuart’s approximately 10 mm split body uses a vinyl skirt trimmed to the machine’s working height. Emily’s thinner acrylic plate uses an epoxied upright strip and a shallow brush recess, so stock thickness and strip fit matter together.

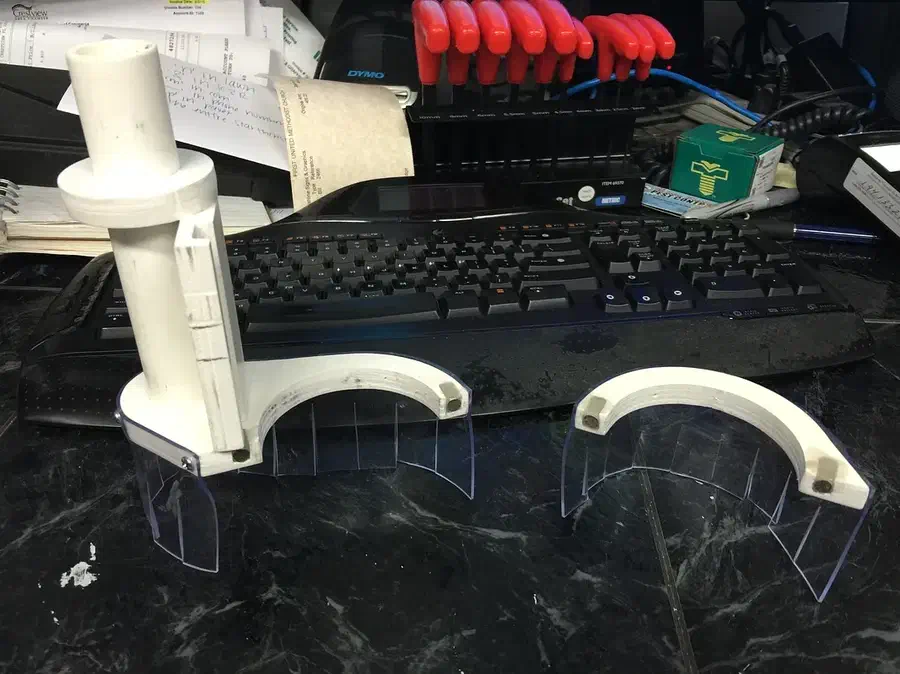
Stuart Campbell’s physical split dust shoe with a white hose riser and clear vinyl skirt 611 Dust Shoeby Stuart Campbell

611 Dust Shoe

Stuart’s 611 shoe separates into magnet-held halves for bit access. His workpiece supplies the shoe, ring and bracket shapes; his instructions use nominal 10 mm PVC, measured at 10.3 mm, and also allow plywood or MDF. Set Easel’s stock thickness to your measured sheet. Add magnets, a PVC hose riser, epoxy and temporary superglue for the fitted ring/bracket assembly, plus a router-mount screw and separate No. 6 skirt screws. Fit and bond the riser, ring and adjustable bracket on the machine, then screw the vinyl skirt around the edge. His final skirt was about 2 inches tall; measure your own machine before trimming it.

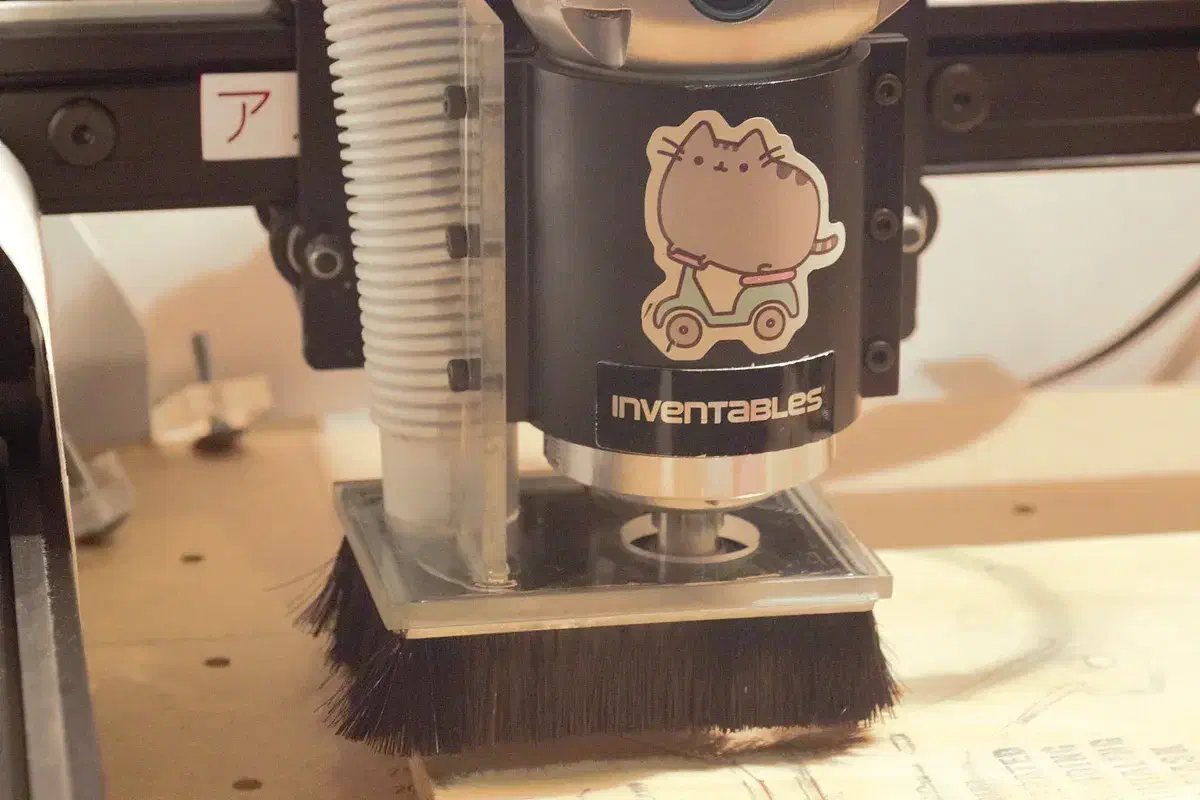
Emily’s transparent acrylic dust shoe and black brush installed around a router Easel Friendly Dewalt 611 dust bootby Emily

Easel Friendly Dewalt 611 dust boot

For Emily’s 5 mm cast acrylic, set the material thickness and through-cut depths to 5 mm before cutting the shared plate and strip. Its 0.23-inch mounting slot is 5.842 mm wide: test the strip’s fit before epoxying it upright into that slot. Cut the separate door-strip brush to length and epoxy its backing into the shallow underside recess. Add clear epoxy and mounting bolts, then position and drill the strip’s bolt holes for your mount and working height.

See more dust shoe search results →

Check the magnet direction before gluing

Log in to post a question in the project discussion; replies are not guaranteed.

Check the magnet direction before gluing

Stuart Campbell’s assembly instructions say to orient the magnets so the mating pairs attract before epoxying them into the shoe.

Project notes by Stuart Campbell: read the source.

From 611 Dust Shoe by Stuart Campbell.

Ask a question

Start creating with your CNC

Create your free Easel account and connect your machine in minutes.