Make your own puzzle

Cut a name into removable letters, make a jigsaw, or build a wooden brain teaser. Explore real projects and see how to lay out a simple shape-puzzle board in Easel.

Explore the puzzles

Two separate workpieces

Make the pockets, then the pieces that fit them

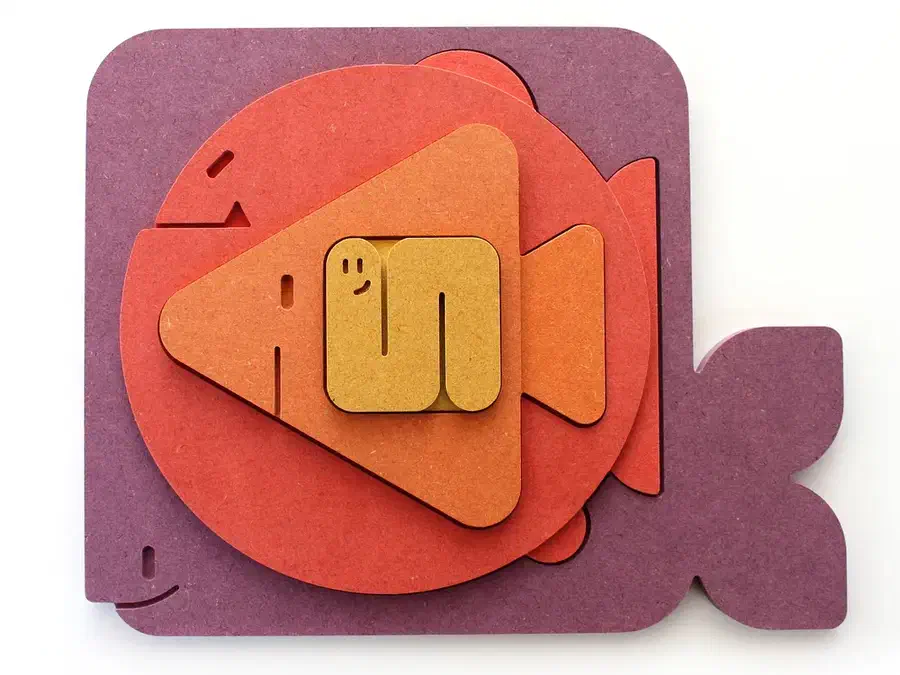
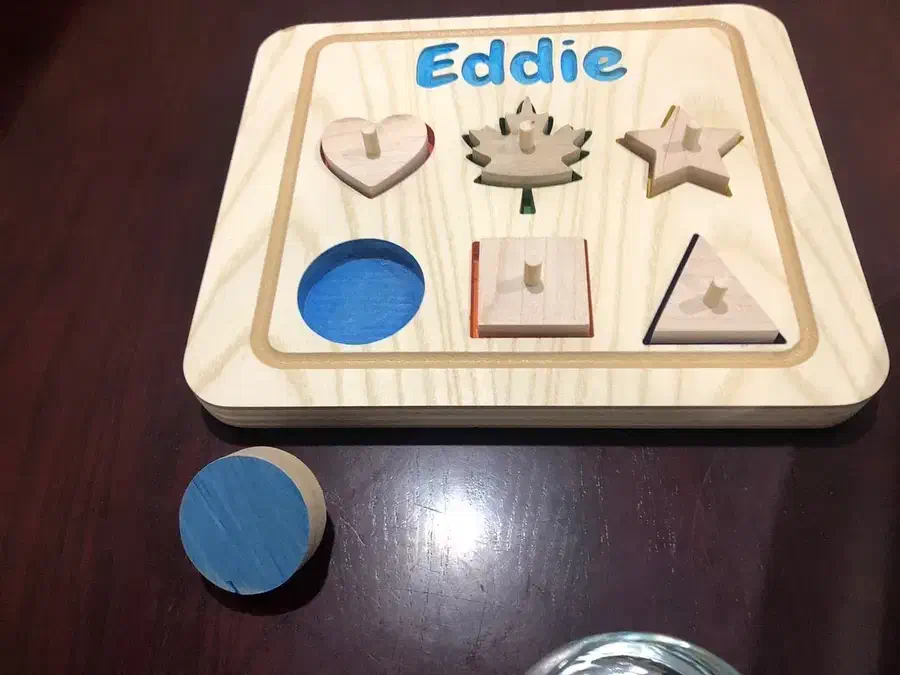
Create an 8 × 4-inch board with three 1.5-inch shapes as 0.25-inch-deep pockets. Add a new, blank workpiece for the removable pieces that fit the matching pockets. Edit → Offset makes smaller copies 0.01 inch inward from each edge. Remove the originals and cut outside the smaller shapes through the stock. For a first scrap test, try 0.01 inch (0.254 mm) clearance per edge: a 1.50-inch circle or square becomes 1.48 inches across, or 0.02 inch (0.508 mm) smaller overall. Use an inward offset for the triangle too, not the same width-and-height subtraction. Round the square and triangle pieces to match the bit-rounded pocket corners, or add pocket corner relief before cutting; that corner adjustment is not shown. Test-cut a pocket and piece with your actual bit and material. Remove tabs and burrs, then check the fit after paint or finish. Increase the clearance if it binds. Bit accuracy, machine precision, finish thickness and wood swelling with humidity affect the fit, so no single clearance guarantees that pieces will never stick. Measure your stock and choose piece thickness so it is easy to grip above the pocket.

Recorded in the Easel editor, playing at 2× real speed.

Real projects from the Easel gallery

Fit letters into a board, connect jigsaw pieces, or unlock a box

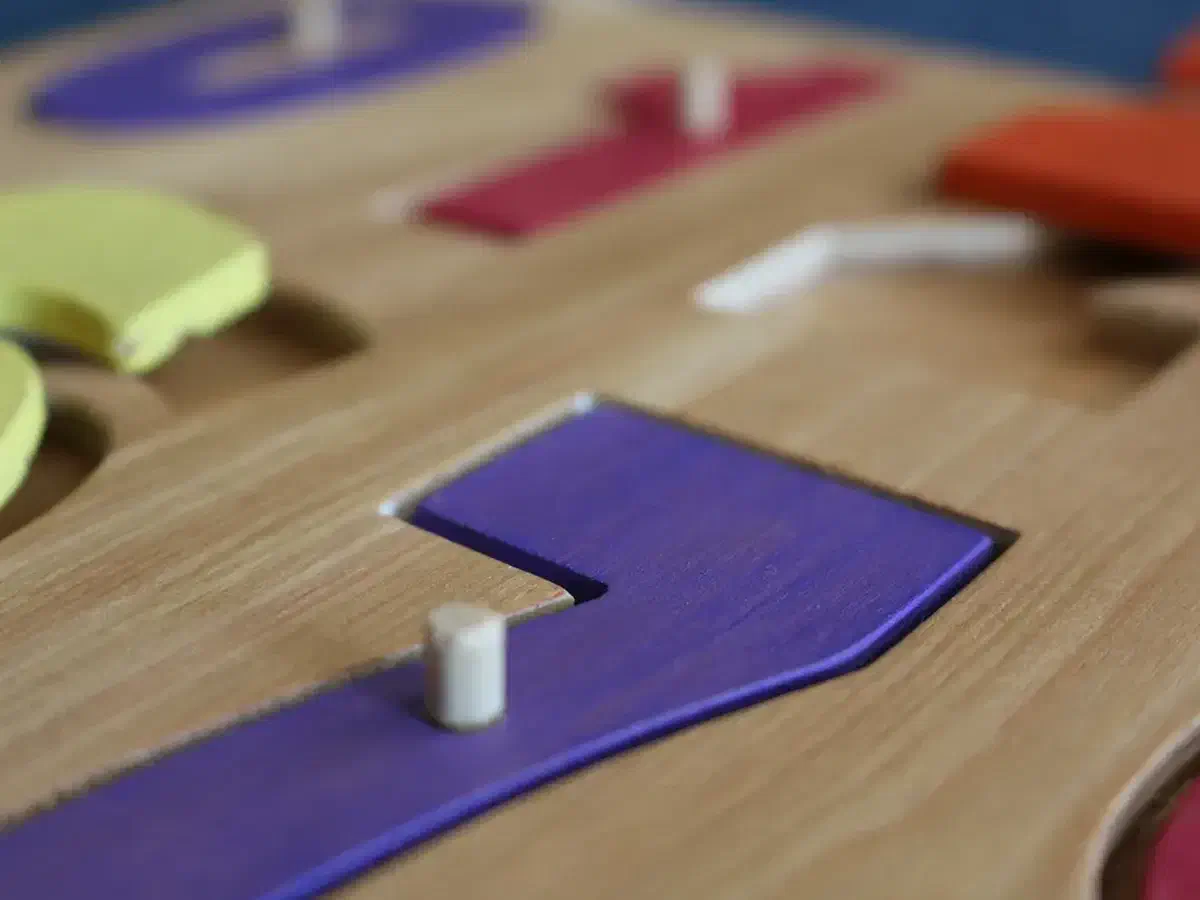
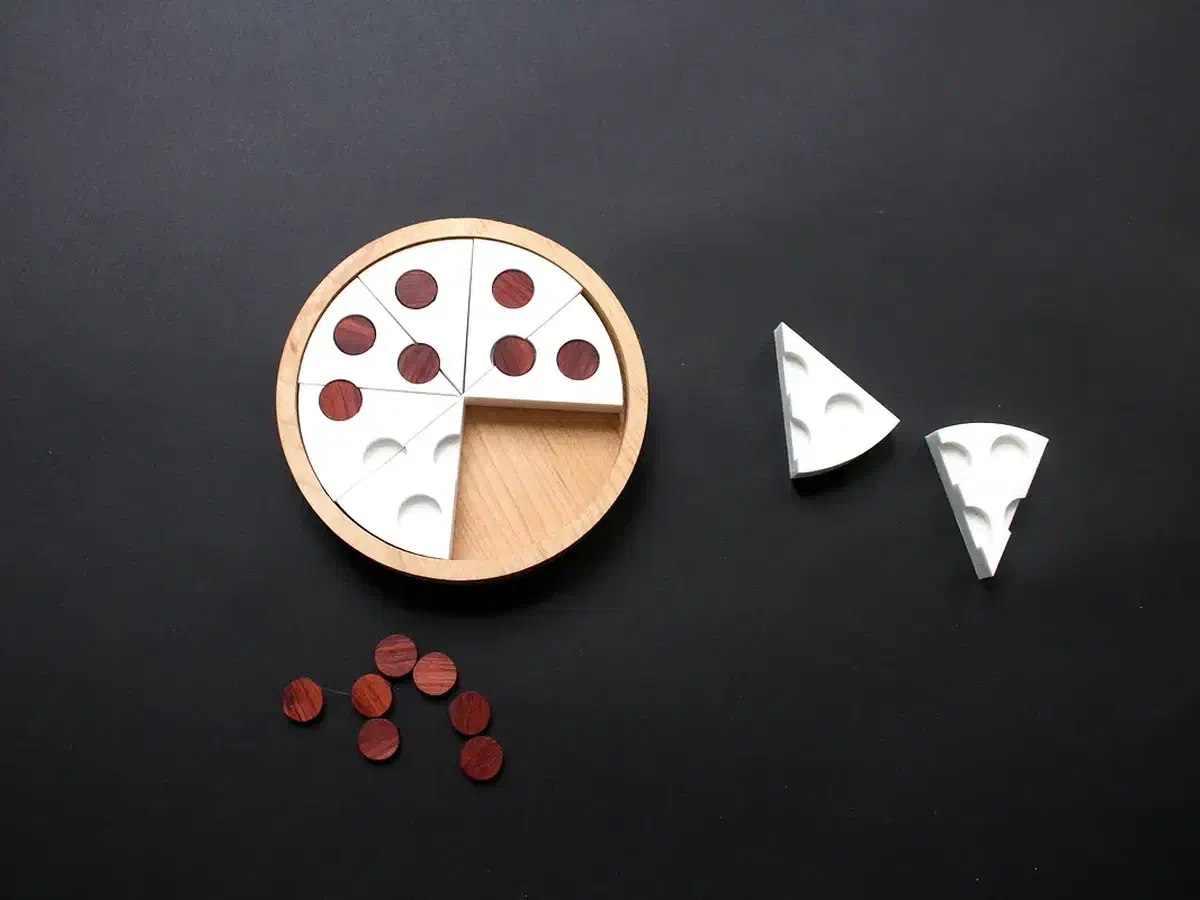
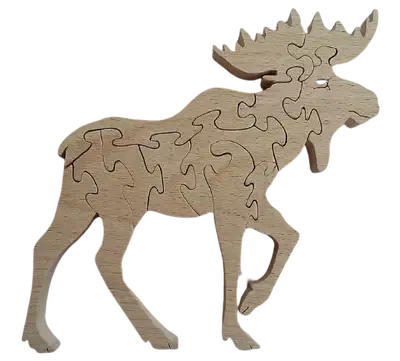
Choose a project by the kind of puzzle you want to solve. The previews show the shared designs; the descriptions explain which parts they supply and where the maker's build instructions continue.

See more puzzle projects in gallery search →

From the makers' comments and project notes

Make the pieces easier to use and the puzzle harder to solve

Read the gallery comments without an account. Log in to post a question in the project discussion; replies are not guaranteed.

Choose the name before turning the letters into shapes

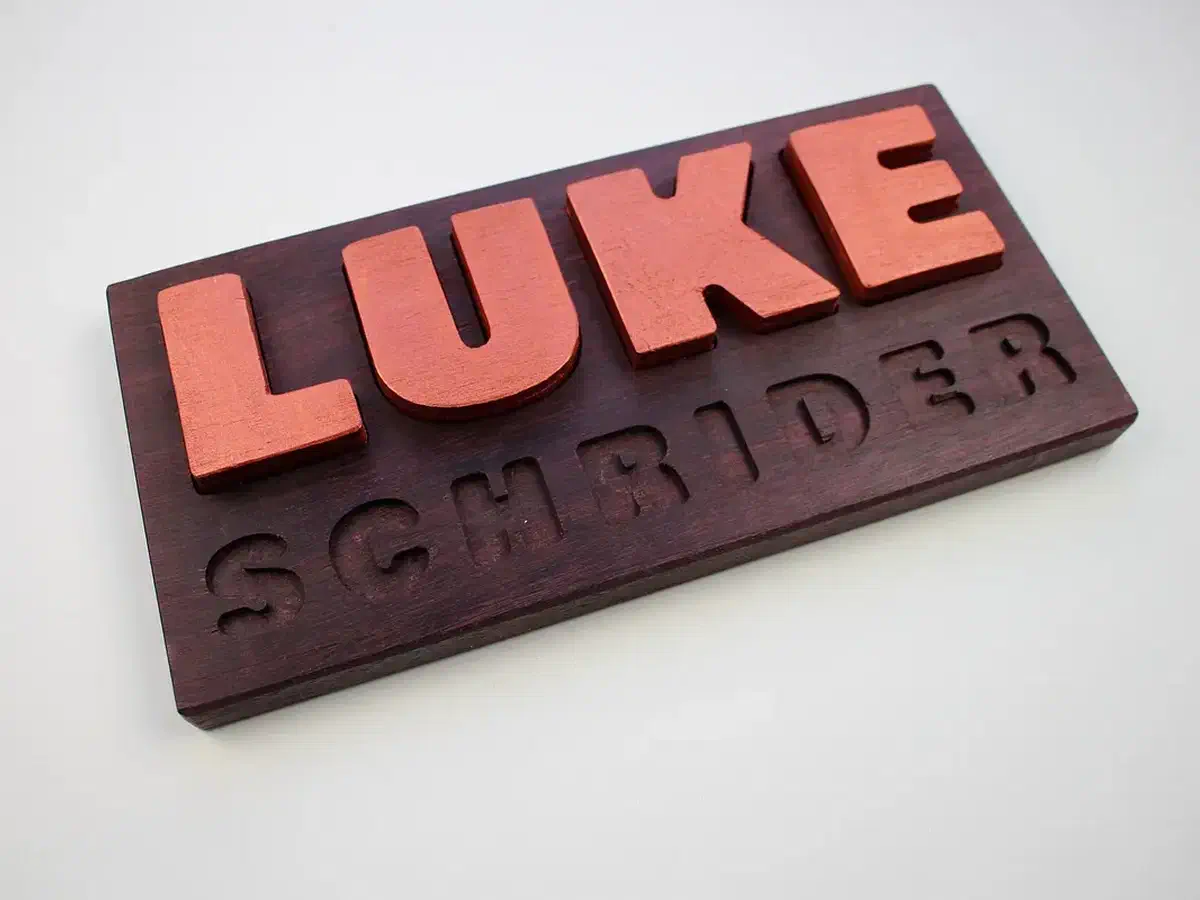
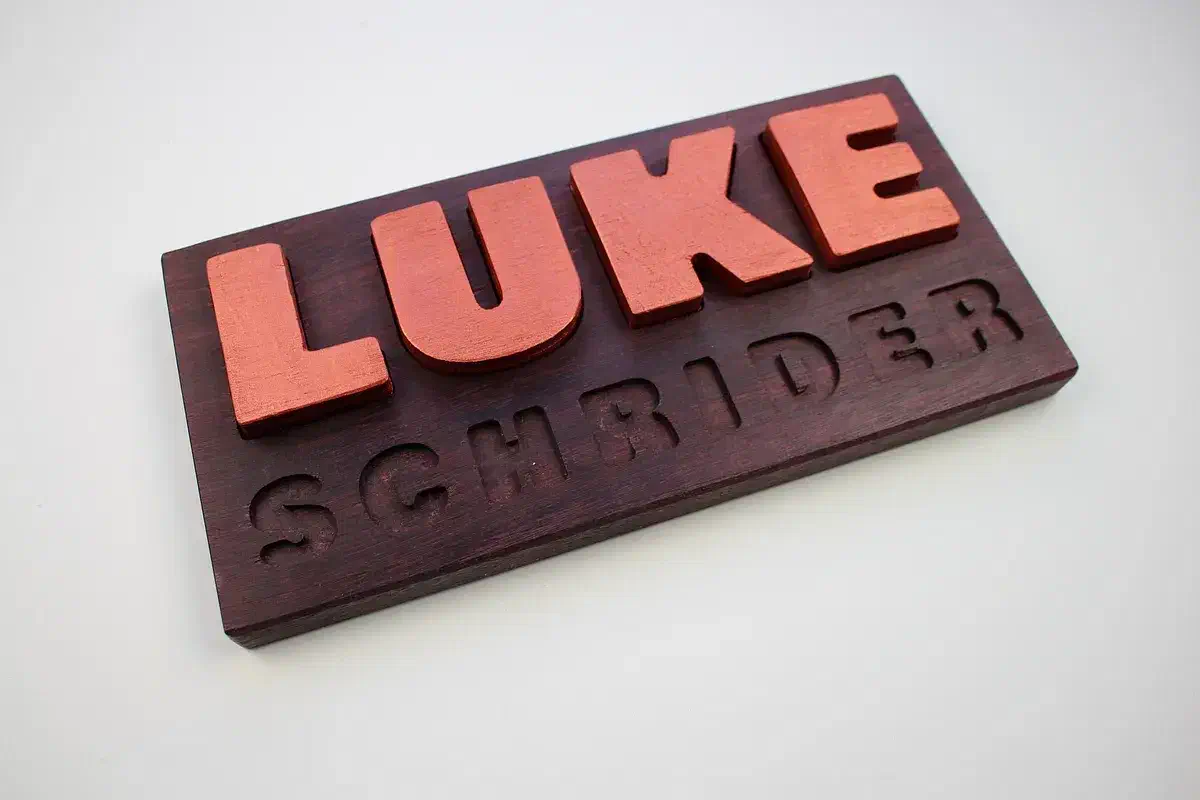
Mo Stych explains that the name in her finished file cannot be edited as text after using Xploder. For a different name, start with new lettering and follow her tutorial. Decide on the spelling and letter style before that conversion, rather than expecting to type over the finished outlines.

Comment by Mo Stych: read the source.

From Kids' Name Puzzle by Mo Stych.

Ask a question

Use the two faces of acrylic to set the difficulty

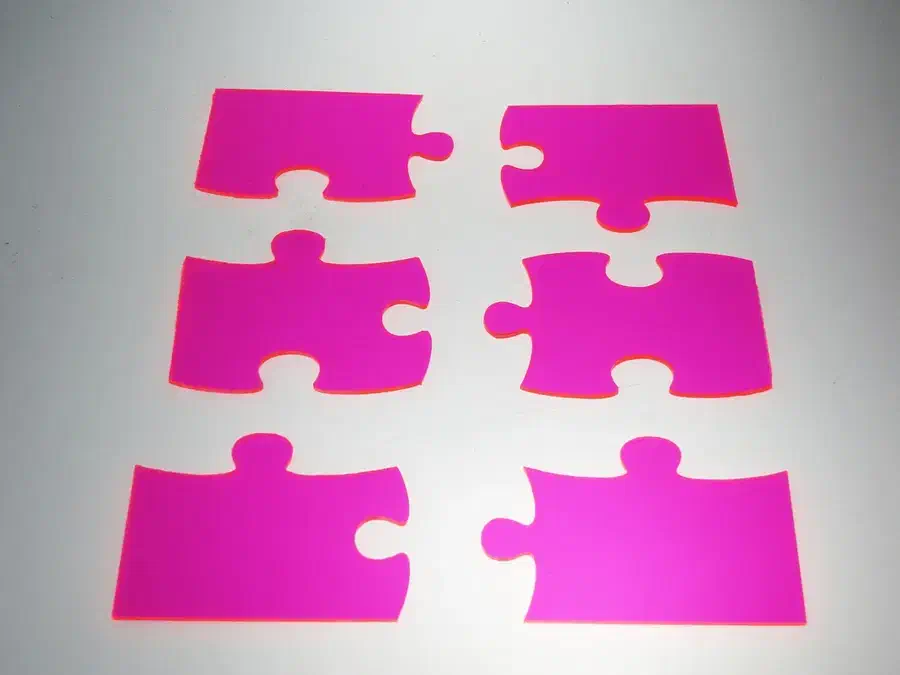
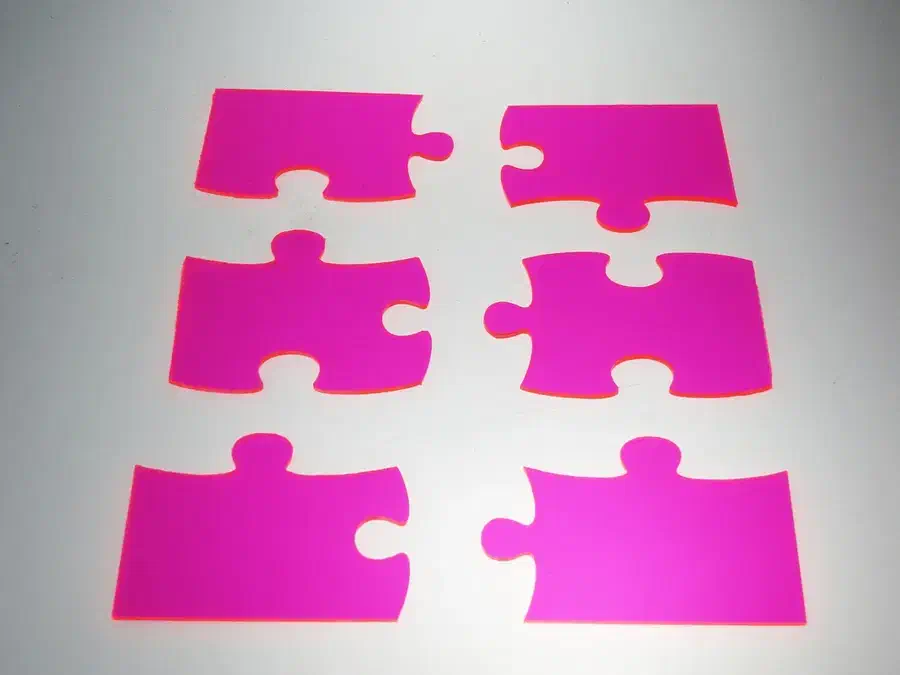
Zach Kaplan chose acrylic that is glossy on both sides, so either face of a piece can be up. He notes that a matte finish on one side makes the puzzle easier. Decide whether you want that extra flipping challenge before choosing a sheet, even if you keep the same six-piece design.

Project notes by Zach Kaplan: read the source.

From Acrylic Puzzle by Zach Kaplan.

Ask a question

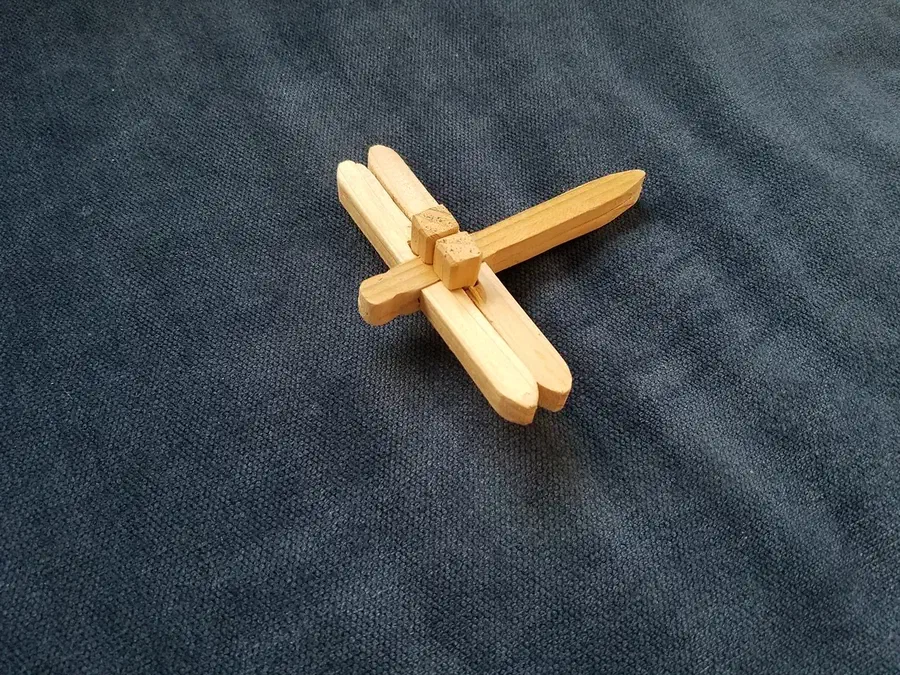
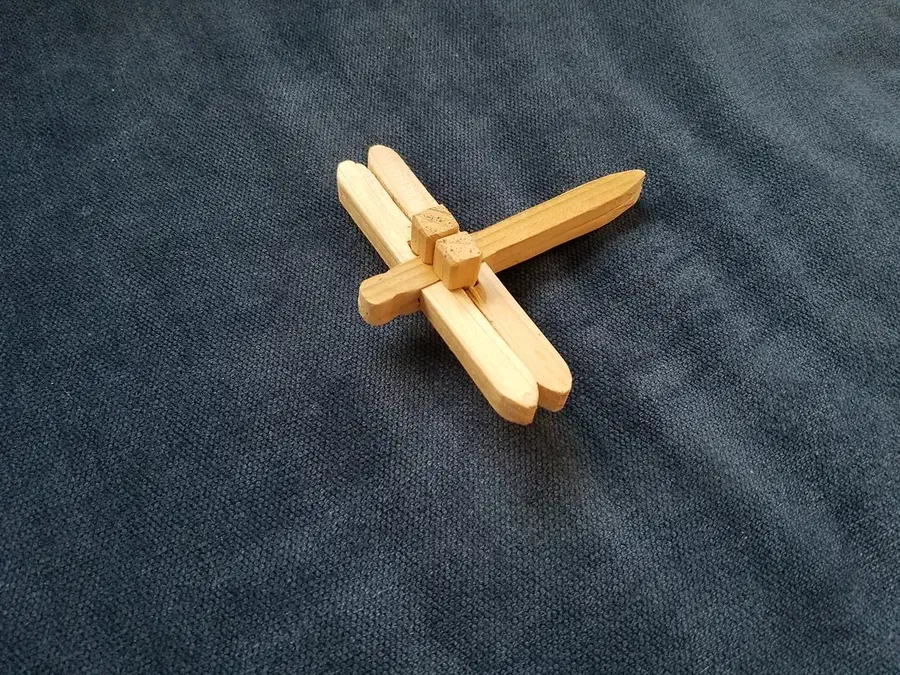
Fit the dragonfly locks before sanding everything smooth

Stuart G's instructions say to round the shaft between each lock's square ends, then check that it turns in the wing notch. Test each wing in the body with the locks removed, and sand only where needed. Removing too much material can leave the assembled puzzle loose.

Project notes by Stuart G: read the source.

From Kumiki Puzzle Dragonfly by Stuart G.

Ask a question

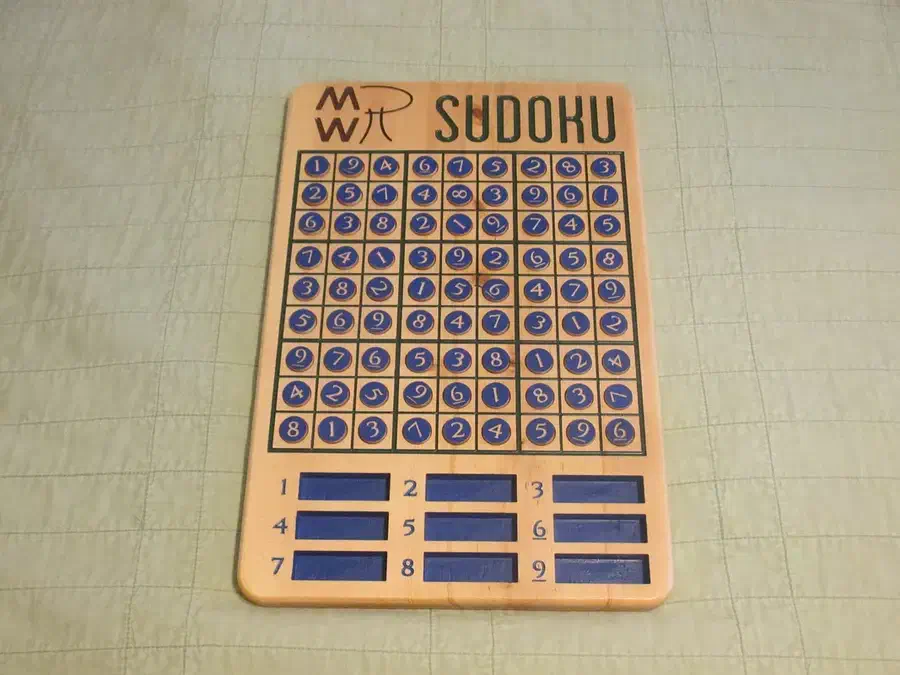
Seal a wooden grid before filling the lines with paint

Robert Rieke applied two coats of sanding sealer before filling his Sudoku grid with enamel. His notes explain that this kept the paint from bleeding into the grain. After it dried, he used a card scraper to remove paint from the top surface instead of grinding it into the wood with sandpaper.

Project notes by Robert Rieke: read the source.

From MWP Sudoku Board by Robert Rieke.

Ask a question

Make a puzzle of your own

Choose a shared design or start with simple shapes. Create a free Easel account to save your own version. No credit card is required.