Make a pocket wallet

Size a wooden card pocket in Easel, leaving room for your card stack, thumb access and an elastic retaining strap.

See the finished builds

Start from a blank workpiece

Design your own pocket wallet

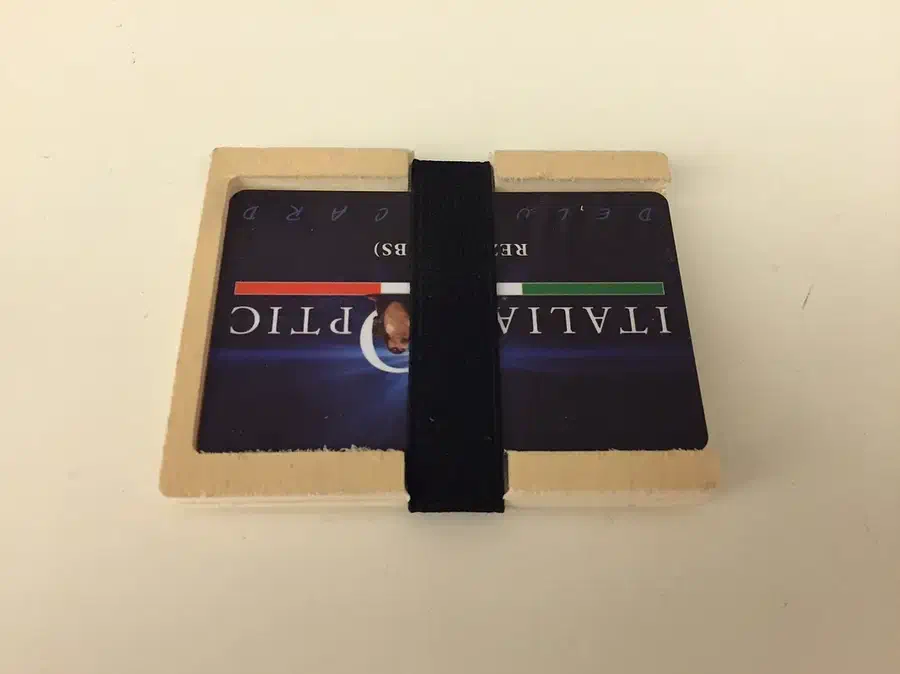
The animation below shows drawing a wooden pocket wallet from scratch in Easel, with a recessed card pocket and thumb opening for sliding the stack out. A separate 3 mm-wide elastic loop sits in the two edge notches to retain the cards. The reference stack is 86 × 54 × 4 mm, approximately five cards; it is a design assumption, not a tested fit. Draw a 100 × 68 mm body in 8 mm wood, then an 88 × 56 mm pocket 4.5 mm deep. Add a 24 mm thumb relief that opens through the left rim at the same depth, and two 4 × 10 mm through-notches on opposite long edges. The pocket leaves a 3.5 mm floor and 2 mm of length and width clearance around the reference stack. After carving and smoothing the edges, fit an elastic loop around the body through the notches. Check card removal and strap tension on a sample before carrying it.

Recorded in the Easel editor, playing at 4× real speed.

A walnut wallet with inserts or a plywood card pocket

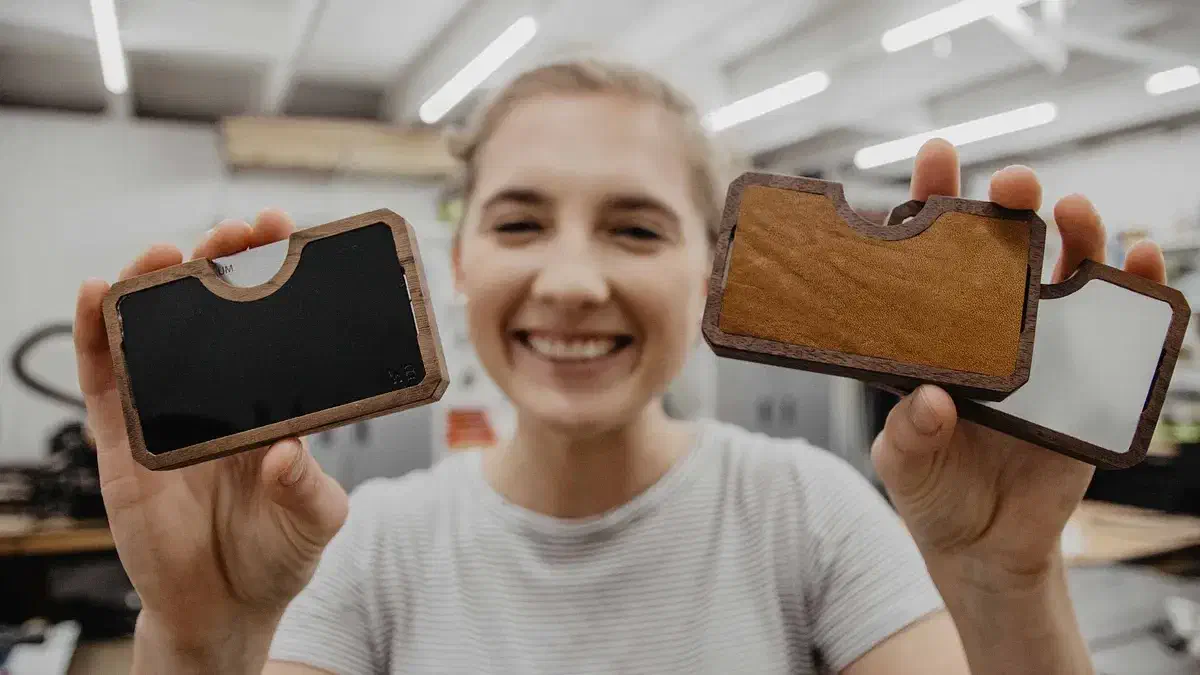
Choose the card stack first: Woodbrew’s recessed walnut body also carries a bonded decorative insert, while laboratoriodesign’s plywood pocket is sized for about five cards.

Woodbrew holding finished wooden pocket wallets with black, wood and pale inserts Minimal EDC Wood & Leather Walletby Woodbrew

Minimal EDC Wood & Leather Wallet

Woodbrew’s native walnut outline is approximately 100 × 61 mm, with a card recess approximately 86 × 54 mm. Check those recess dimensions against the cards and stack thickness you intend to carry. Four workpieces hold the body operations and separate insert layout. Assembly uses separate 3/4-inch elastic and adhesive: superglue the elastic around the wooden body, then CA-glue the decorative insert over the elastic. The maker uses acrylic, leather or aluminum for that insert. The wooden body is carved on two sides.

See more wallet search results →

Use a center reference for the second side

Log in to post a question in the project discussion; replies are not guaranteed.

Use a center reference for the second side

Woodbrew marks the center of the board and cuts a small center reference hole. When they flip the workpiece, they line the machine back up with that center.

Project notes by Woodbrew: read the source.

From Minimal EDC Wood & Leather Wallet by Woodbrew.

Ask a question

Start creating with your CNC

Create your free Easel account and connect your machine in minutes.