
Make a stand for your laptop

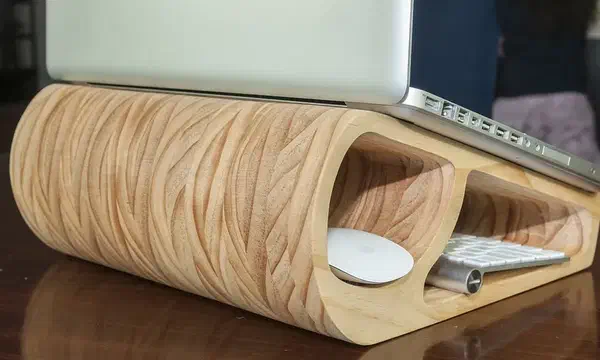
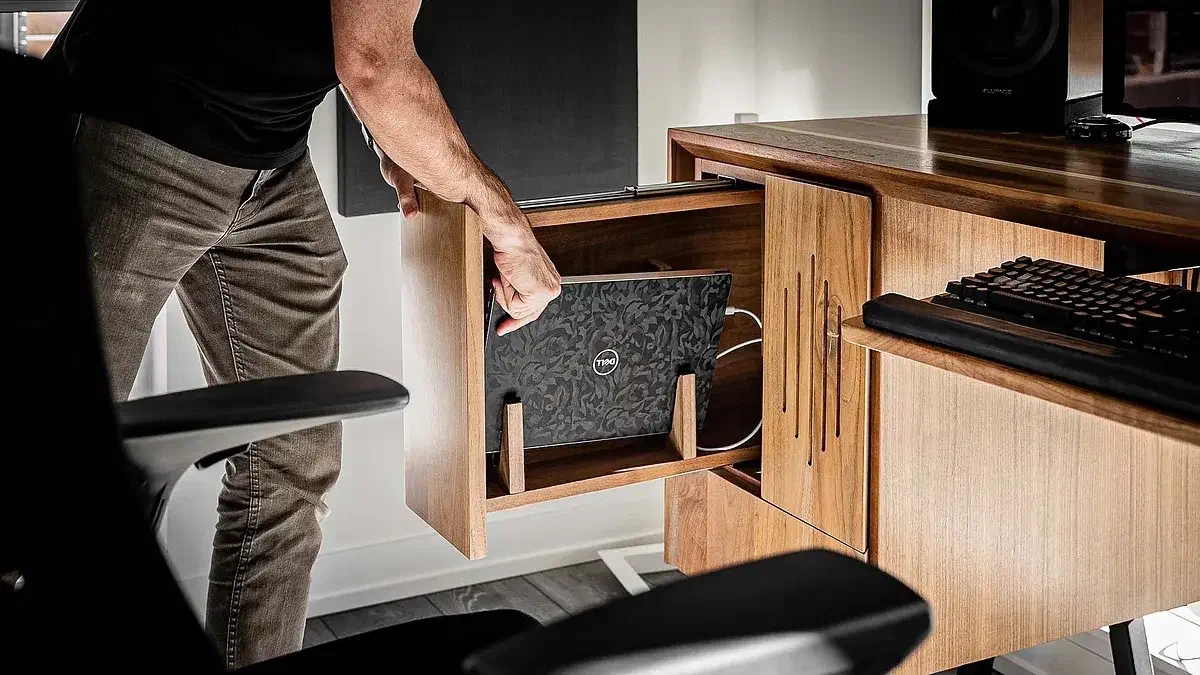
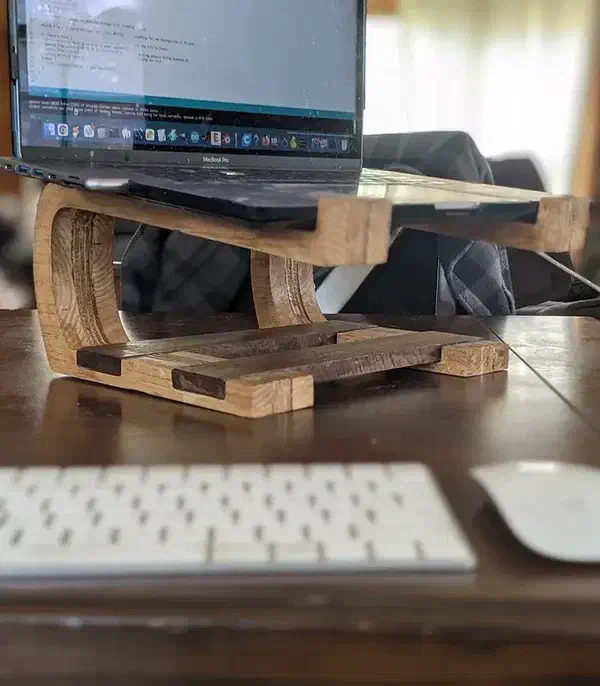
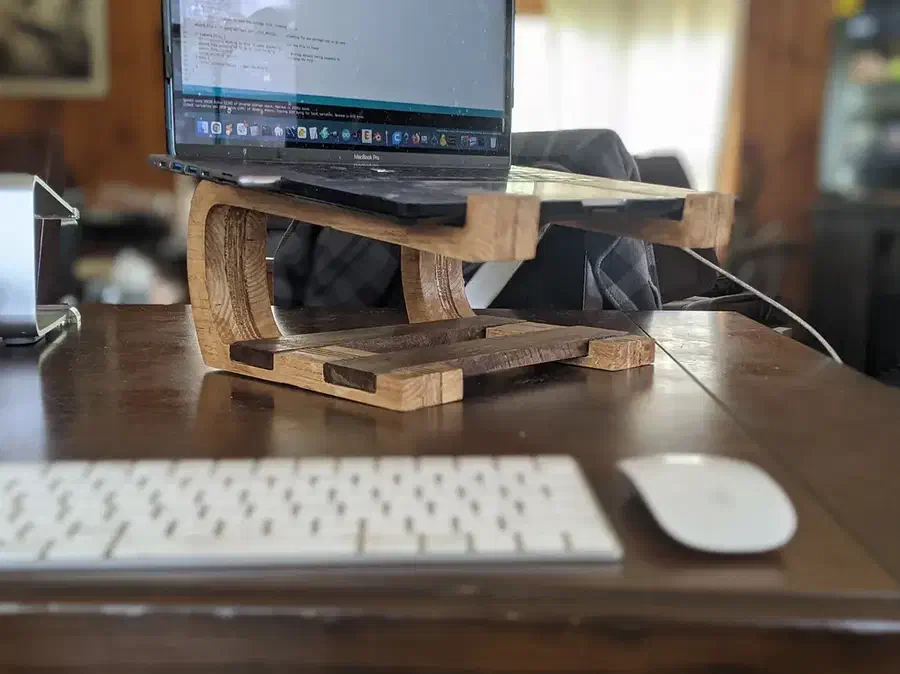
Raise a laptop on your desk, keep it beside the CNC or tuck it into a drawer. Explore real community builds and open a shared Easel design to make one like it.

Explore the laptop stands

Start from a blank workpiece

Design your own laptop stand

Watch the laptop stand parts take shape in Easel: lay out two wedge-shaped sides and two crosspieces on birch plywood, then turn the 3D preview to see the parts.

Recorded in the Easel editor, playing at 8× real speed.

Raise a laptop on the desk or move it off the bench

Compare desktop stands, adjustable shop arms and drawer fittings. Each project explains what the shared file supplies and what you will assemble around it.

A silver laptop on a blue interlocking stand with shaped openings in its side panels Interlocking MDF Standby Paul Kaplan

Interlocking MDF Stand

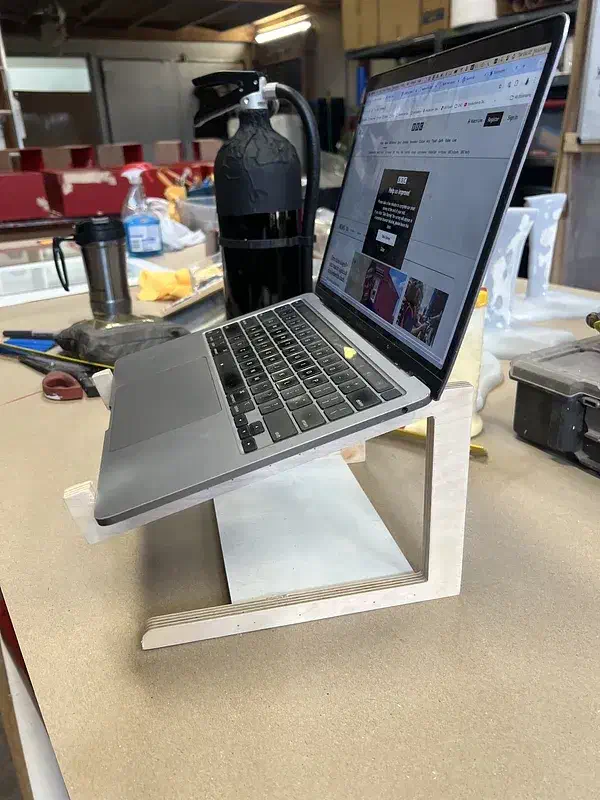
Slot flat panels together to make an open stand for a desk. Paul’s photographed build is MDF, and his instructions link two separate cutting plates. Both are needed: one carries the crosspieces and a side panel, the other carries the remaining side panels. The saved files use a different material preset from the photographed build, so use the MDF described in Paul’s instructions as the build reference.

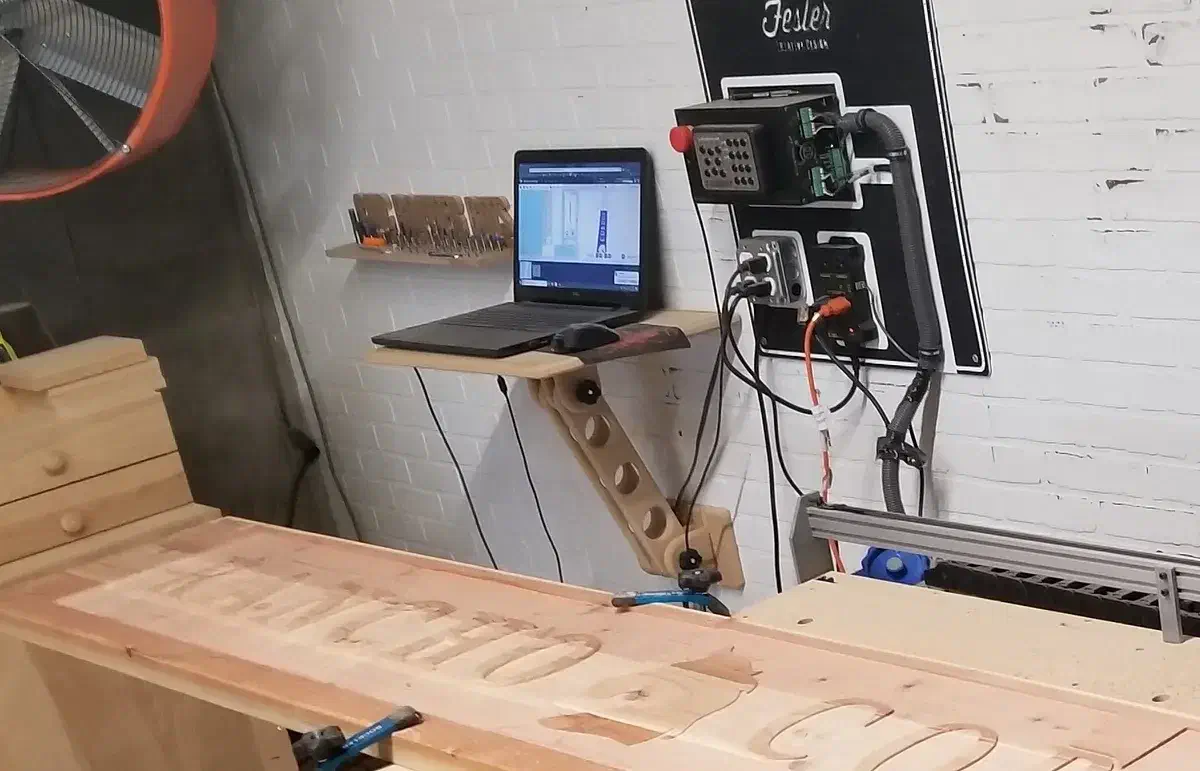
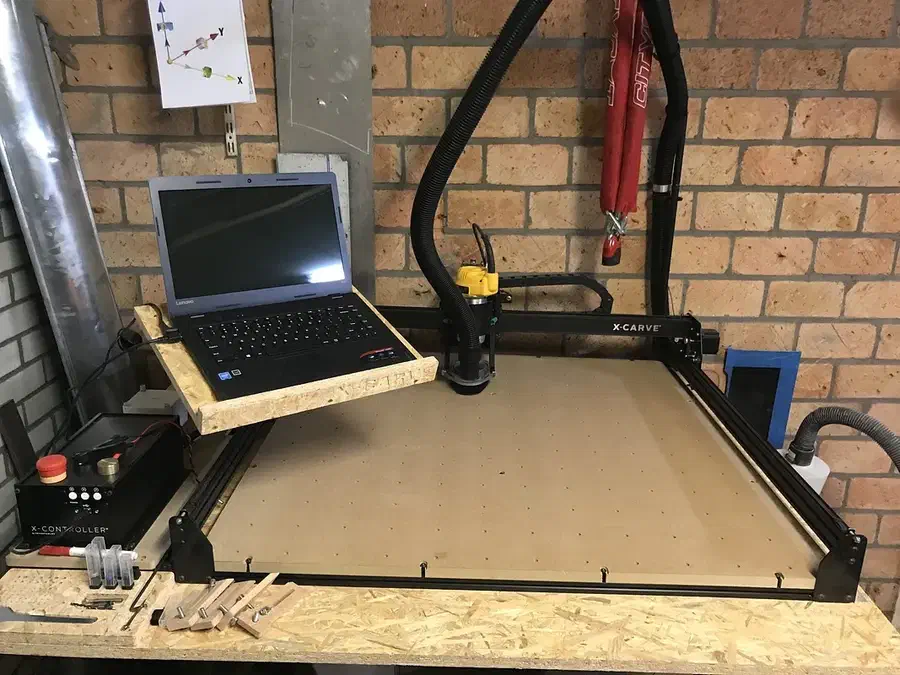
A laptop on a plywood arm above a CNC controller with separate clamp and router-bit storage boards Laptop, Clamp and Bit Storageby Justin Carver

Laptop Stand with Clamp and Bit Storage

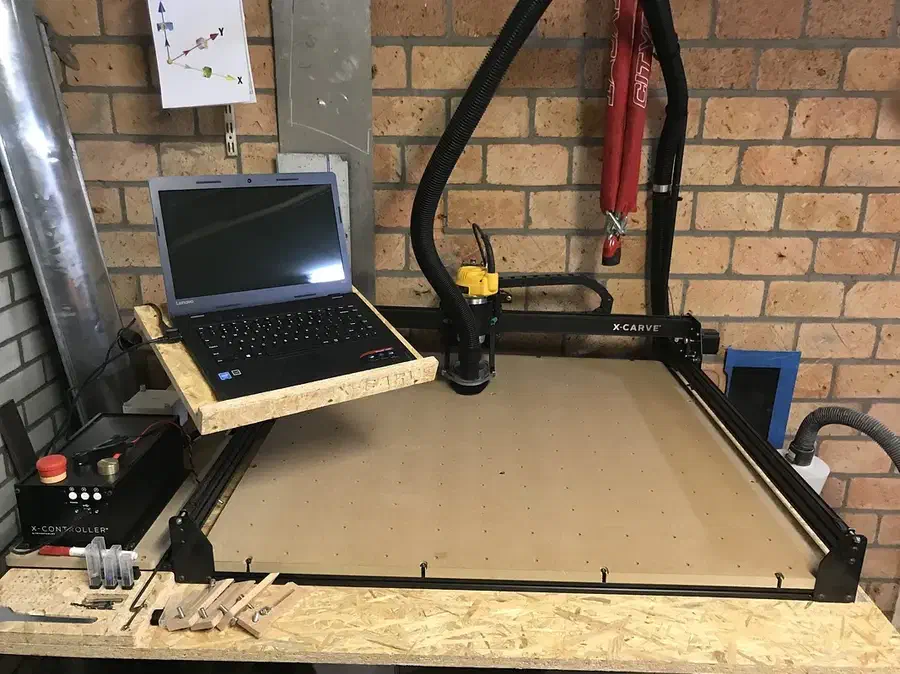
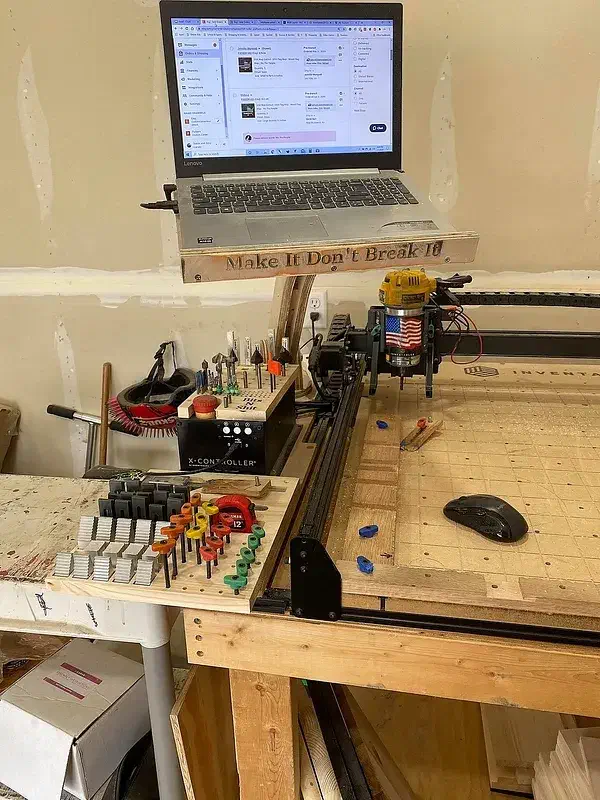
Combine a laptop shelf with places for clamps and router bits beside the CNC. Justin’s photo shows a pivoting plywood arm, a bit board above the controller and a separate clamp board. Six shared workpieces include the stand components, tray and storage layouts. Choose the pieces for your own sideboard and controller arrangement, then add the mounting hardware separately.

See more laptop projects →

From the makers’ comments and project notes

Details to use in your own laptop stands build

Read the project comments without an account. Log in to post a question in the project discussion; replies are not guaranteed.

Measure the MDF before sizing the interlocking slots

Paul Kaplan recommends measuring the exact sheet with calipers before generating the stand’s interlocking parts. A nominal three-eighth-inch sheet was not a reliable fit for his original slot dimensions. Use the measured thickness to size the joints rather than expecting the material label to give the finished fit.

Comment by Paul Kaplan: read the source.

From MDF Laptop Stand by Paul Kaplan.

Ask a question

Put washers between the arm’s moving mounts

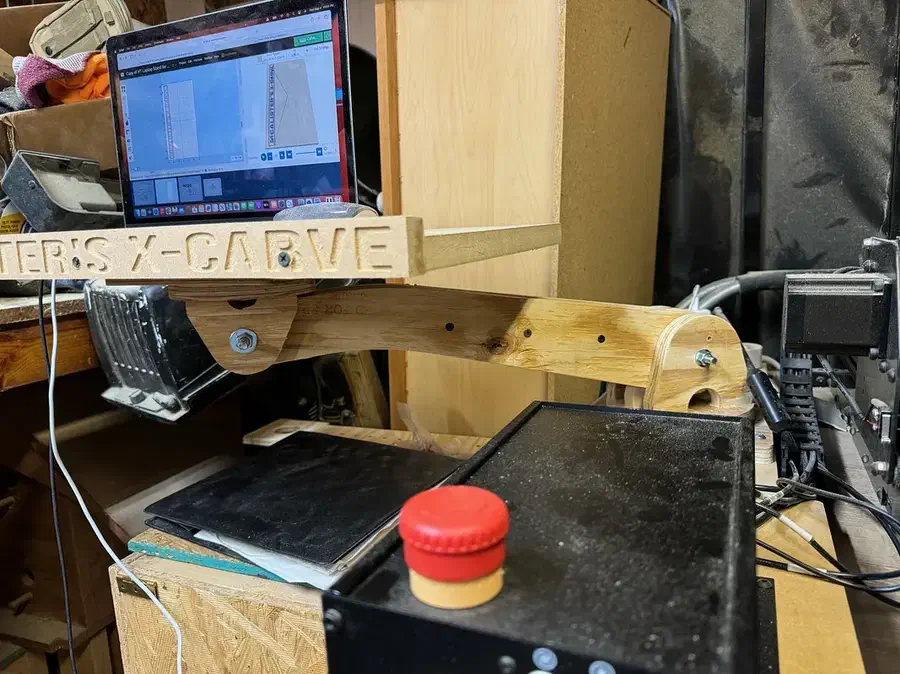
Fesler’s material notes place washers between the arm mounts so the wall-mounted stand can move smoothly. The washers are part of the pivot assembly, not just extras under the bolt heads. Keep that spacing in mind when gathering the bolts, knobs and washers for this version.

Project notes by Fesler Creative Desgin: read the source.

From Articulating Wall Mount Laptop Stand by Fesler Creative Desgin.

Ask a question

Start your laptop stand

Create a free Easel account to copy a shared design and fit it to your laptop and workspace. No credit card required.