Make your own key holder

Browse four projects from Easel makers. See how each one was built, what materials you’ll need, and which parts are included in the shared design files.

Find your key holder

Start from a blank workpiece

Design your own key holder

Draw a rounded pine backer in Easel, add a border groove and carved KEYS lettering, then place four hook holes. Turn the 3D preview to see the design before you cut.

Recorded in the Easel editor, playing at 8× real speed.

Made by the Easel community

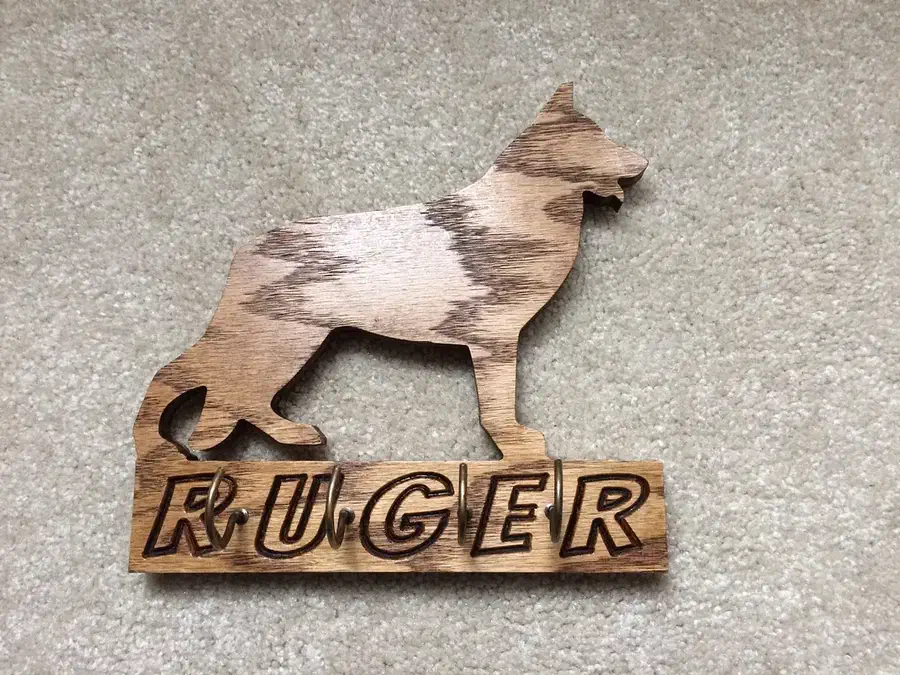
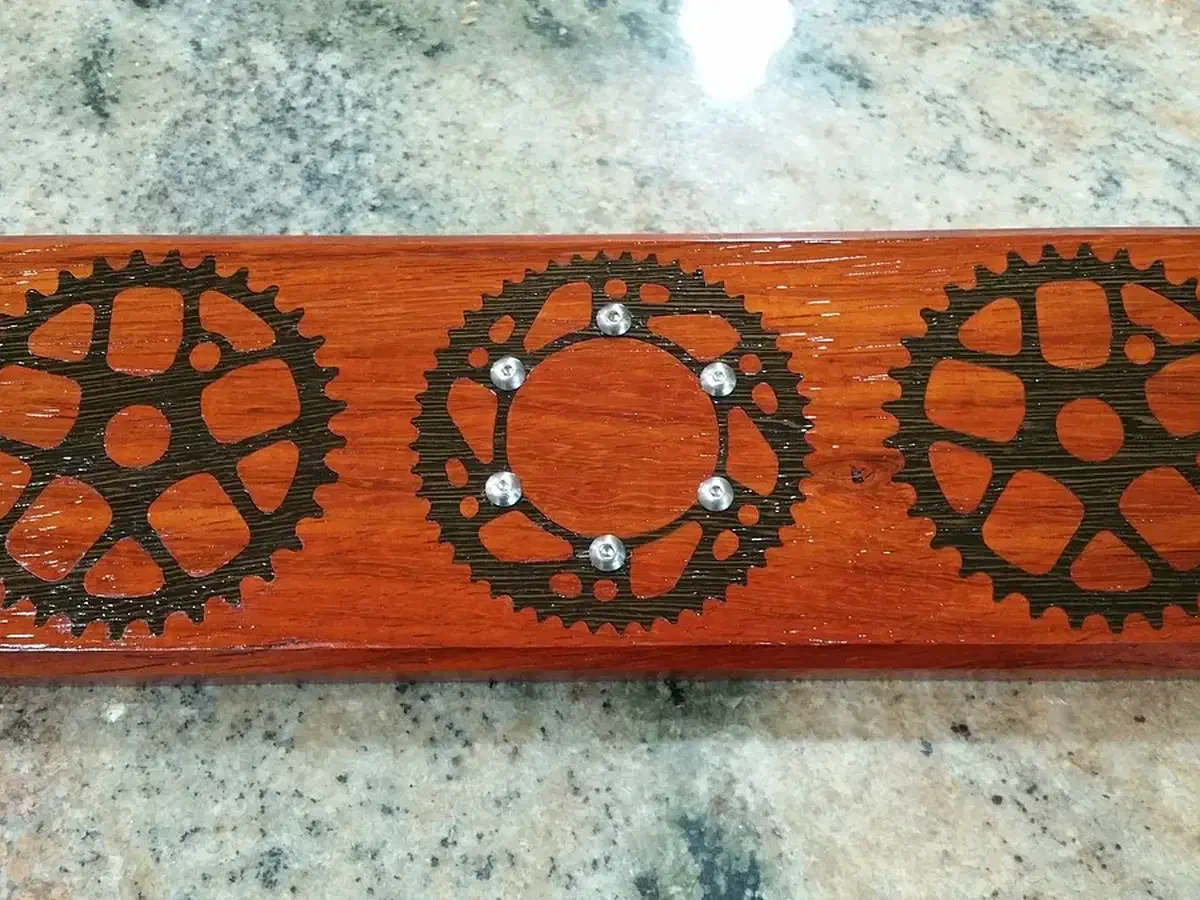
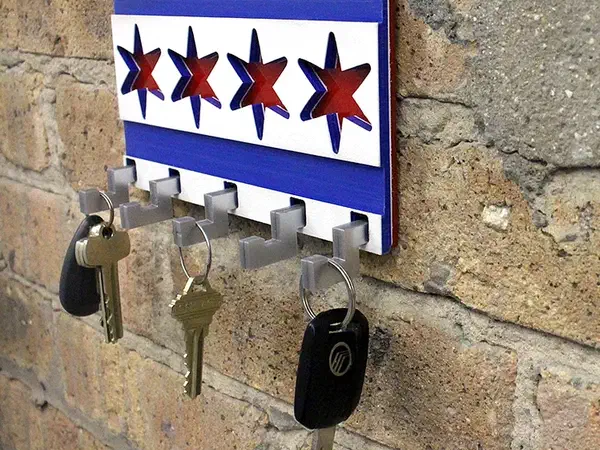
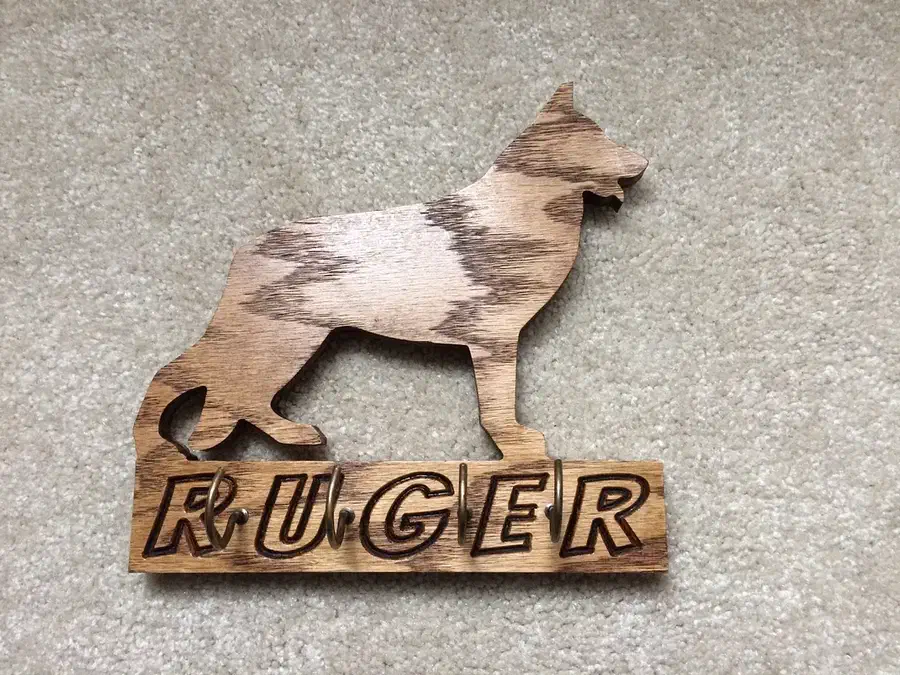
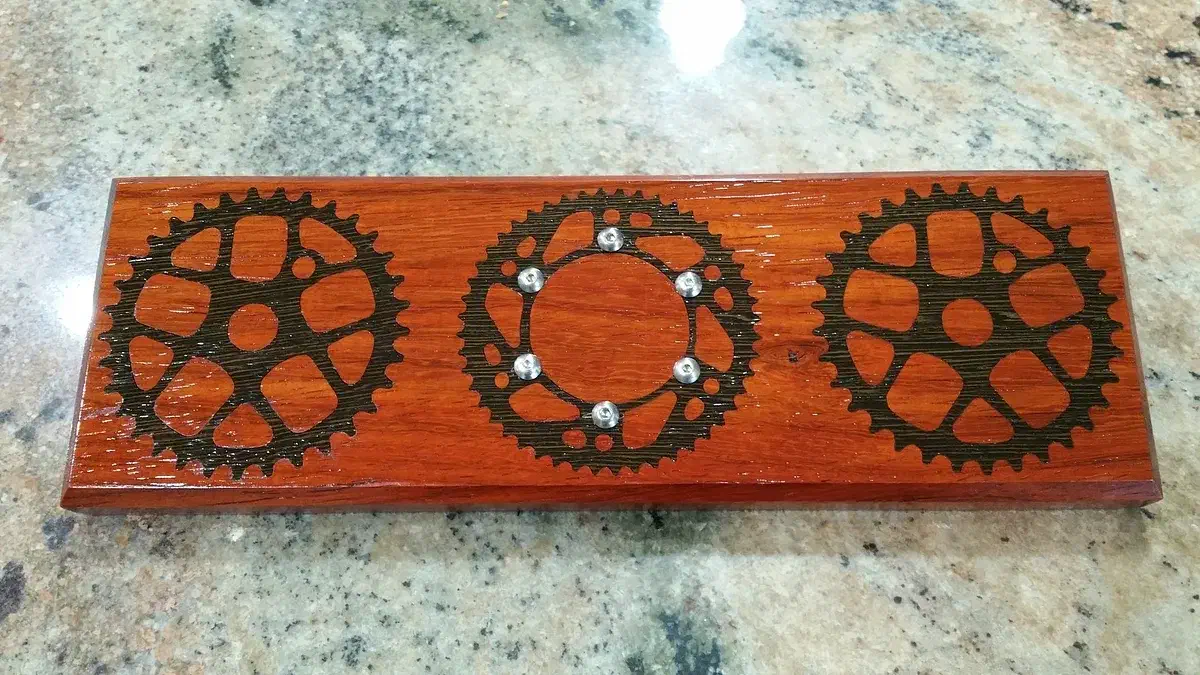
Carve lettering, bicycle gears, a dog or a city flag

These finished builds give you different ways to organize an entryway. Each project links to its maker and an Easel file you can use as a starting point. Creating an Easel account is free, with no credit card required.

See more key rack search results →

From the makers’ comments and project notes

Details to use in your own key holders build

Read the project comments without an account. Log in to post a question in the project discussion; replies are not guaranteed.

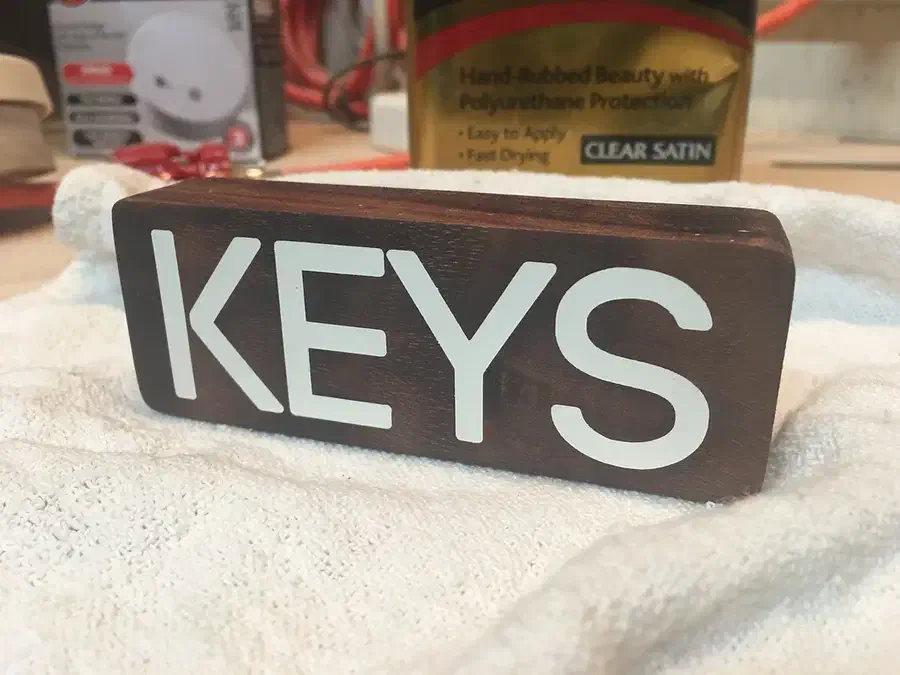
Let the lettering fill set before sanding it flush

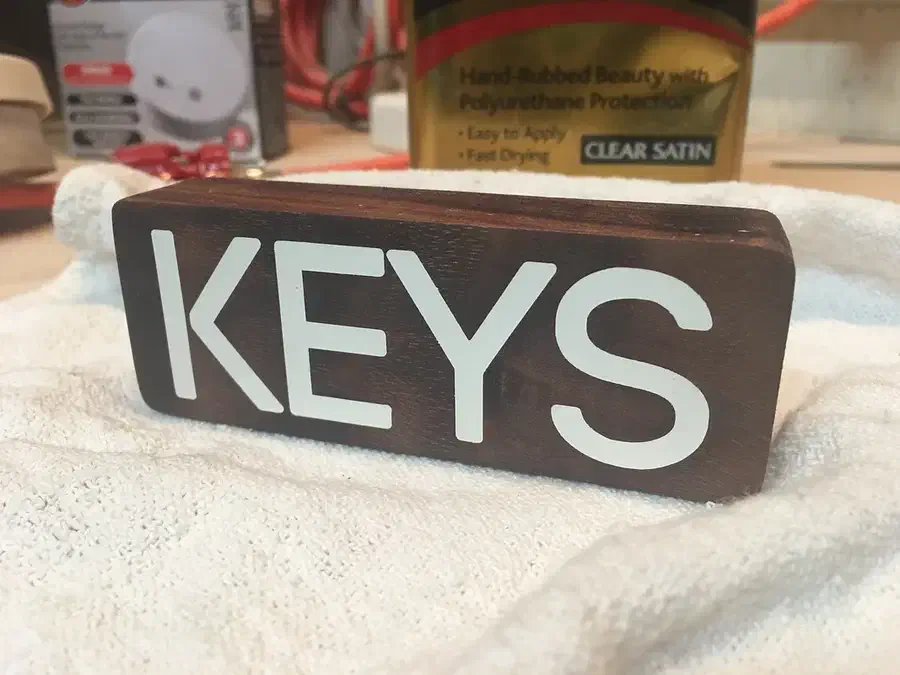
Nick Brewer presses Milliput into the entire carved face of the word KEYS, then waits about twelve hours before sanding away the excess. The sanding reveals crisp white lettering against the walnut. His sequence is fill, let it set, then level the face, rather than trying to trim the soft fill immediately.

Project notes by Nick Brewer: read the source.

From Magnetic Key Rack by Nick Brewer.

Ask a question

Make a place for your keys

Choose a project, make a copy in your free Easel account, and adapt it for your doorway. No credit card is required. Add the magnets, hooks and mounting hardware your chosen build needs.