Make your own guitar body

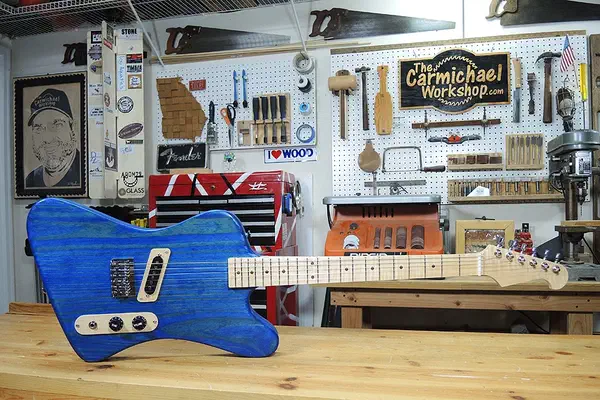
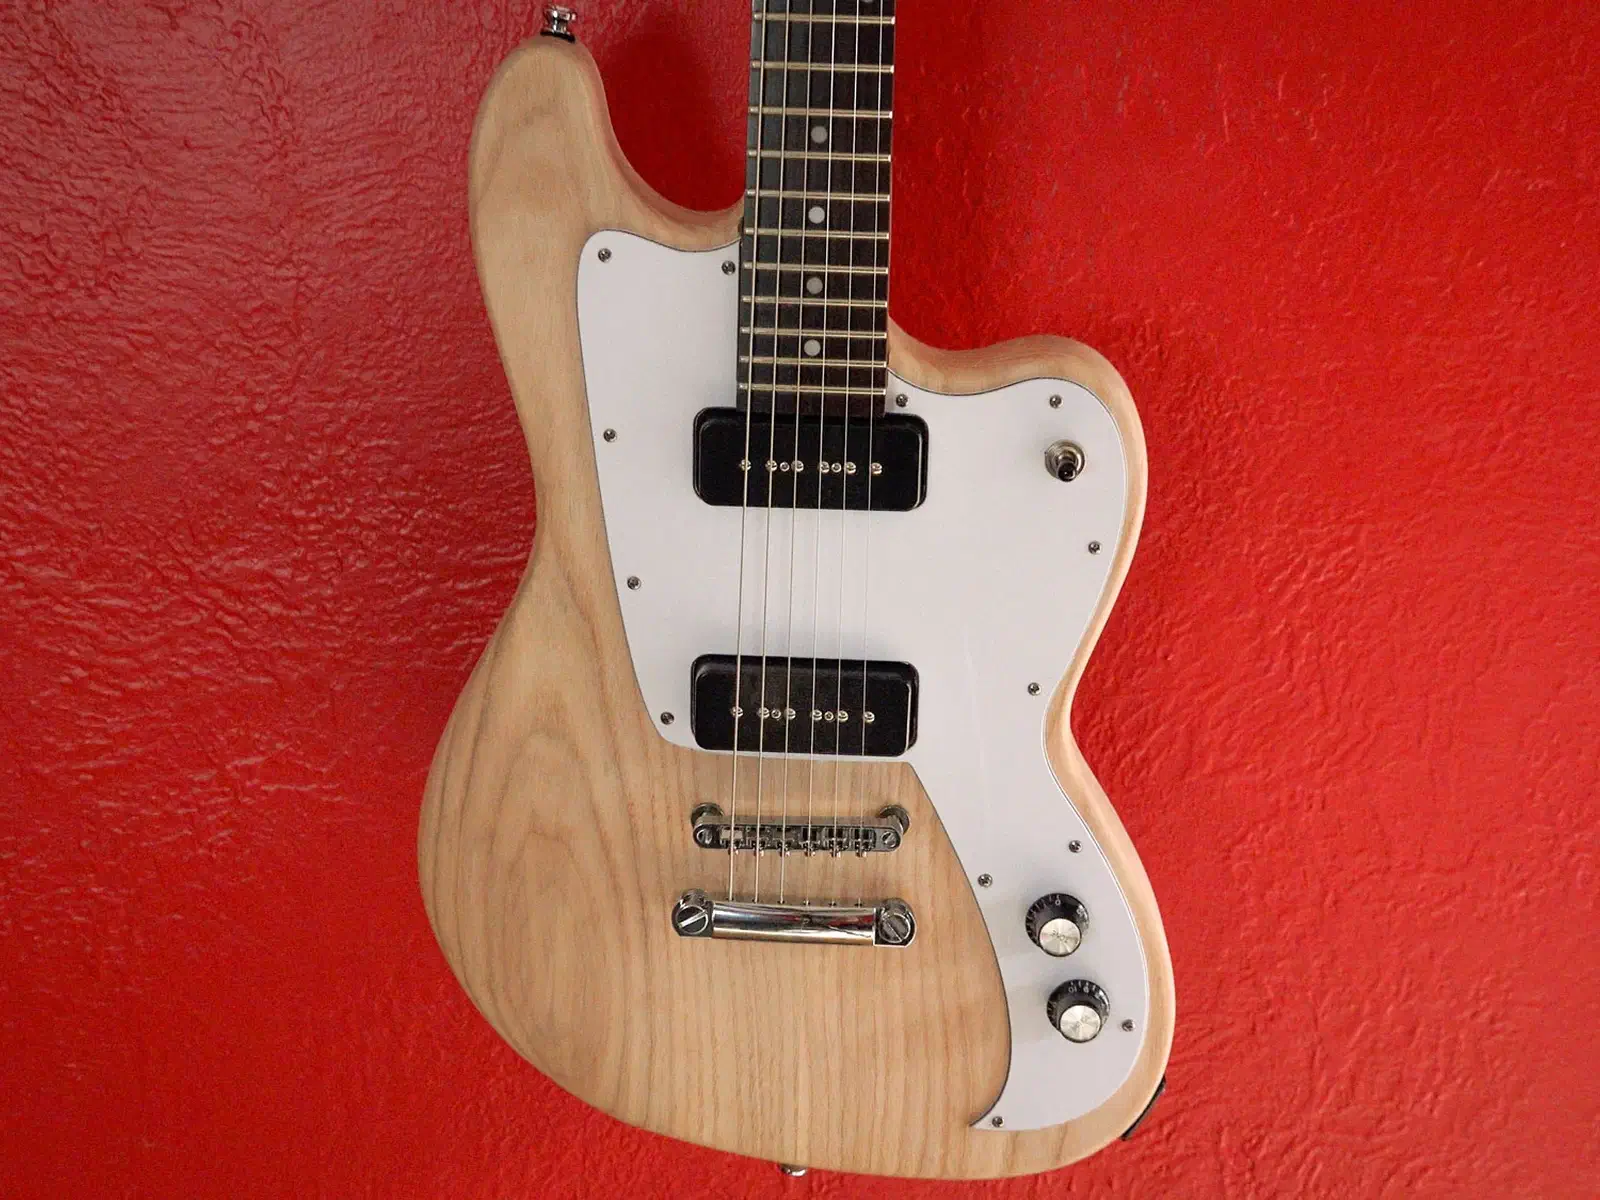
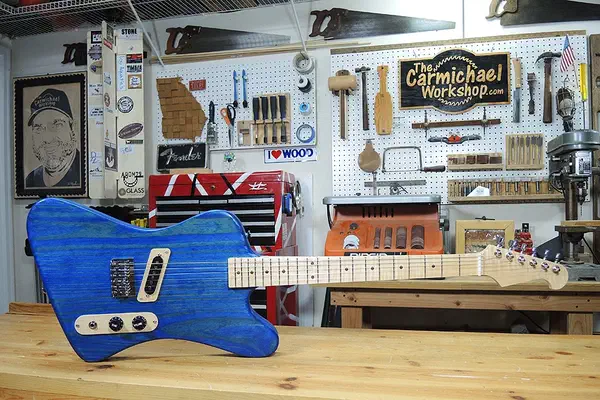
Choose the body shape, wood and finish for an electric guitar you want to play. Explore real maker builds, open their shared files and see how to start laying out neck and pickup pockets in Easel.

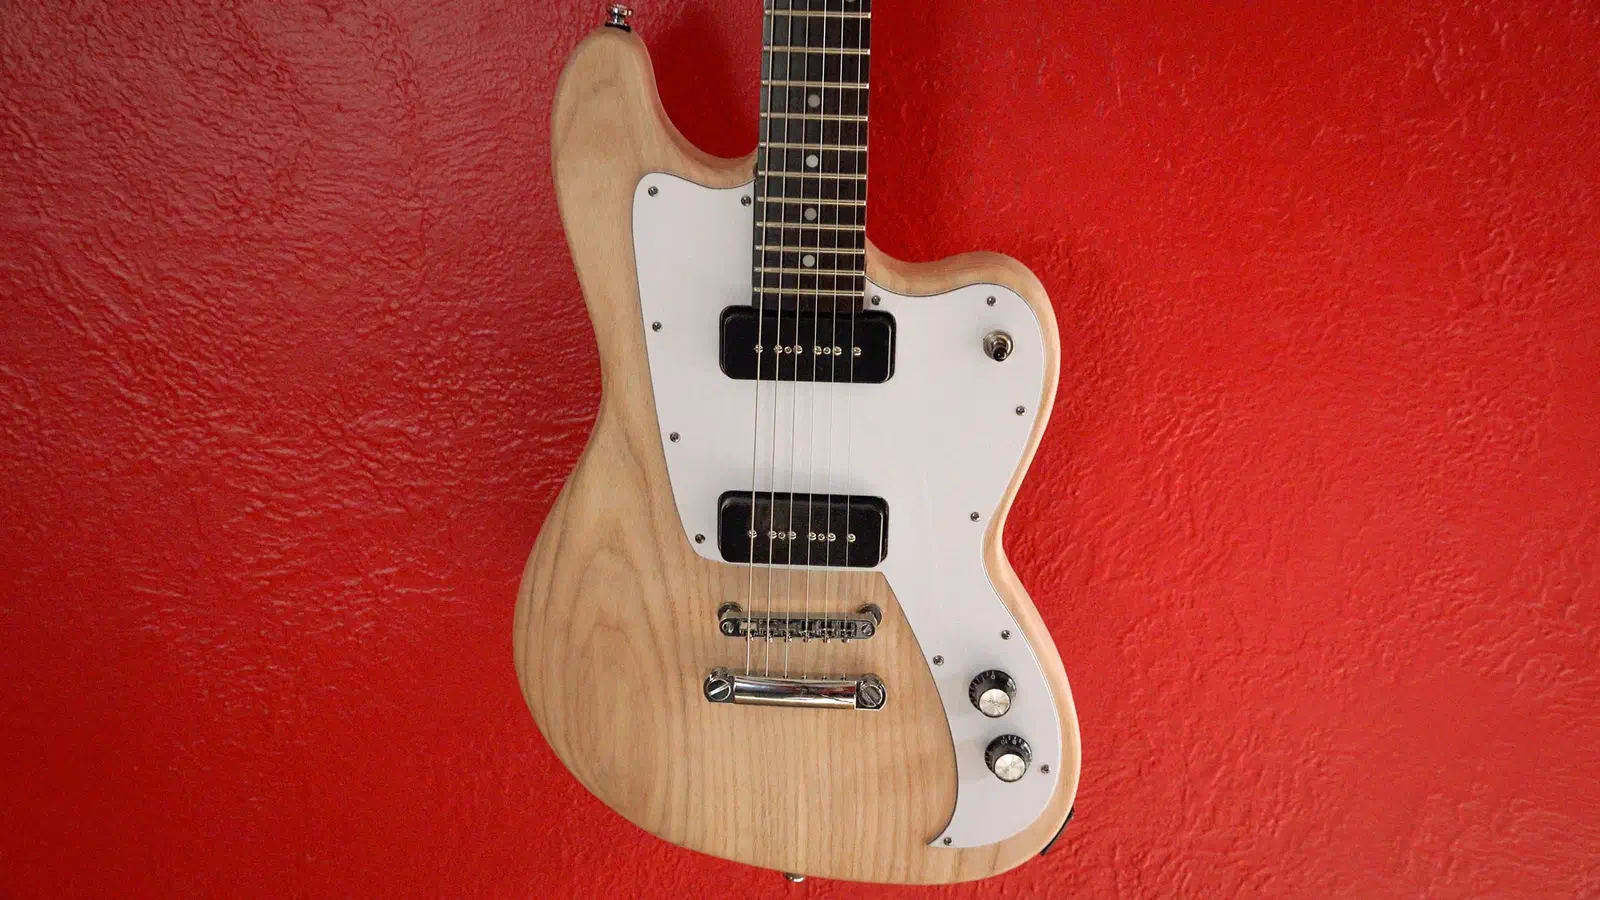
Explore the guitar bodies

Start from a blank workpiece

Lay out a neck pocket and two pickup pockets

Watch a blank workpiece become a simple rectangular body layout. Add a square, change it to a 16-by-10-inch rectangle and choose an outside outline cut. Add three smaller rectangles for the neck pocket and two pickup pockets, then set a shallow pocket depth. The native 3D preview shows where each recess goes. These dimensions illustrate the controls, not a playable guitar plan. Measure your neck and pickups before drawing their pockets, and place the bridge for your neck's scale length. The recording does not design a neck, electronics or finished instrument.

Recorded in the Easel editor, playing at 3× real speed.

Reuse a neck, carve the parts or add decorative inlays

A body is only part of the instrument. These makers combine CNC work with hardware, hand shaping and assembly. Choose a project with the parts and finishing work you want to take on.

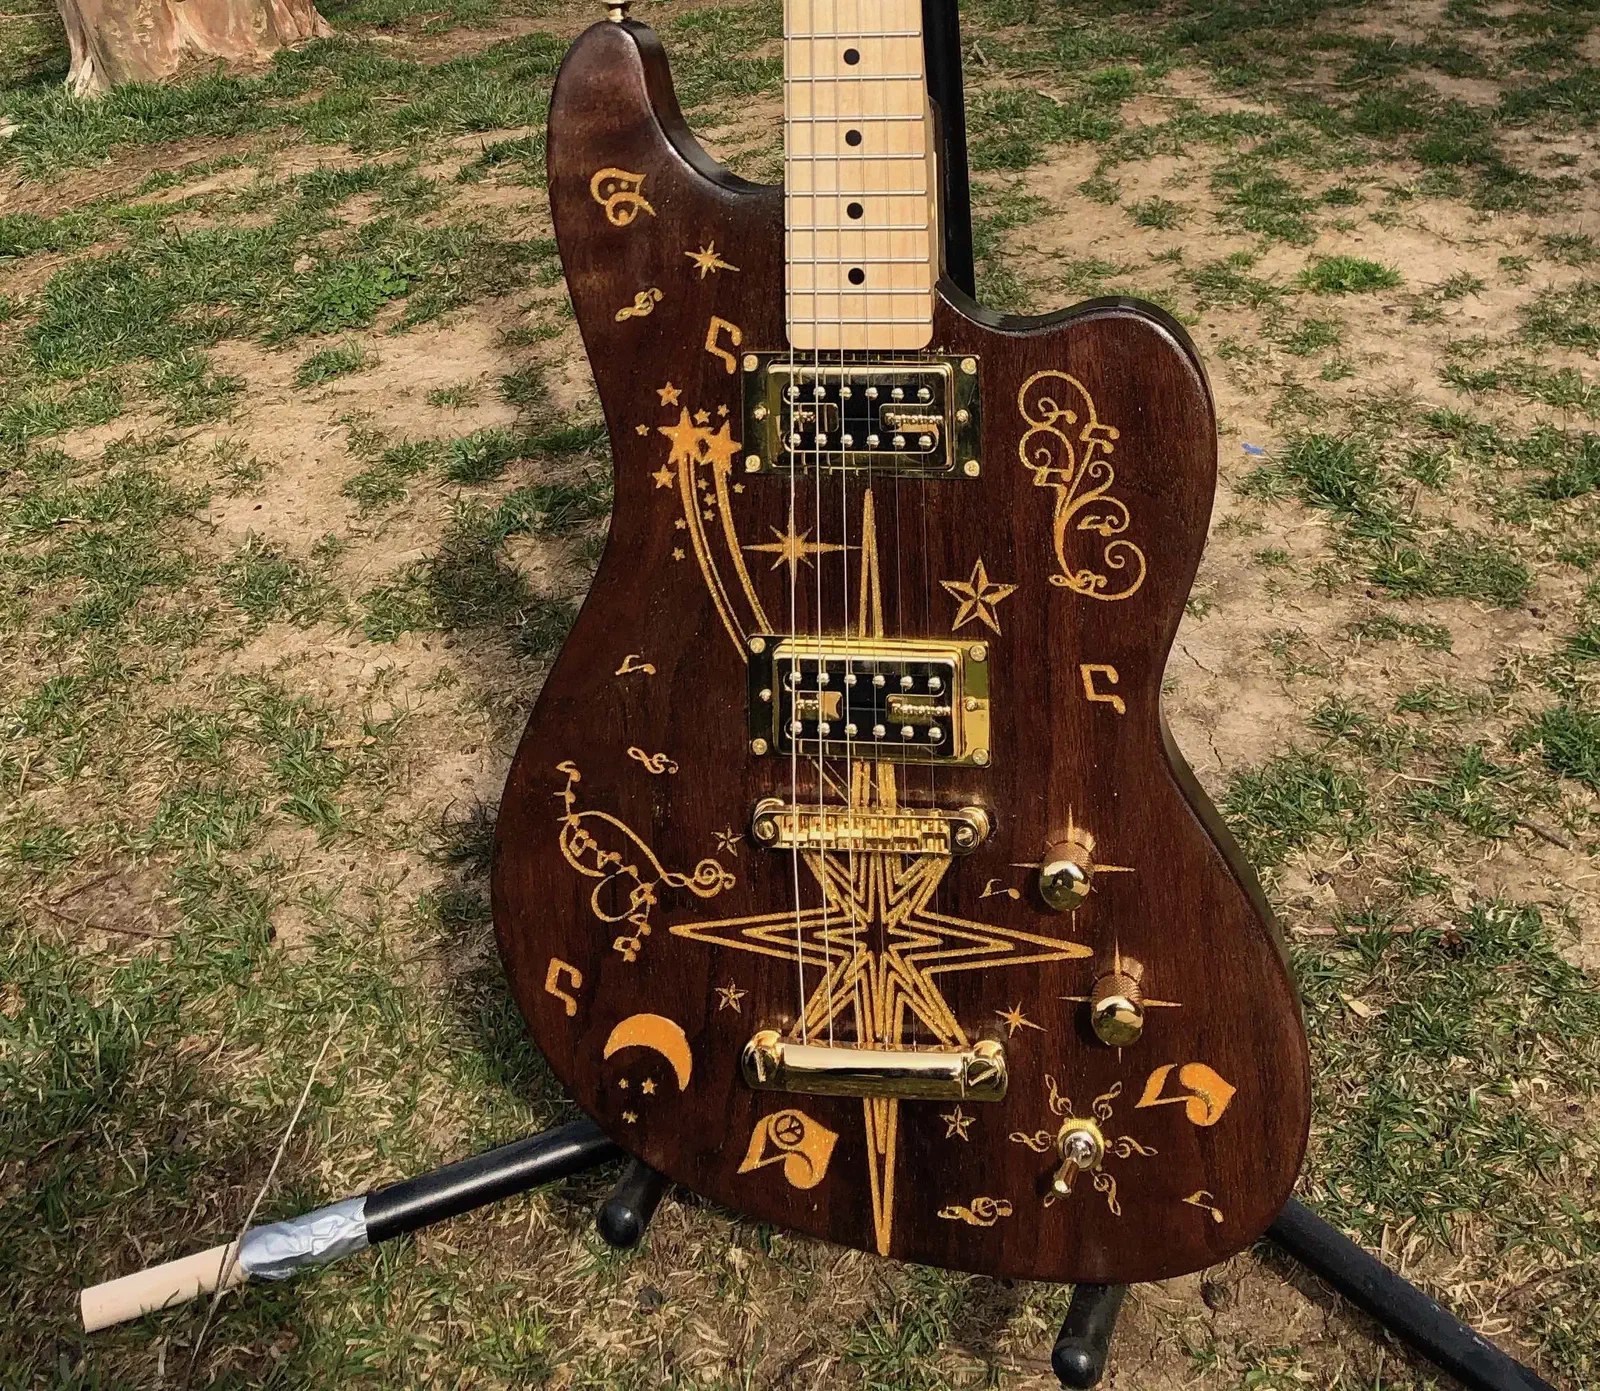
A walnut electric guitar body with gold-colored decorative patterns, dark pickups and metal hardware on an outdoor stand Walnut guitar with decorative inlaysby christopher cook

Walnut guitar with decorative inlays

Cook remakes Picciuto's body in walnut and adds decorative patterns and a mirrored back cover. Two native workpieces supply decorated and plain front layouts. The outline extends beyond the preview stock, so reposition it for your blank. The rear cavity and mirror need separate layout; his discussion explains how he positioned that cut. Add your own neck and hardware.

See more guitar projects in gallery search →

From the makers' build instructions

Fit the neck, position the bridge and align the flip

Read the project discussions without an account. Log in to post a question; replies are not guaranteed.

Fit the neck before cutting the outer shape

Picciuto cuts the neck pocket first and calls for a snug fit, then carves the pickup and control cavities before the outer shape. That sequence lets you check the neck against the pocket while the body is still part of the larger blank. Use the neck you plan to install, rather than assuming another neck shares its dimensions.

Project notes by David Picciuto: read the source.

From Picciuto Guitar Body by David Picciuto.

Ask a question

Use the outer strings to check bridge alignment

For his 25.5-inch-scale guitar, Carmichael measures from the front of the nut to position the bridge. He suggests fitting the two outer strings to check that they run in line with the neck before drilling. Use your own neck's scale length; the distance in his project is not a universal bridge position.

Project notes by Steve Carmichael: read the source.

From Electric Guitar by Steve Carmichael.

Ask a question

Keep a reference hole for the second side

Marsh drills a reference hole near a corner of the blank and aligns the tool to it for each operation. After flipping the stock, the hole moves from the near-left to the near-right corner. His method gives both setups a physical reference instead of trying to locate the back cuts by eye. Follow the coordinate convention of the file you use.

Project notes by Tom Marsh: read the source.

From Insignia Guitar Body by Tom Marsh.

Ask a question

Start your guitar-body project

Create a free Easel account to copy a shared design and adjust it for your project. No credit card required.