
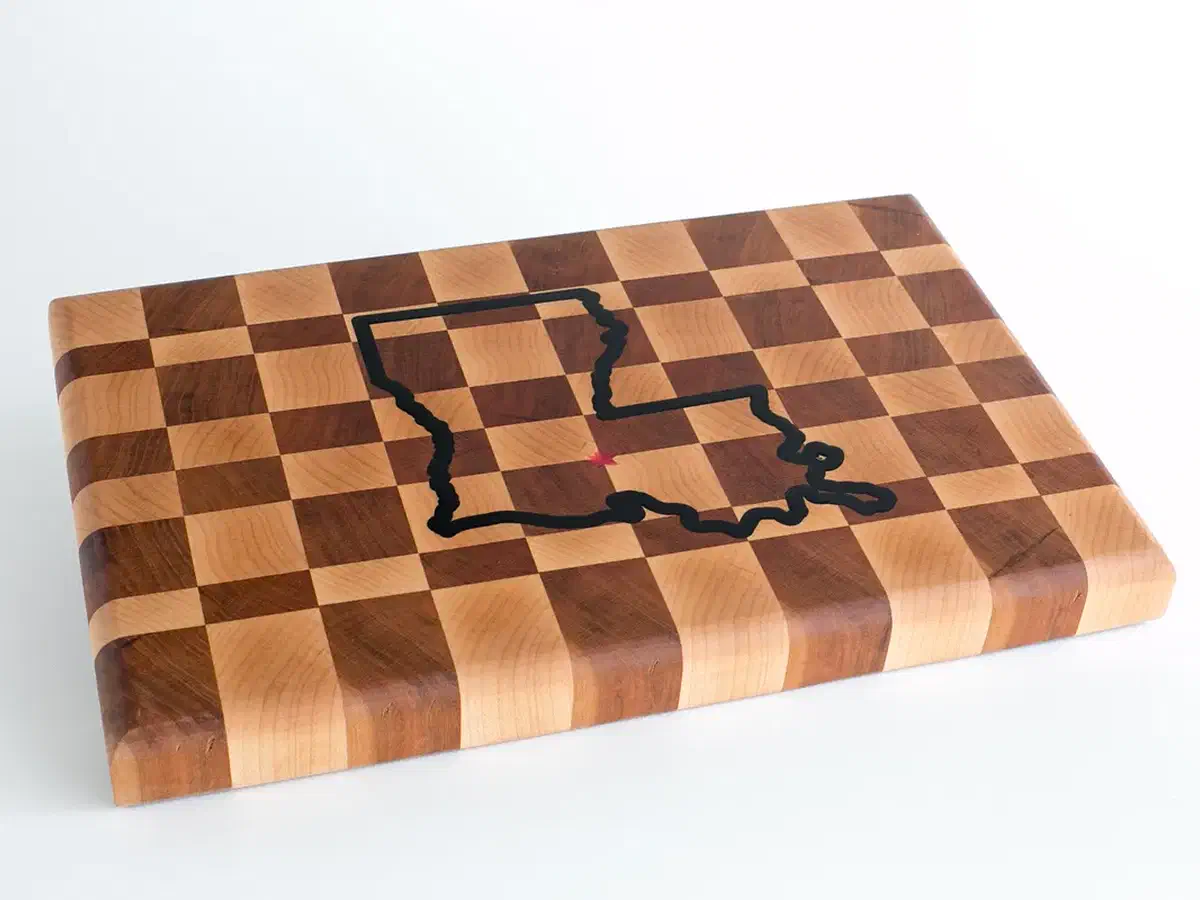
Carve the pocket, then add color

Make CNC projects with epoxy.

Carve the pocket, then add epoxy that suits the material and the finished piece.

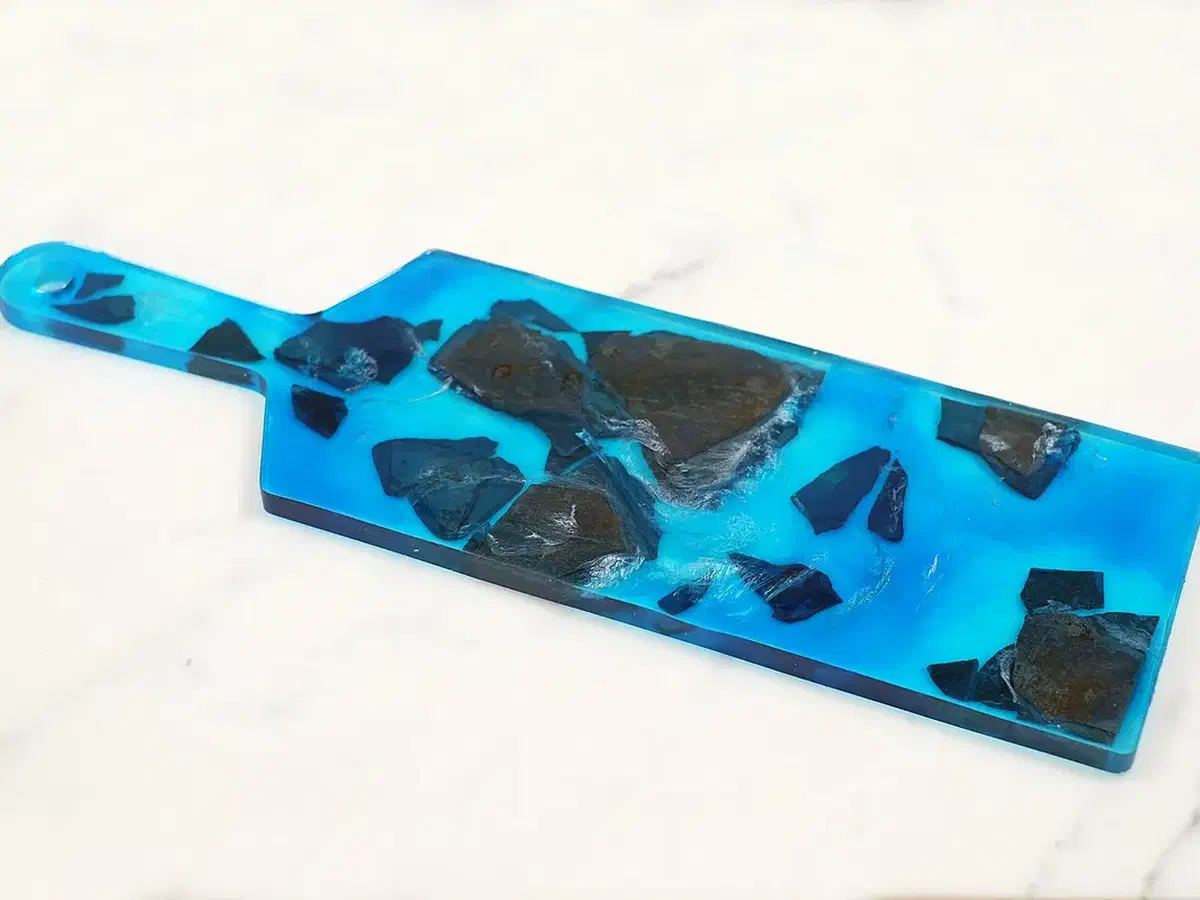
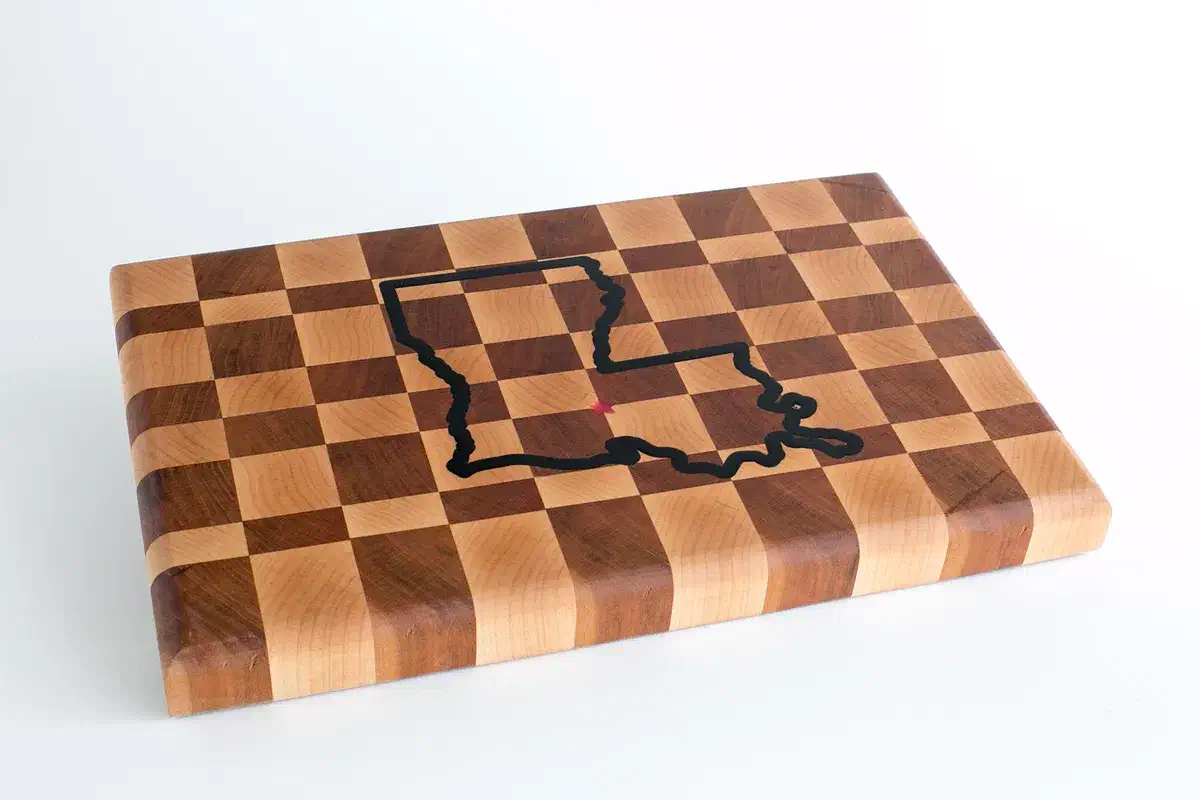
3 finished projects to explore
3 different uses for epoxy

Start with the job the epoxy has to do

Carve first, pour second

Epoxy works best when it has a clear job. It can fill a carved line, add color to a shop fixture, or turn a CNC-cut base into layered wall art. The carving still has to leave a clean shape at the right depth, and the pour still needs careful preparation.

Choose the finished use first. That decision affects the wood, pocket depth, bit, resin, pigment, cure time, sanding plan, and final finish. The three projects below show different approaches without pretending that one setup fits every pour.

Real projects from the Easel gallery

Three ways to combine CNC work and epoxy

Each project has a working preview and copy path. Open one to inspect the design, then adapt the size, material, tooling, and resin process for your own shop.

See more epoxy projects →

Before you cut or pour

Plan the pocket and the resin as one process

Match the pocket to the bit

A narrow line can follow an on-path cut, while a wider inlay needs a pocket. Check the smallest detail against the bit diameter, and make a scrap test before carving the final stock.

Seal before adding tinted epoxy

Tint can move through open grain and plywood pores. Seal the surrounding surface when the build calls for it, keep glue surfaces clean, and follow the resin maker's instructions for compatible sealers and colorants.

Follow the resin instructions

Use the mixing ratio, working time, cure schedule, ventilation, gloves, eye protection, and temperature range specified by the resin manufacturer. Do not assume a cured project is suitable for food contact unless every resin, pigment, finish, and intended use is covered by current product documentation.

Leave room for cleanup

Plan how you will contain the pour and level the cured surface. Sanding can expose fresh epoxy dust, so use dust collection and the protective equipment recommended for the material, then apply a finish suited to where the project will live.

Make a CNC epoxy project of your own

Start with a real community design, adapt the pocket or base for your material, and prepare the carve in Easel before you mix the epoxy.

Start making for free →