Make a wooden coat rack

Design a wooden coat rack in Easel with a shaped backboard and spaced positions for separate hooks or pegs.

Explore the coat racks

Start from a blank workpiece

Lay out a plywood backboard for three separate pegs

Make a plywood coat rack with three wooden pegs added after carving; the pegs, glue and wall-mounting screws are separate parts. Start with a blank workpiece and set the plywood thickness. Draw the backboard, then add three holes along its lower half for the peg ends. Add two smaller holes near the upper corners for attaching the rack to the wall. Set the outer edge to cut outside the line and all five holes to cut inside, through the board.

Recorded in the Easel editor, playing at 3× real speed.

The example backboard is 18 × 4½ inches in ¾-inch plywood. Its three ⅜-inch peg holes are 5½ inches apart; the two upper mounting holes are 0.2 inches across. These are layout choices for this demonstration, not dimensions from a maker’s rack. Measure your peg ends and mounting hardware, adjust the holes to fit, and try the fit in scrap before carving the backboard.

After carving, sand the board and glue the wooden peg ends into their matching holes so they project from the front. Attach the board through the two upper holes using screws and fixings suited to the wall. Ted Burdett’s rack instructions use separate screws with keyhole slots; this layout uses plain through-holes instead. The recording demonstrates the backboard design, not cutting the pegs or testing a finished rack.

Fit angled hooks to a rail or fins to a surfboard

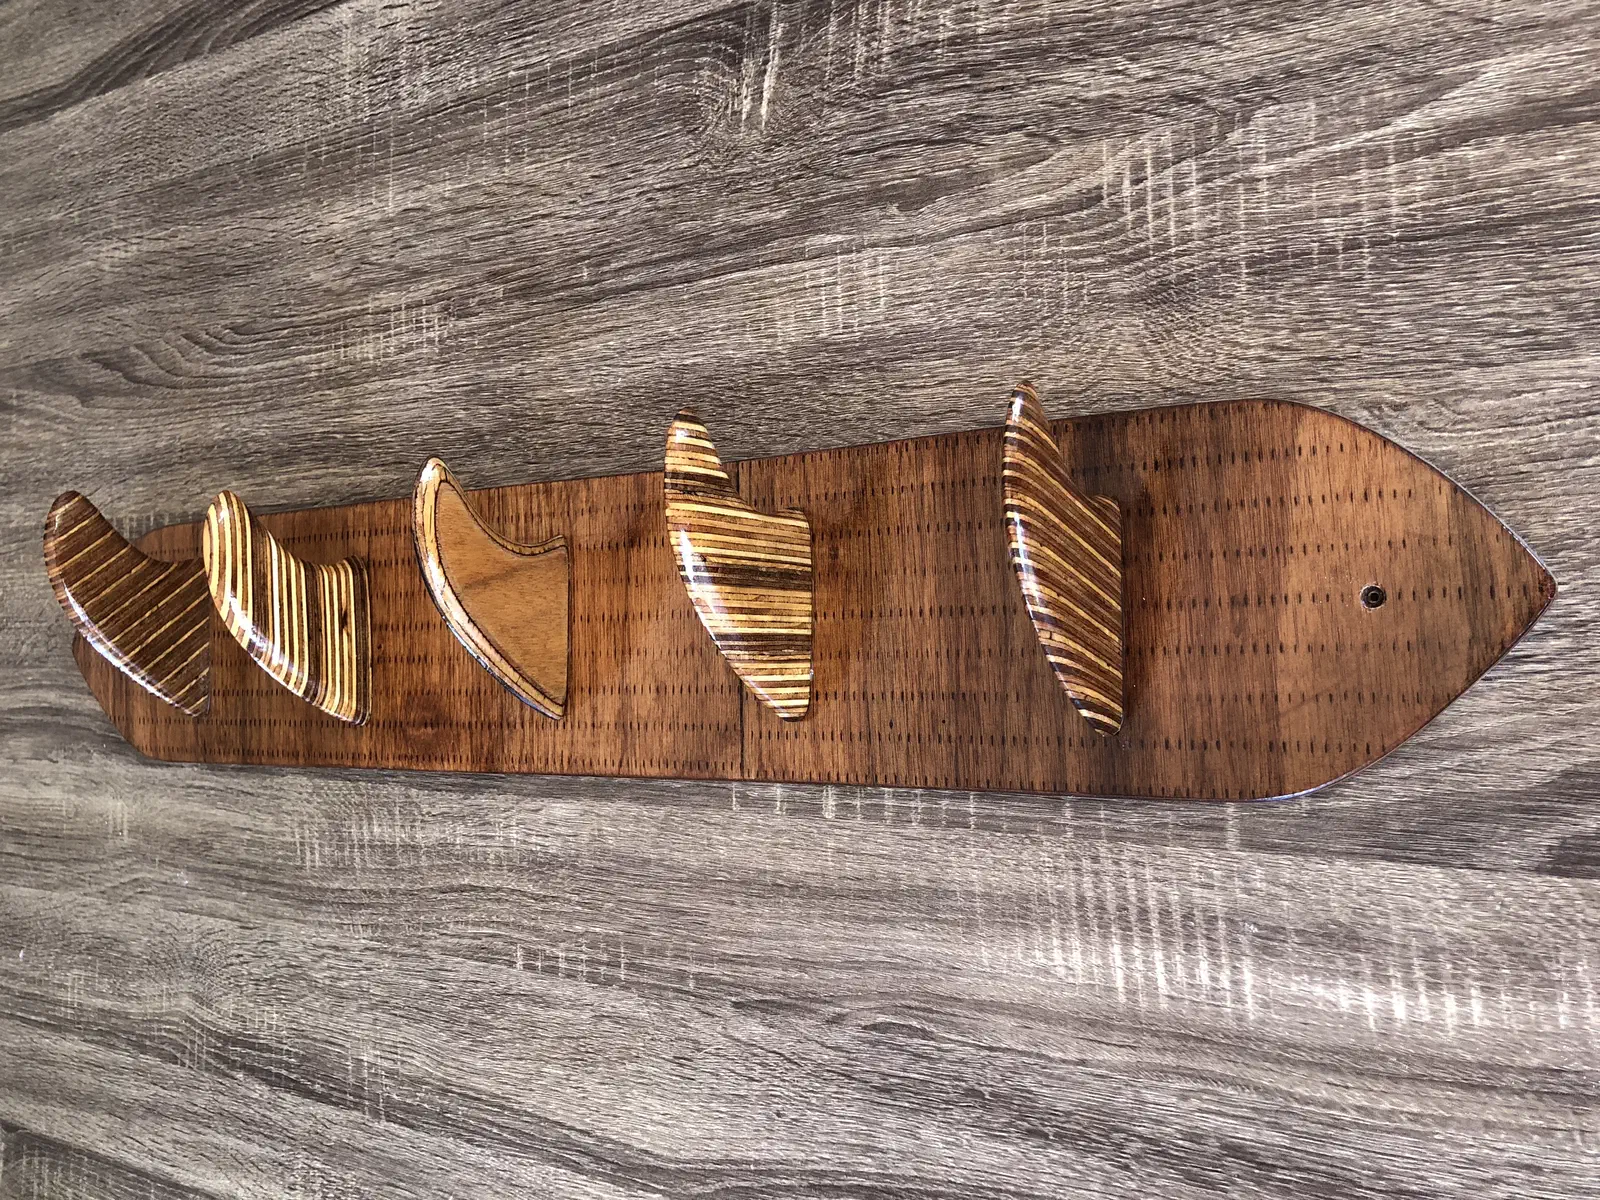
A straight plywood rail keeps the hooks narrow; a surfboard backboard makes the wooden fins part of the shape. Both racks use separate hooks rather than carving them out of the backboard.

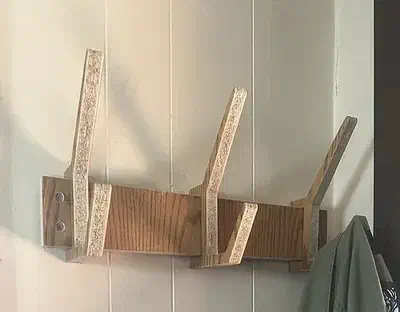
The complete upper wall rail and three angled plywood hooks of Jack Graves’s modular coat rack Modular plywood coat rackby Jack Graves

Modern coat rack

Jack Graves makes narrow, angled hooks from ¾-inch plywood and fits them to a straight wall rail. The populated workpiece supplies rail and hook outlines; another source workpiece is blank. Match the hook slots to the plywood you use, assemble the hooks, and add wall-mounting hardware. The shared preview starts at 0.8-inch stock, so its cut depth needs checking against your material.

See more coat-rack projects in gallery search →

From makers’ instructions

Shape the fin edges and keep a fixture's reference position

Read these project discussions without an account. Log in to post a question; replies are not guaranteed.

Round the fin edges after carving

Gavin Tonks says to sand the cut fins into a hydrofoil shape, exposing the plywood layers along the curved edges. He specifies both glue and screws to join each fin to the surfboard backboard, then sealing the wood.

Project notes by Gavin Tonks: read the source.

From Surf Towel/Hat/Bag/Coat/Key Rack by Gavin Tonks.

Ask a question

Keep X and Y fixed when changing rack operations

Ted Burdett keeps the same X and Y origin while machining his wood-and-wire racks in a fixture. He resets Z to the top of the blanks before slotting, then sets Z again after changing to a keyhole cutter.

Project notes by Ted Burdett: read the source.

From Wood and wire coat rack by Ted Burdett.

Ask a question

Set the spacing for your coat hooks

Leave room between hook positions for jackets to hang side by side. Draw a straight backboard for pegs or reshape it around a set of fin hooks.